
Happy Tuesday everyone!
This is my offering of a positive distraction for a few minutes, today seemed like a good day for that. I can’t unclench your jaw, relax your shoulders, or give you back whatever sleep you lost last night, but I can show you some good looking benches as well as the beginnings of a cozy little kitchen. The van feels like it’s coming together now, it really is looking more like a little home.
As I mentioned in the last post, we got started on making our storage benches a few weekends ago. They’re now stained, polyurethaned, and are as assembled as they can be until they’re actually installed. We’re holding off on putting them in for now, simply to not have them underfoot while we paint the walls, build the kitchen, etc. All of the furniture is being constructed mostly freestanding for the very purpose of keeping it outside of the van until we’re ready to put it all in at once. This also means we’ve been able to hold off on laying the vinyl flooring, so we can still use the van to transport building materials with no worry of damaging the floor. Anyway, let’s see the benches!
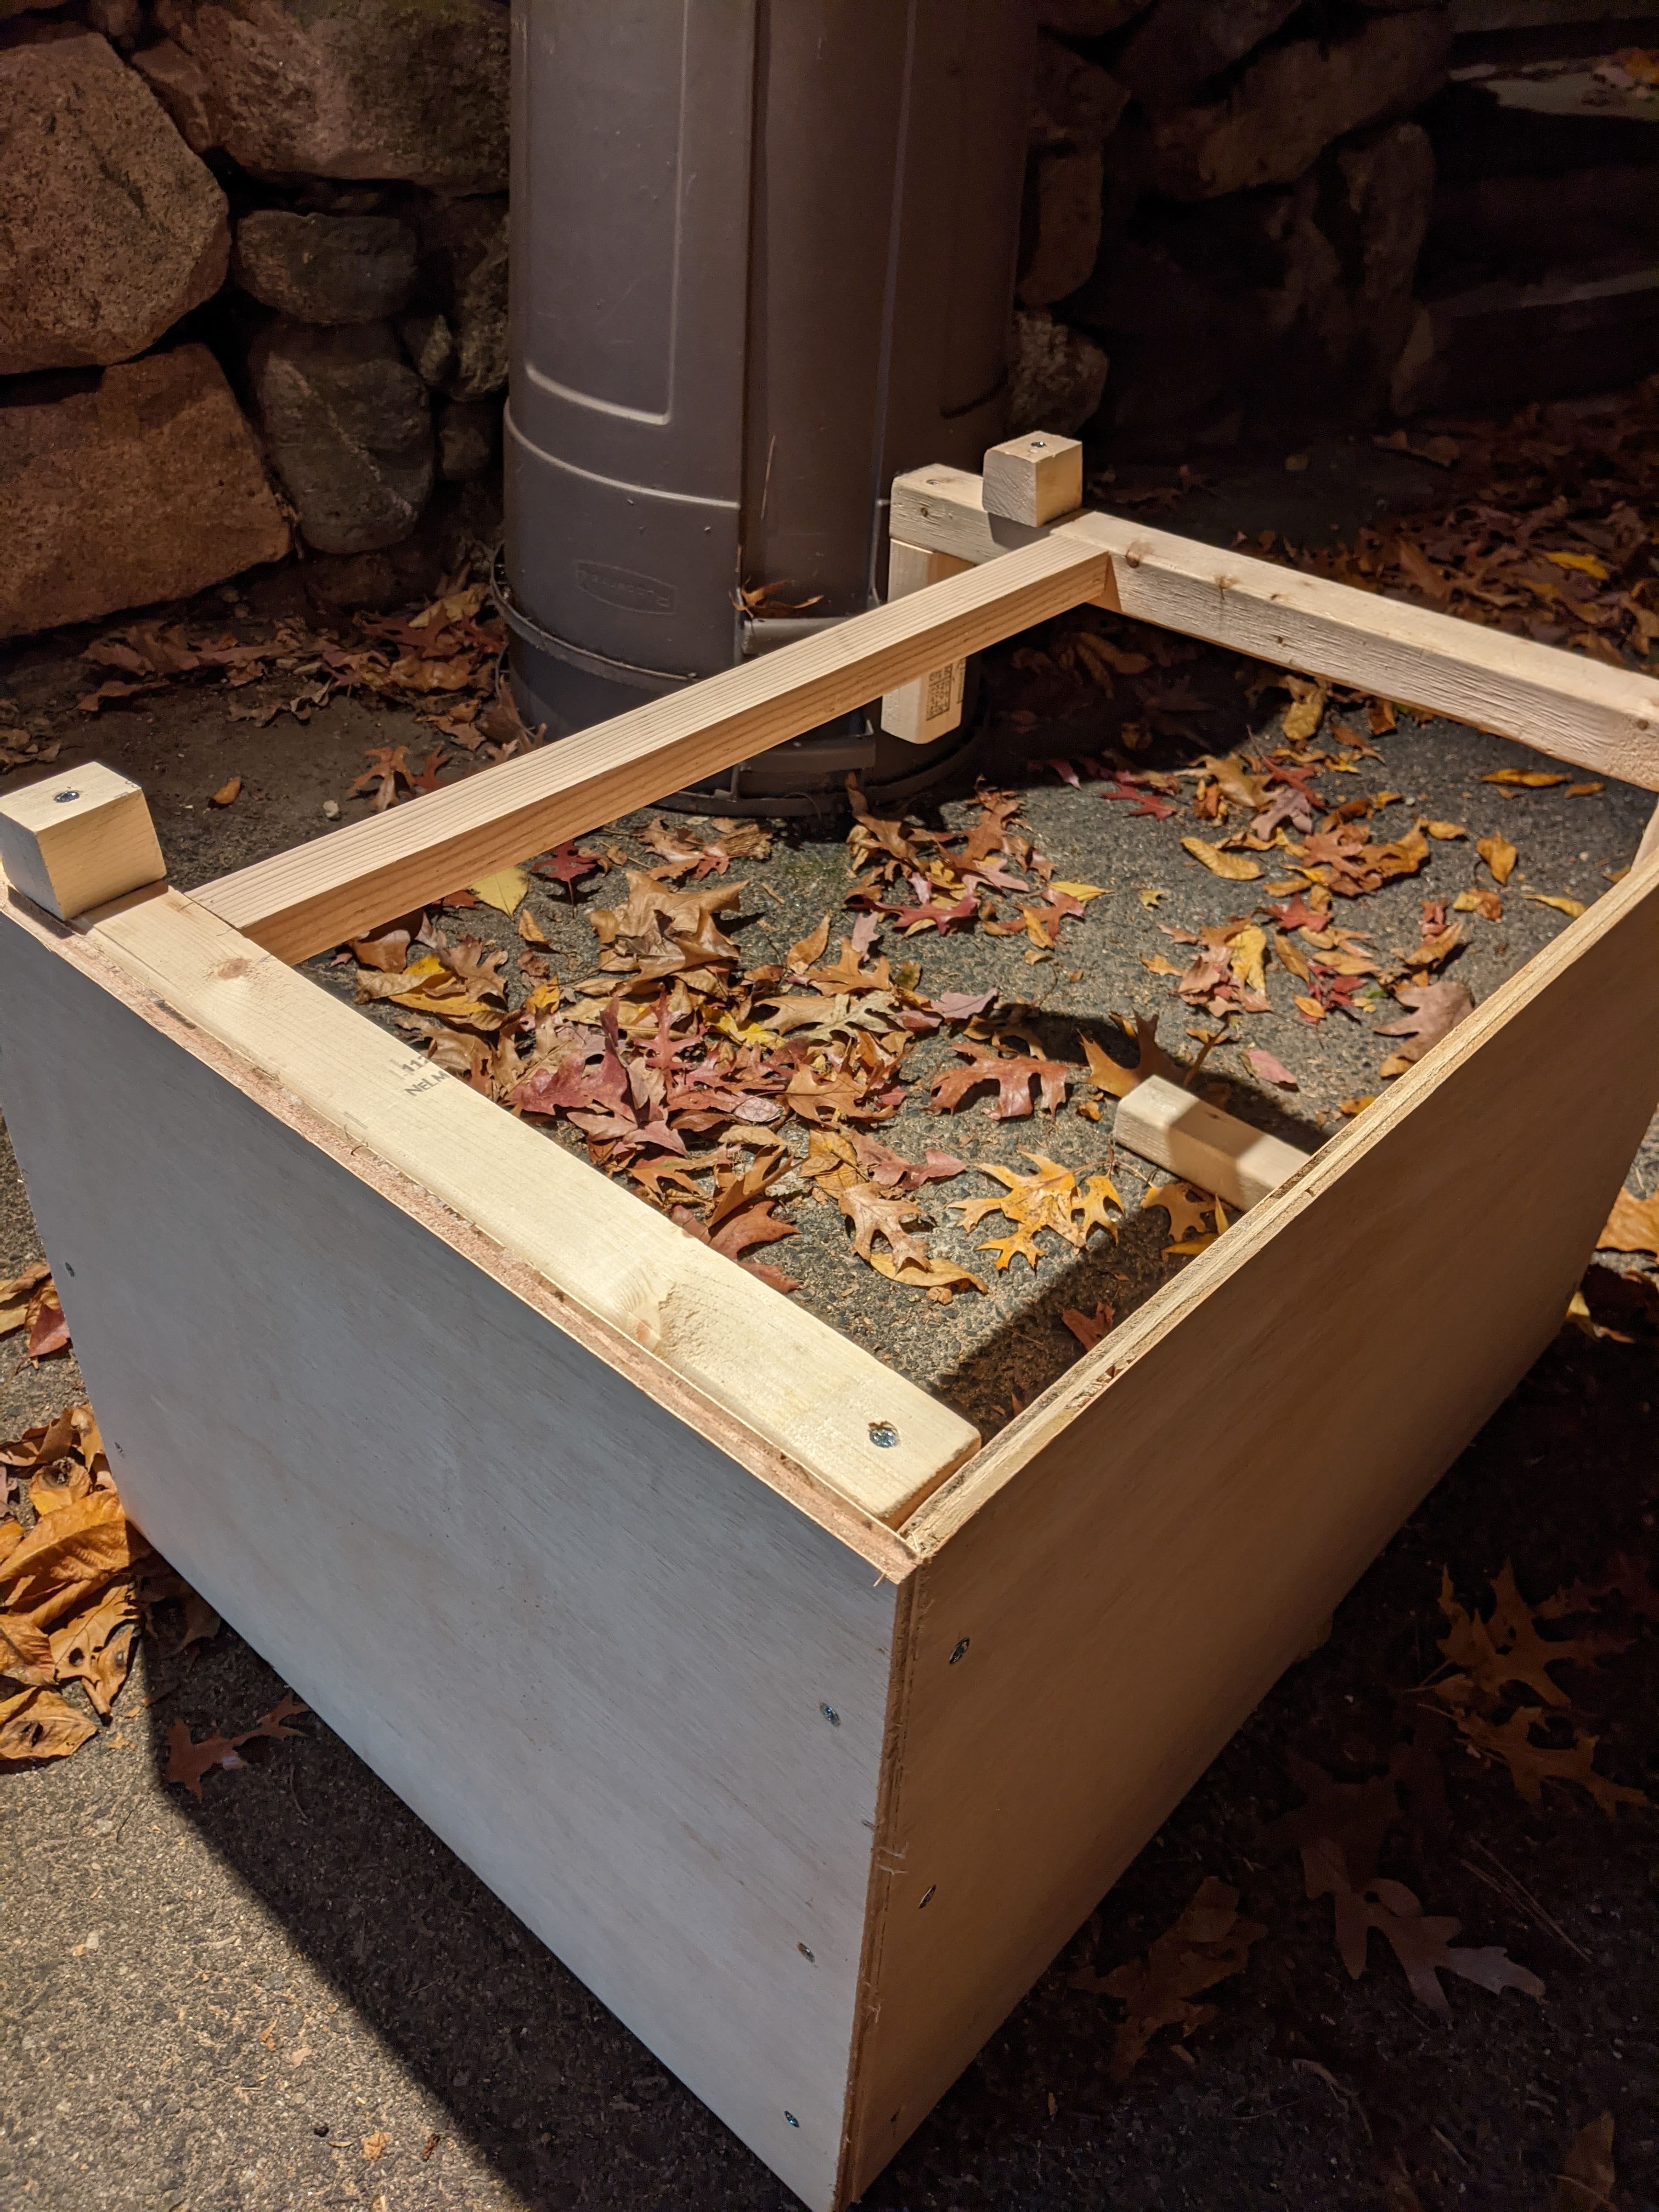
If you remember from our previous post about ways we’ve been trying to maximize storage space, the wheel wells were boxed out at odd angles so that we could keep the cover as close as possible to the body of the van. The benches will sit over these boxes and the seats will flip up for storage access. The seat backs are kept low enough that we can slide the bed out over them. You’ll notice in the pictures below that a few pieces of each frame don’t connect; that’s where the frame will be attached to the wheel well boxes.
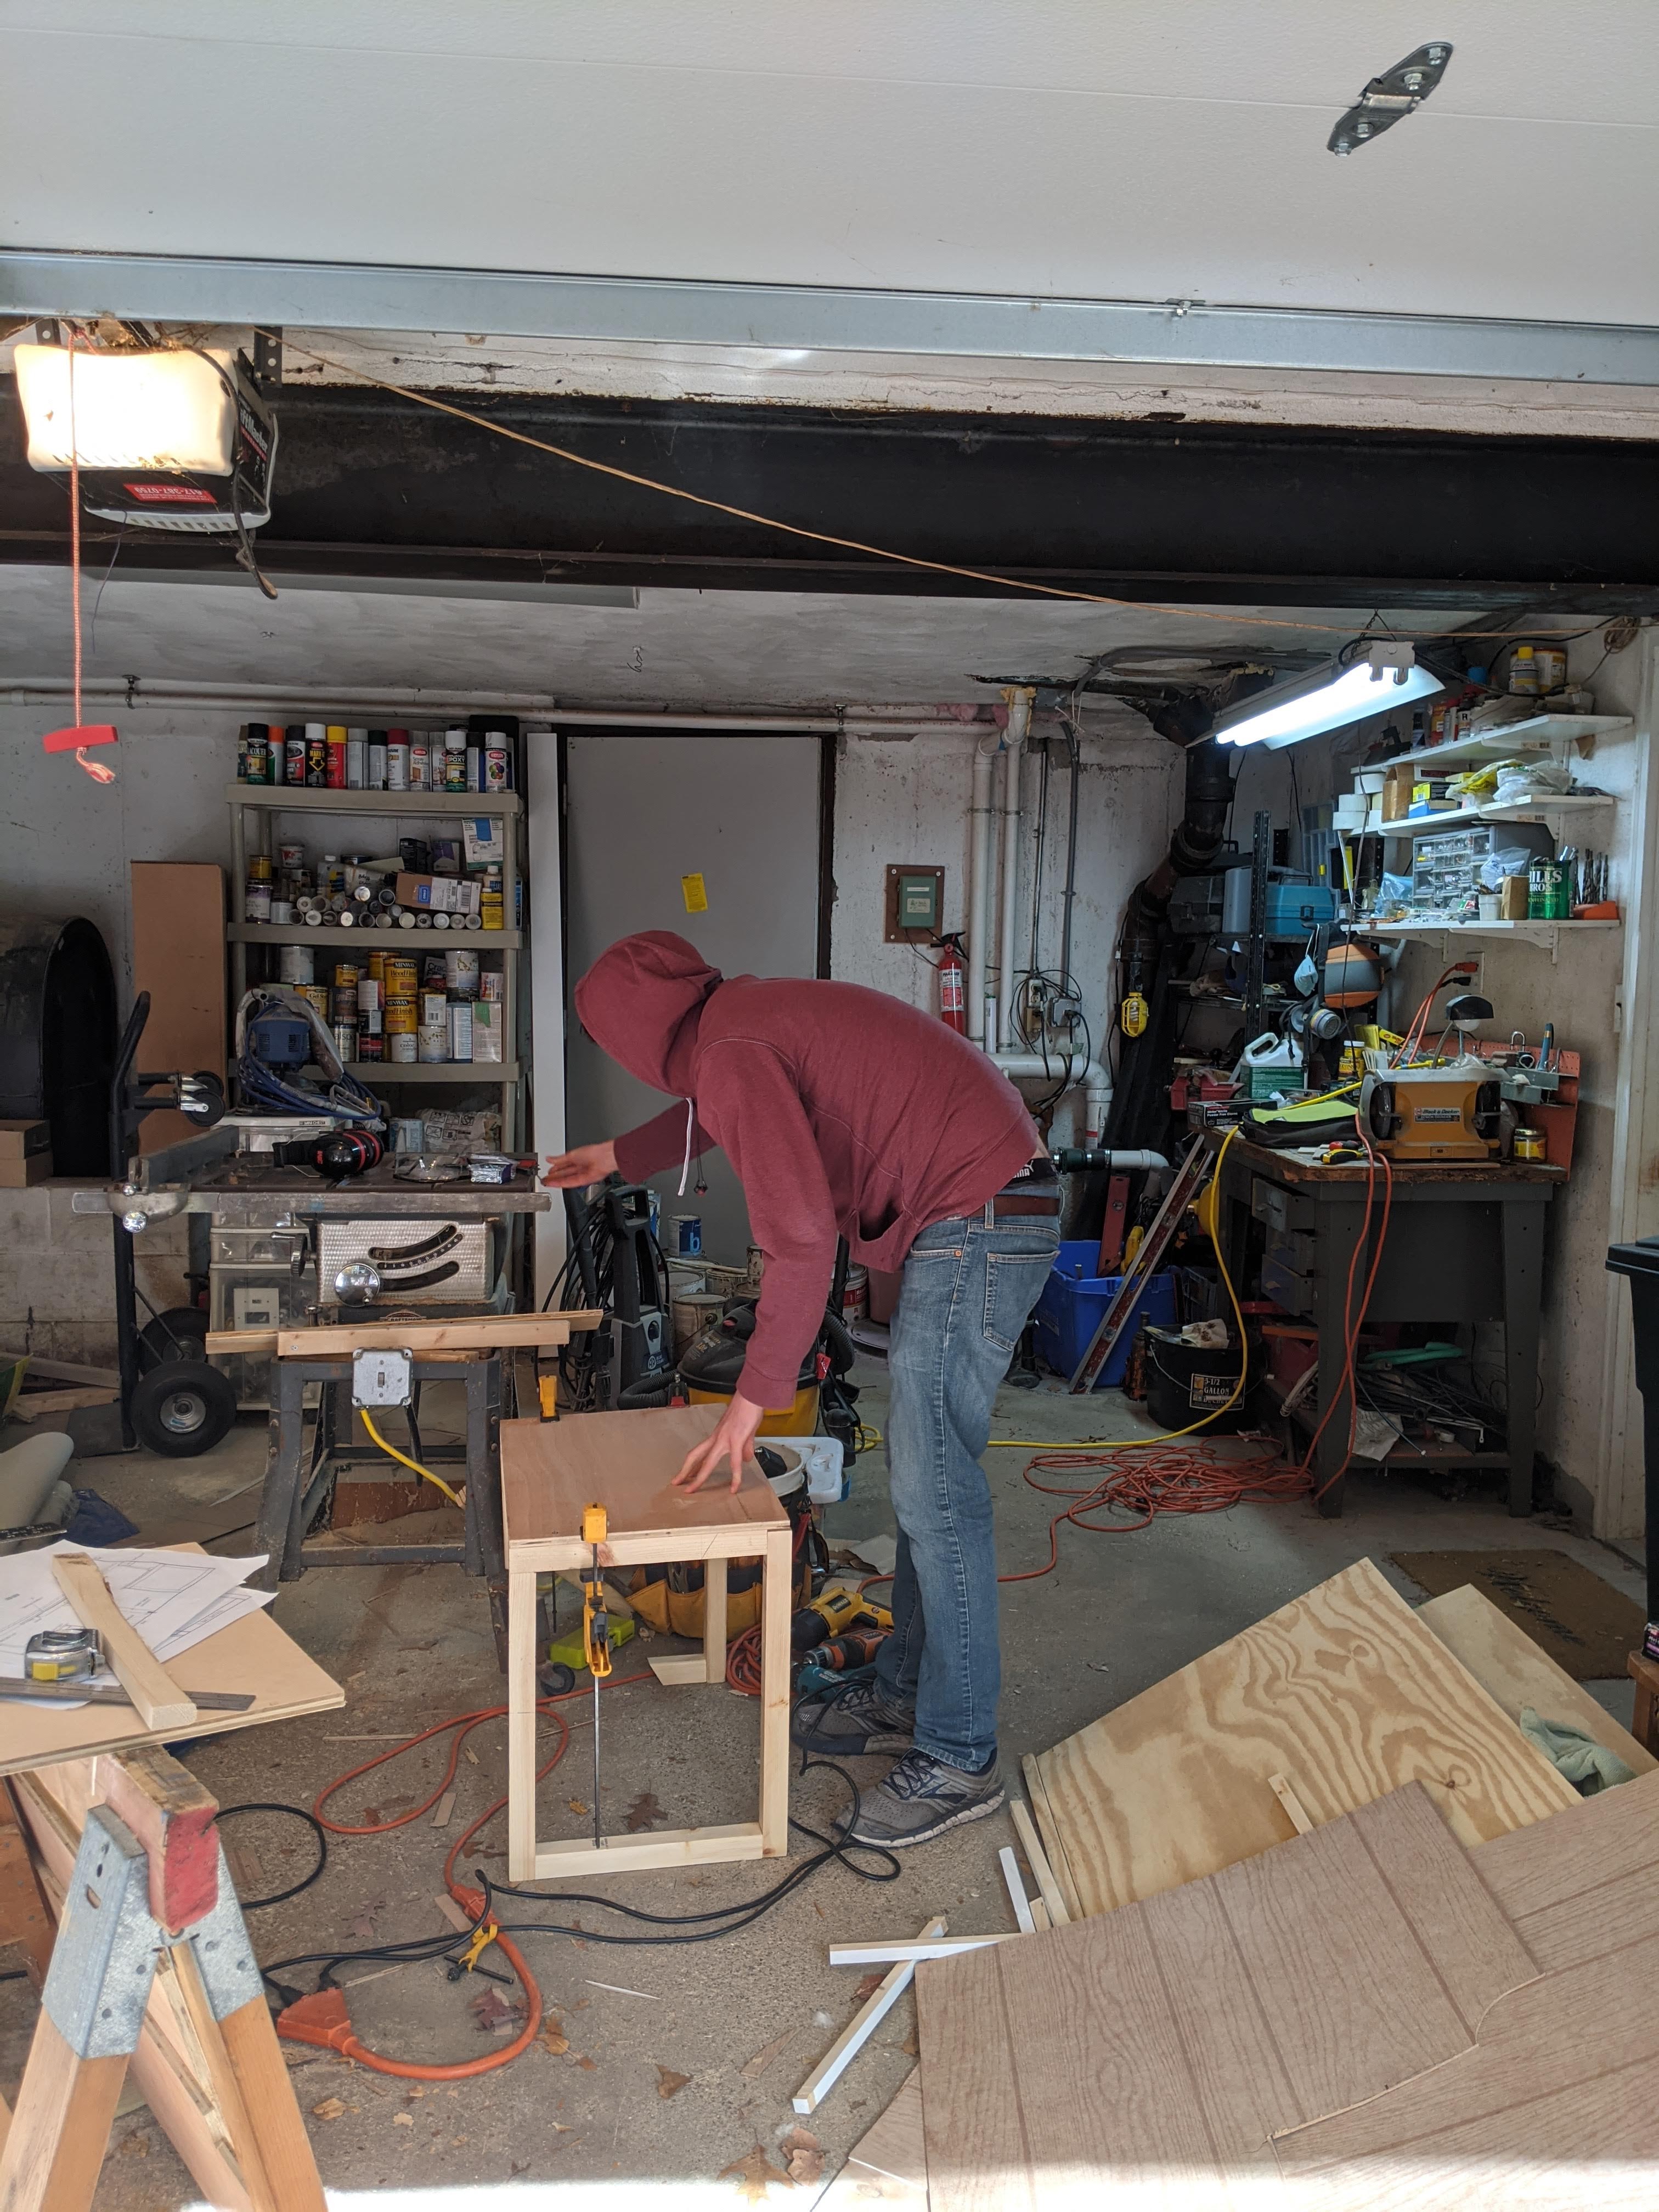
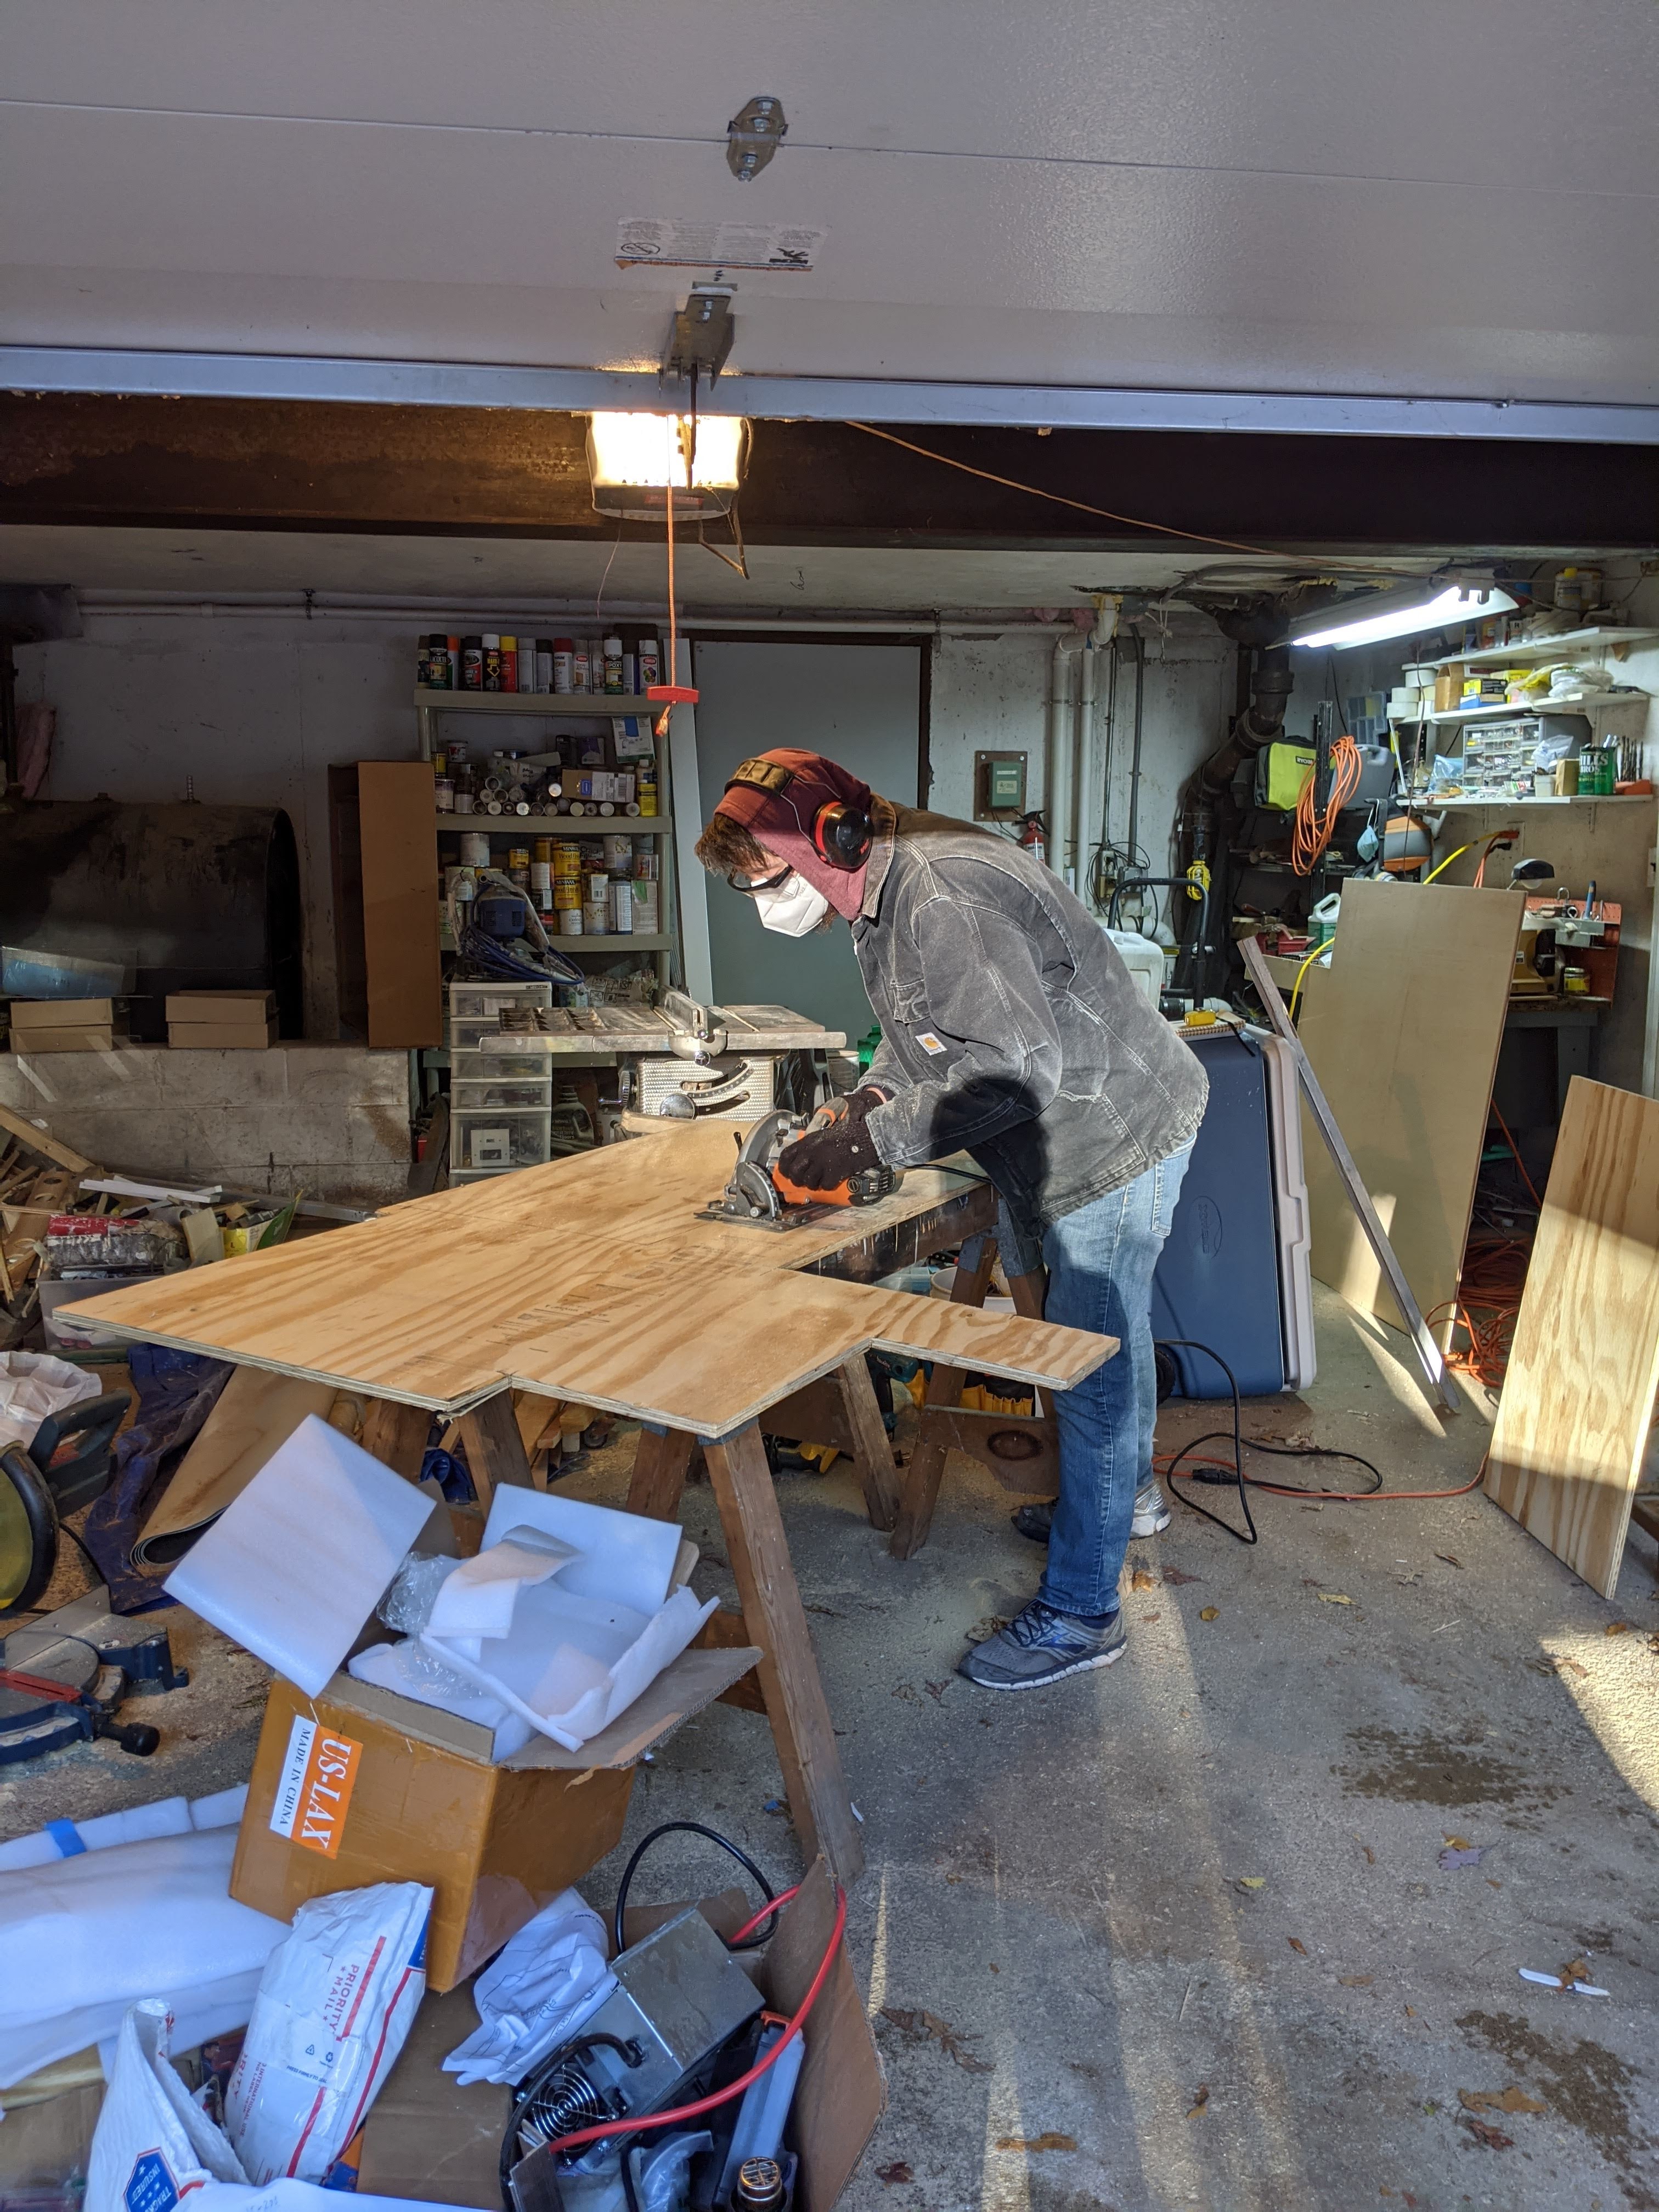
The weekend we made the benches we had them done by Sunday night, which meant they were ready for our parking lot workshop (a.k.a. the van) to be stained and polyurethaned during the week.


This is how they’re staying until we’re ready to put them in permanently. At that point they’ll be screwed in place, the backs will be attached to the blocks you see on the top of the frame, and the seats will be attached to the backs with hinges.
We’ve also been continuing working on getting the walls covered. At the time of our last post we hadn’t even touched the doors yet. Those were areas we spent a lot of time on the past few weekends. The way people handle their doors varies greatly by build, with the decision heavily influenced by the climate in which they anticipate spending most of their time.
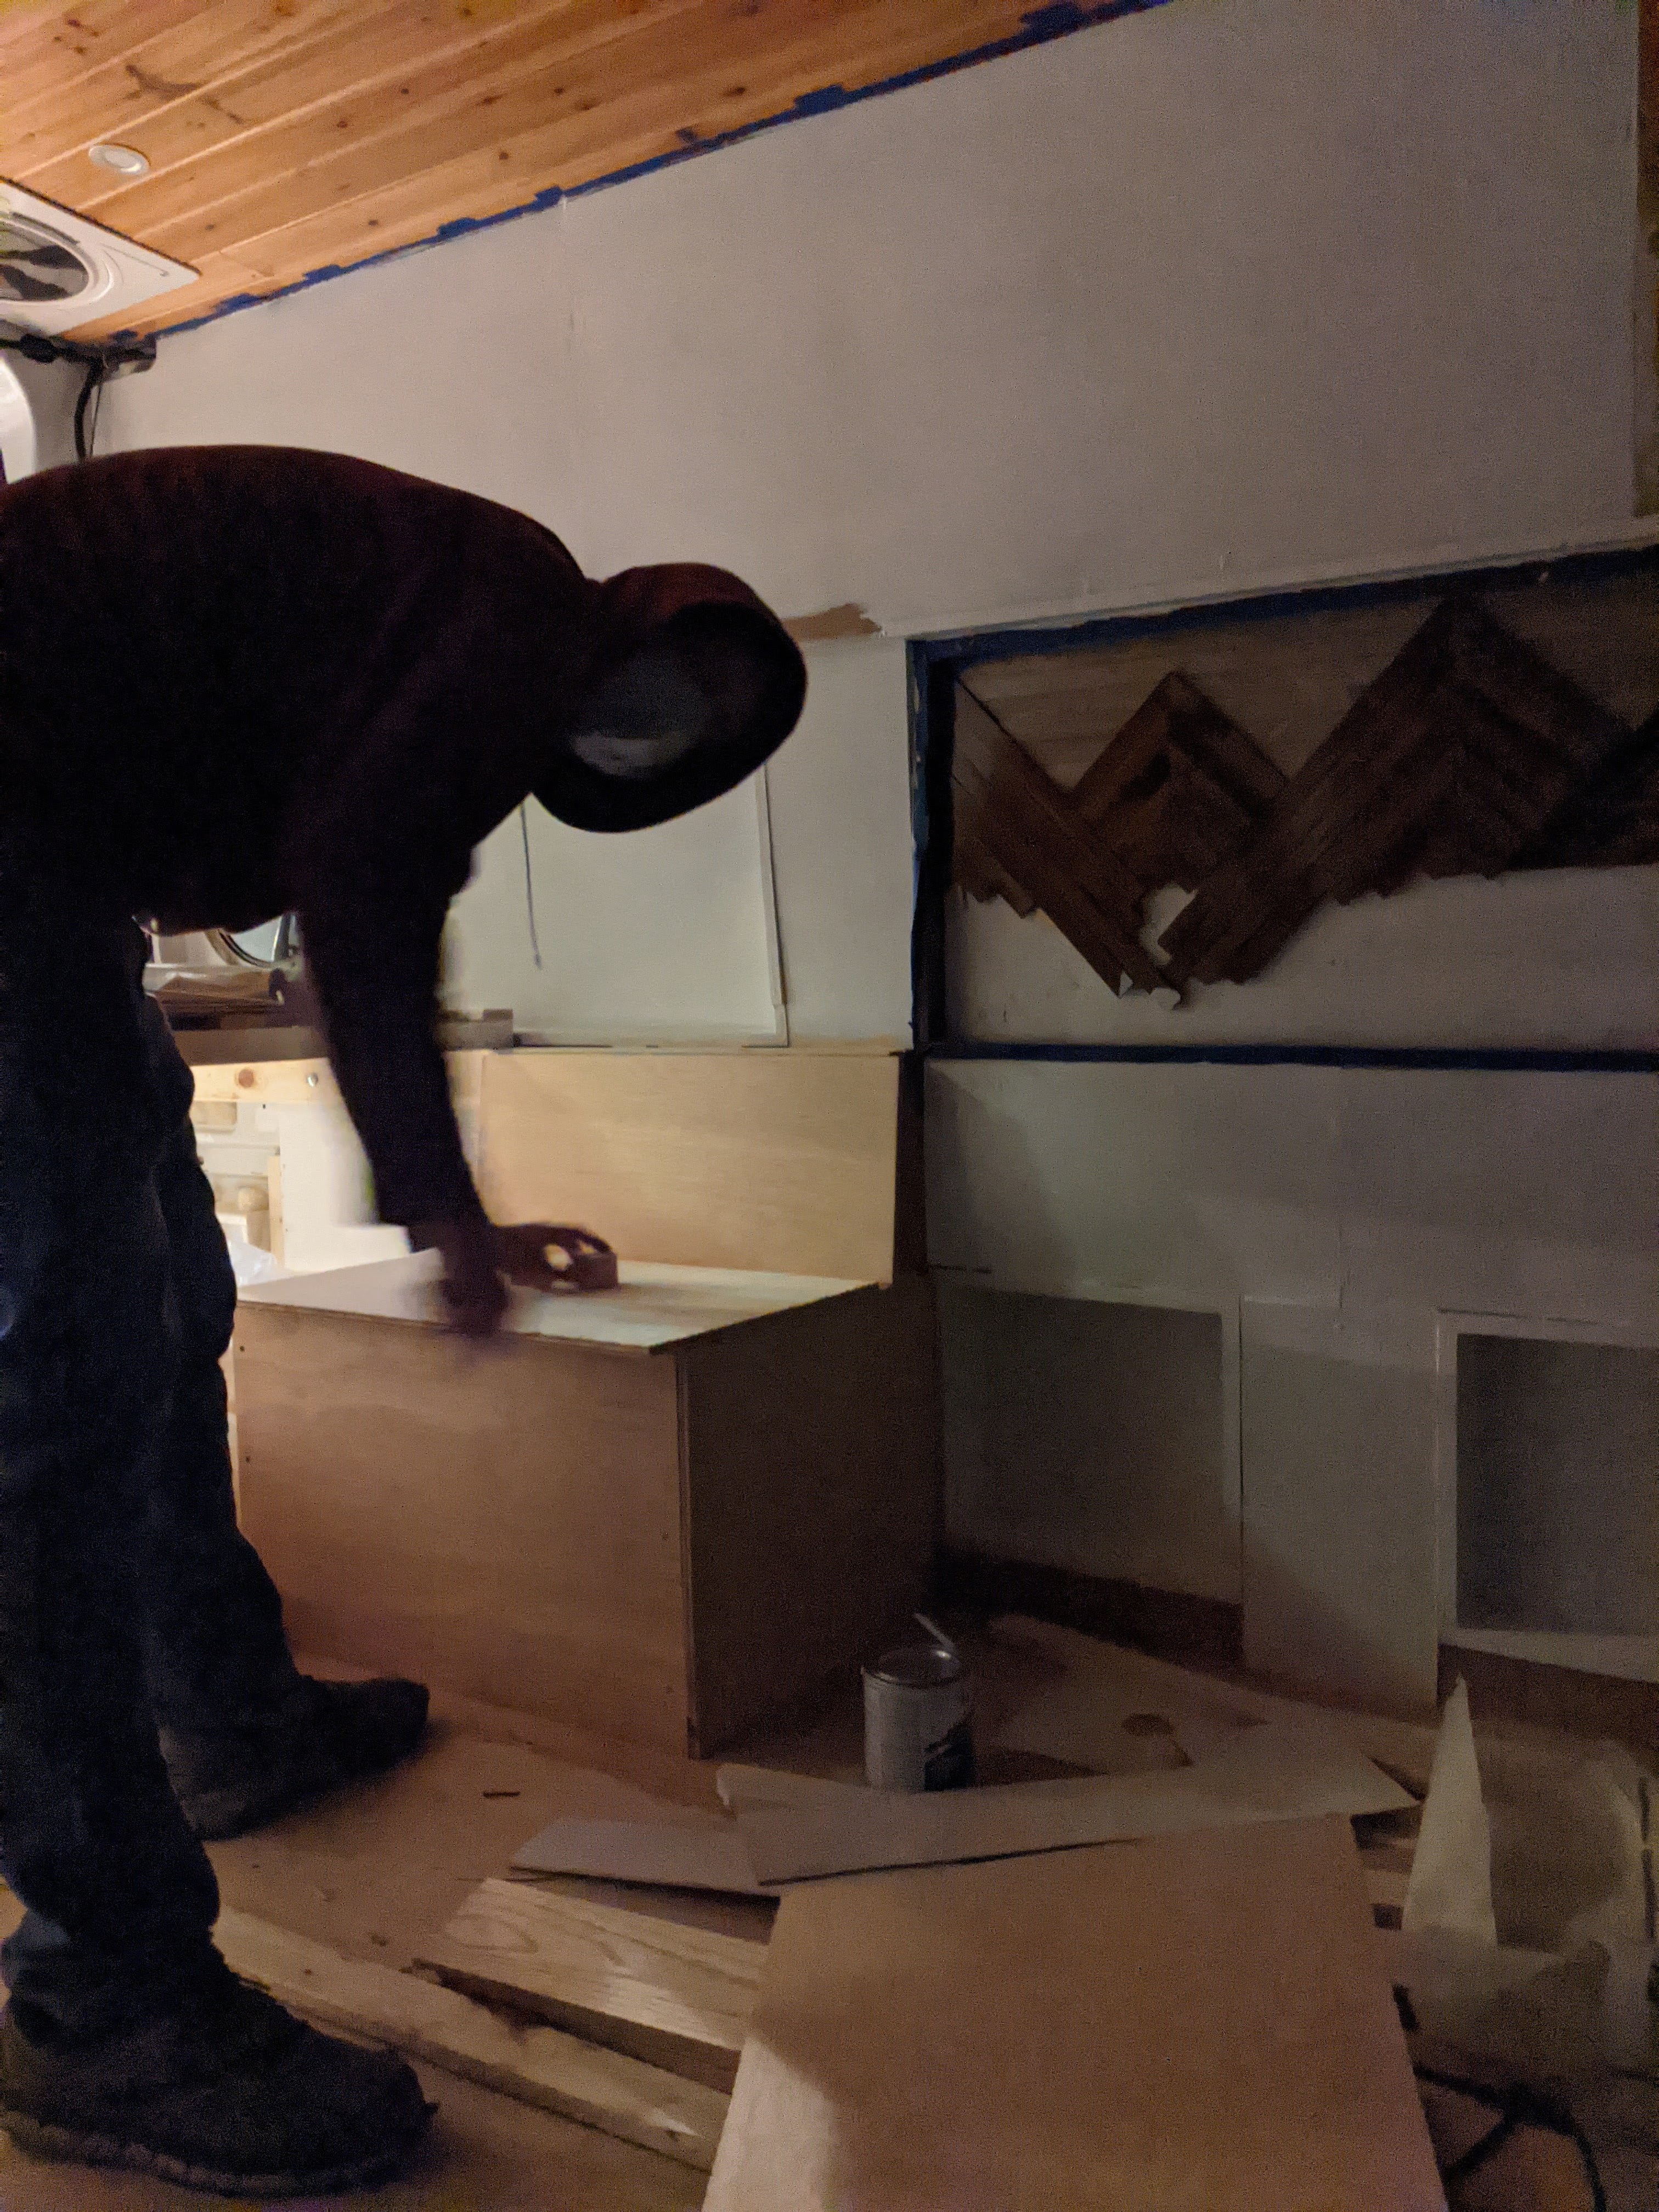
We decided to cover our doors the same way we covered the walls. This should have been simple enough except that the doors also have some weird angles (and the back two each have a window), so we ended up having to work in sections again, just like we did with the walls. Now, full disclosure, this doesn’t look great. At all. Some parts of it I would go so far as to say they look quite terrible. The silver lining, though? We’re too ready for this to be done to be too hung up on it.


In the fourth picture, the piece Matt’s holding up did get re-cut and doesn’t look quite as bad anymore, but that is the moment we realized how fed up we were with the walls. Poor Matt had called me over for my opinion and when I saw how terrible the door looked I just stood there laughing at it/him for probably a solid minute. I’d reached the point I was too tired to be frustrated and was amused instead. All of those pieces have since been primed, and even just doing that they look less terrible, sort of.
This past weekend we were able to start working on the kitchen, although we haven’t gotten very far yet. We didn’t want to go too far with it without having our water containers on hand so we could double check all of the dimensions. They had arrived in Chelmsford early Friday morning, but didn’t make it on a truck for delivery until Monday. At least we got the frame constructed and the countertop cut.
Now, before you I show you the cabinet in place in the van, I need to give a little side note. Do you ever ask someone for advice because you know they know what they’re talking about and they’ve never steered you wrong before, only to turn around and not really follow that advice? I did that with paint. Sorry, Uncle Steve!
We weren’t completely sold on white walls and we knew off-white wouldn’t quite work, but we were at a loss for what would look good without closing in the van too much. I wanted to keep it fairly neutral and it had to look good with three different fabrics, two paint stains, and the floor; it was a tall order. I got some great starting point suggestions from my Uncle Steve, then proceeded to continue overthinking it. We finally settled on a gray color with a bit of green in it. I really like the color but remained somewhat on the fence about it until I decided to just go ahead and paint an entire wall.
Now? I love it. It was rainy and cold on Sunday as we were wrapping things up for the weekend, and as soon as we closed the doors and turned on the lights I knew we’d made a good choice. Despite the van being pretty bare inside, the warm color of the ceiling and the walls made it feel quite cozy. If we already had our mattress we might have slept in there Sunday night.
Anyway, all of that to say that in these next pictures of the kitchen (so far) you can see the color we chose for the walls. The pictures don’t do it justice, of course, and you’ll have to excuse the spottiness as we only have one coat on so far.


As you can see, the backsplash looks WAY better with only the finished part visible.
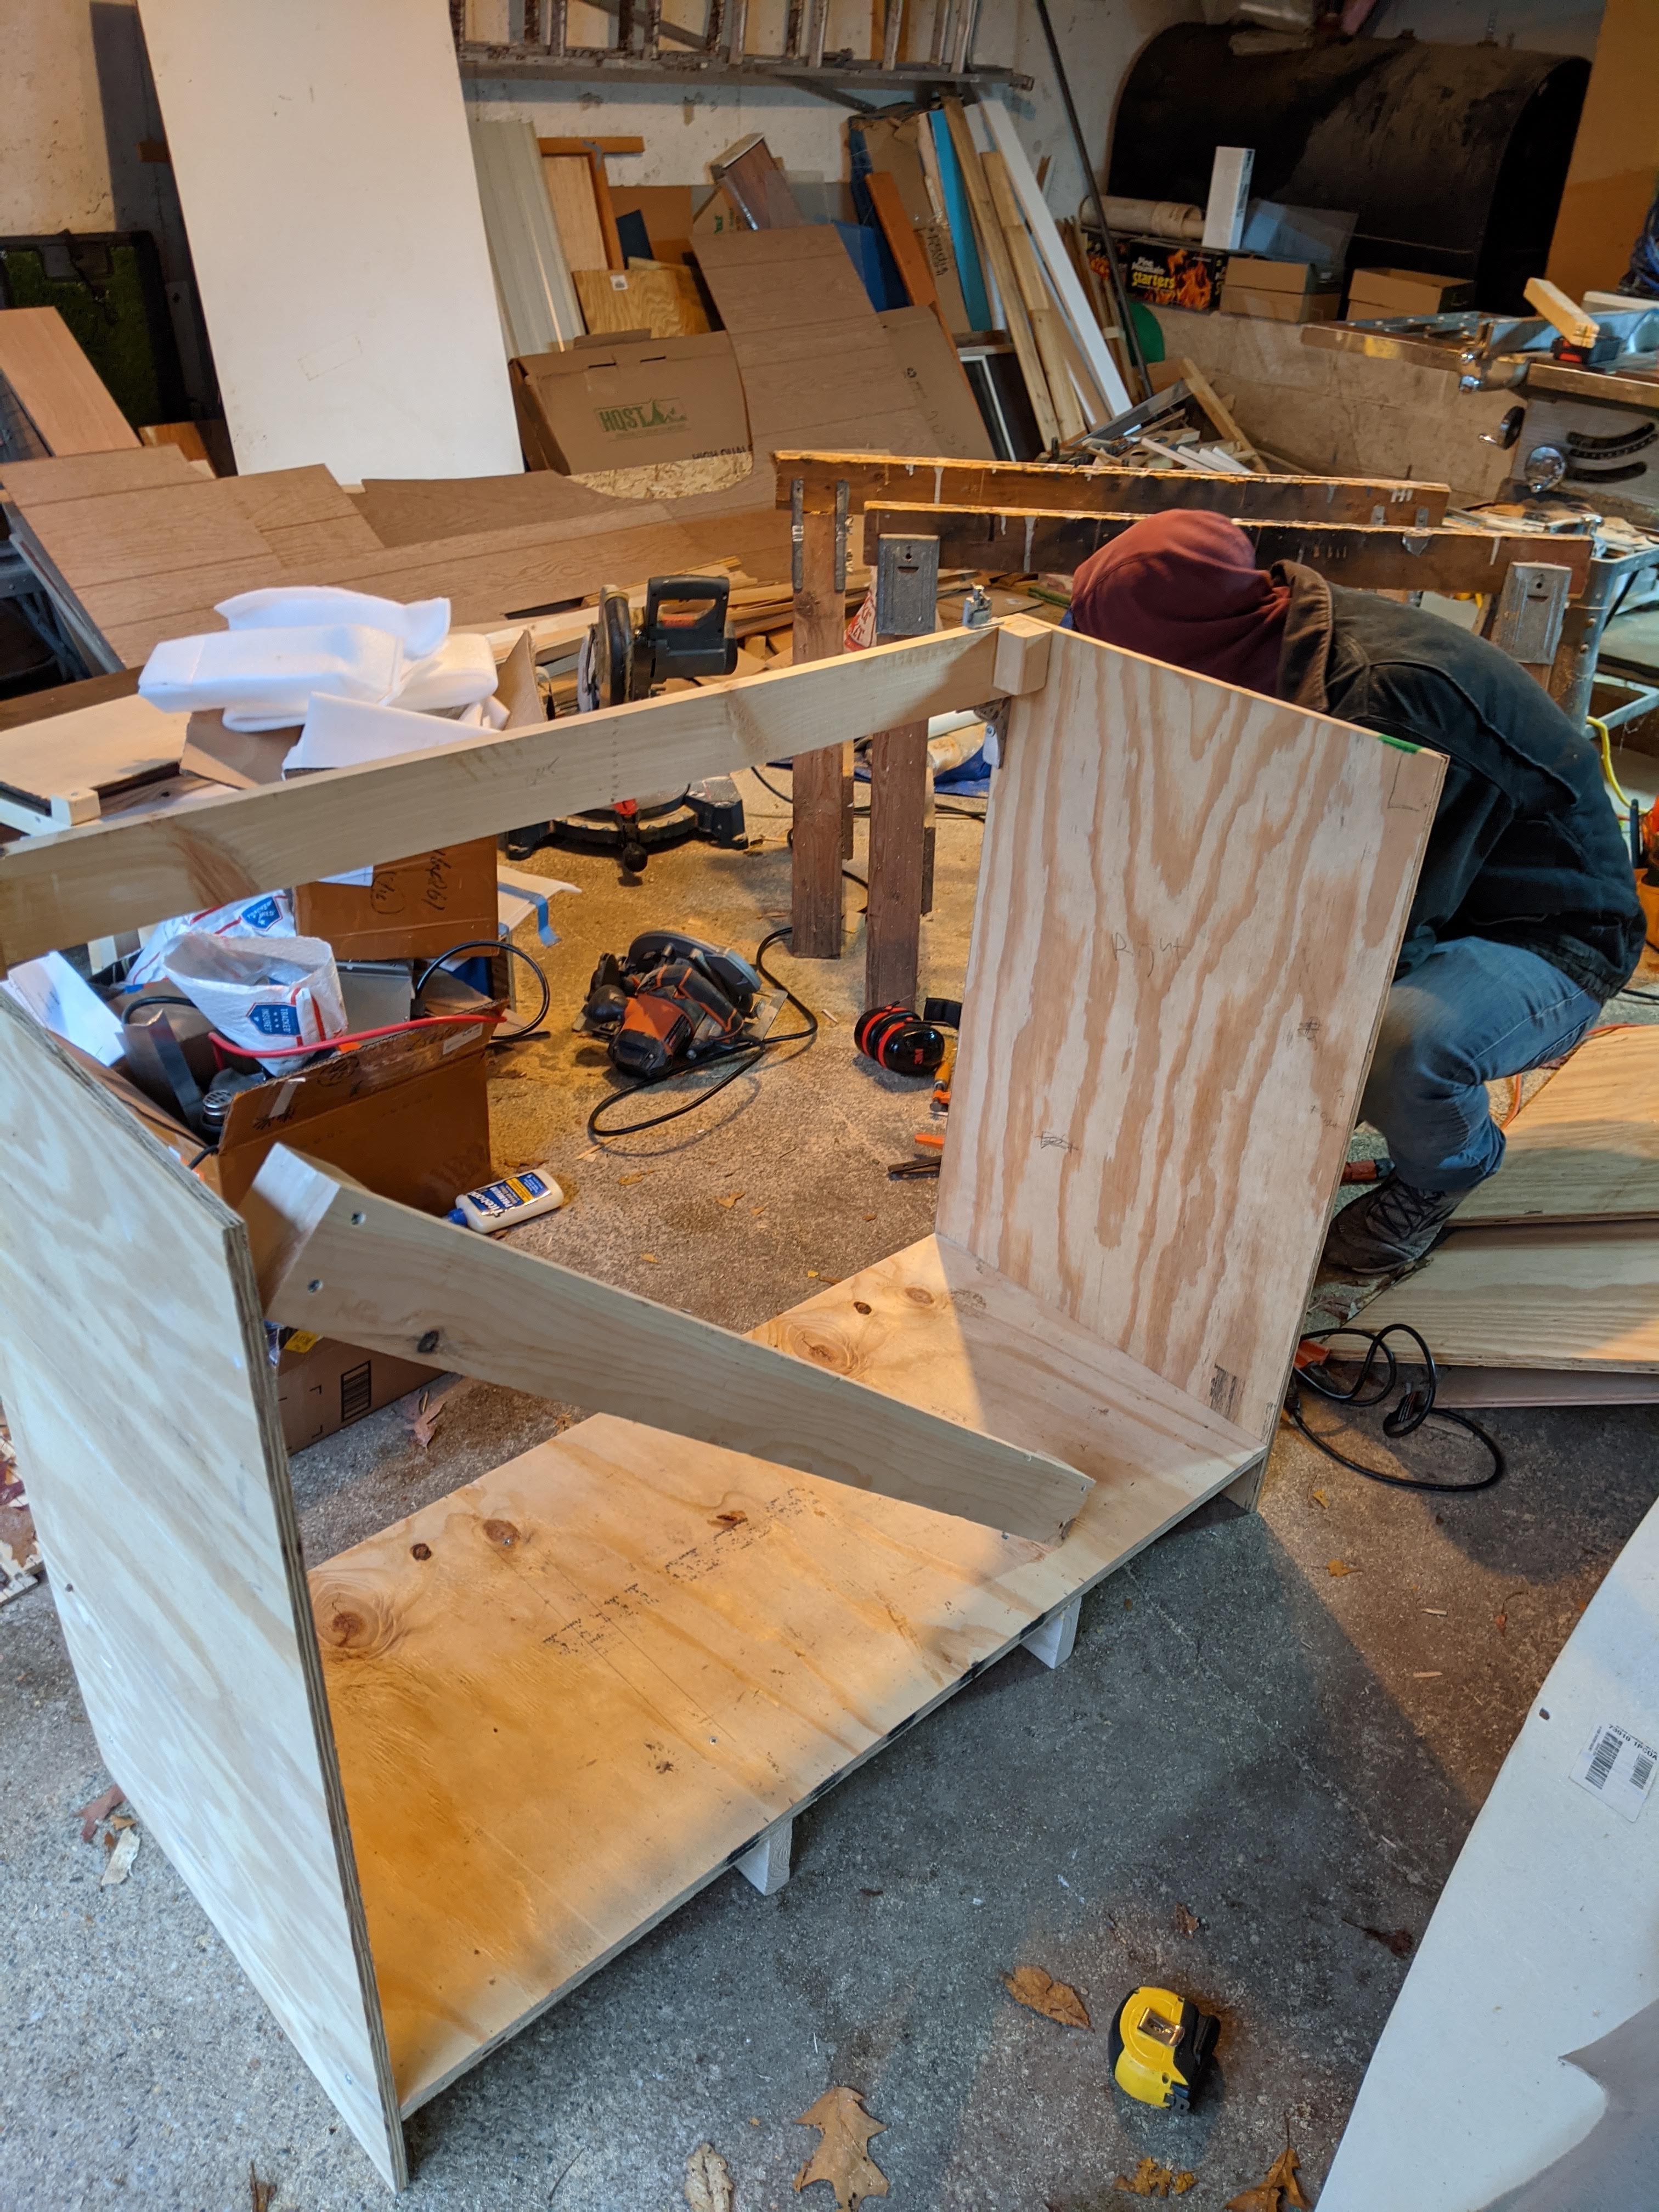
The main frame of the cabinet is just plywood and some ripped 1x4s, with a few ripped 2x4s underneath for extra (likely unnecessary) support. The current plan is to store our water in here, using the remaining space as food storage. We also have a sink and a foot pump ready to go as soon as we’re certain of the layout, which we can finalize now that our water containers have been delivered.
Underneath the cabinets, we spaced the supports to leave room for a few plastic bins Wendy (Matt’s mom) was getting rid of. Gotta get storage space anywhere we can!
I wish I had more to show you all right now, I really do. I feel like this wasn’t a long enough distraction positive post. Well, we did get some snow over the weekend, so I can show you what our Saturday morning looked like before we left our apartment.
Let me preface this by admitting that in the several years we’ve had a car in Massachusetts winters, we’ve never actually owned a good ice scraper/car brush. Nope, we have a cheap shovel we bought when we moved into our own place almost two years ago and that shovel has served all of our snow needs so far. If the weather is really that bad we just clear the car off as best we can and then stay home (the perks of one of us being a worker-owner and the other being self-employed).
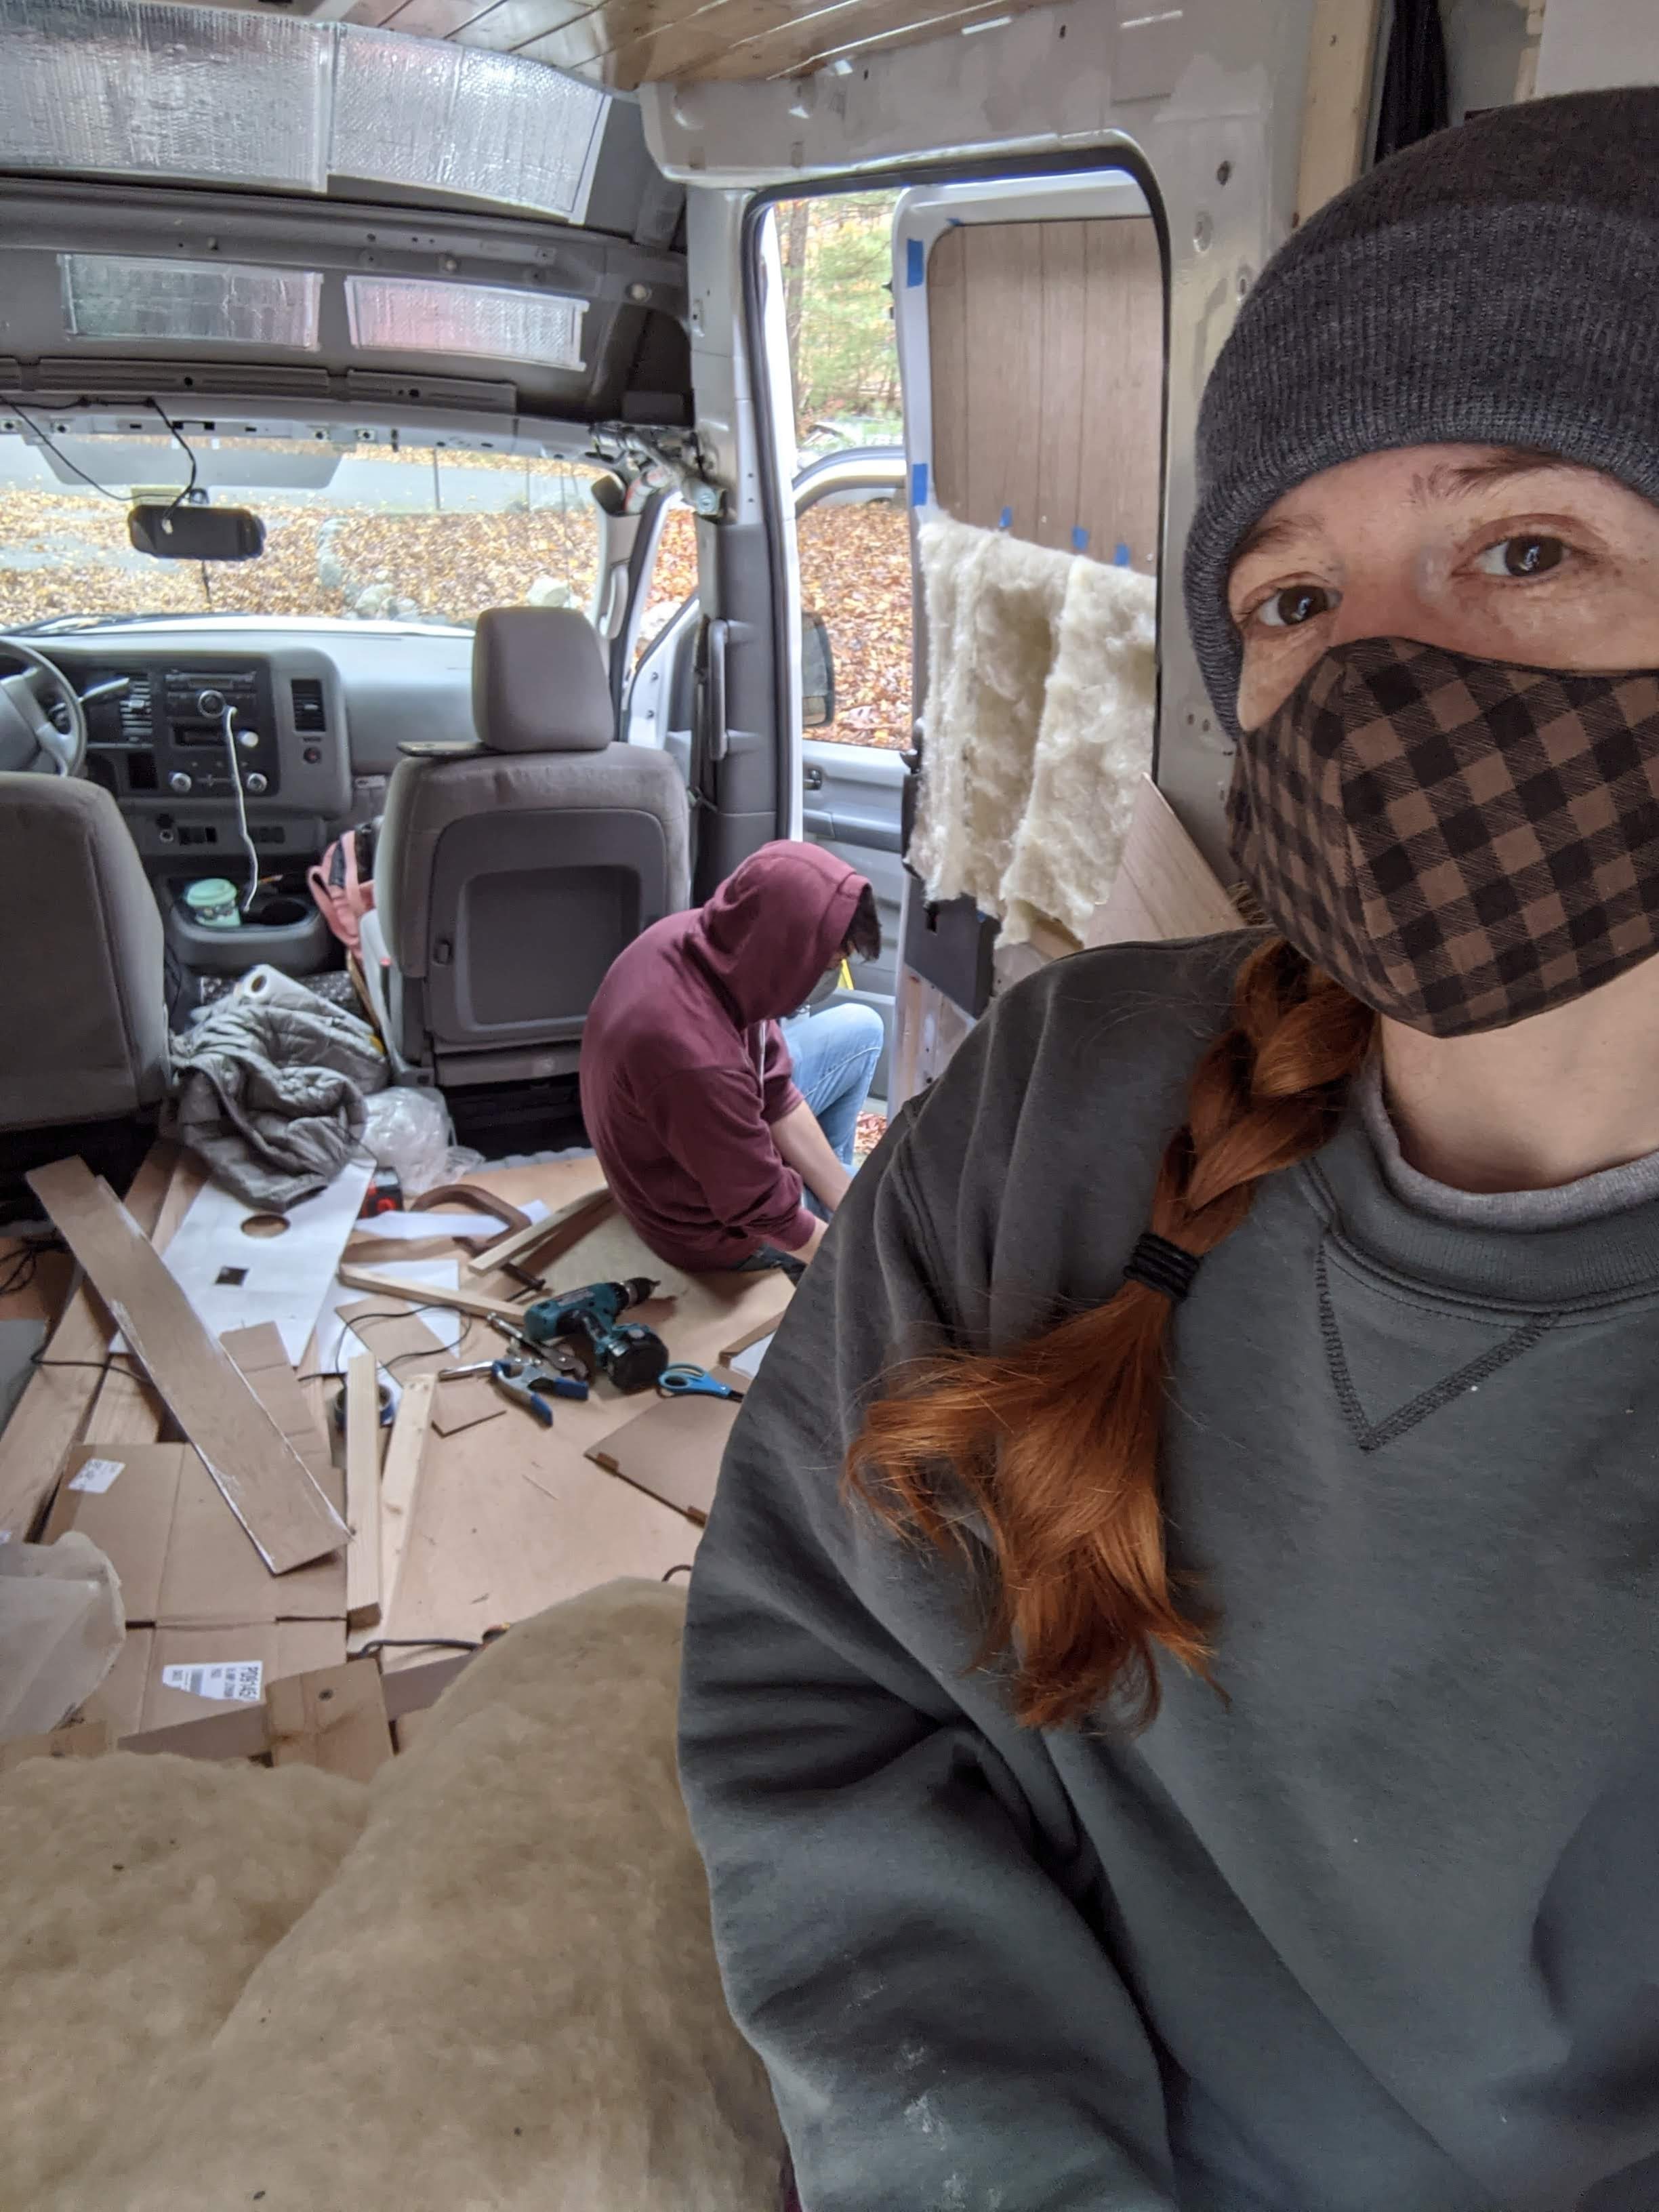
Anyway, my point is that up until now we’ve managed to kind of stick our heads in the sand when dealing with New England winters, buuuut that’s harder to do when you have a ridiculously tall vehicle and nothing that can really reach the top of it. So on that note, please enjoy this picture of Matt clearing off the van. Without his height and his ability to climb on the roof without a ladder, we would not have been able to drive to his parents’ house and build the kitchen you just saw.

We didn’t measure it but my best guess is that we had probably 3-4 inches. So nothing crazy, but too much to just melt on it’s own early enough in the day, especially since the roof is fairly flat and the snow wasn’t sliding off on it’s own. Thankfully we don’t have the solar panels on yet!

Looks like everything’s coming together nicely, Annie. The gray walls look good. Gives the space a warm cozy feeling.
LikeLiked by 1 person
Thanks! We’re really happy with it now that it’s on.
LikeLike
Love the progress! Really starting to come together. We just finished the frames of our benches yesterday.
LikeLiked by 1 person
Thanks! It feels good seeing everything come together. I hope your build is coming along well!
LikeLike
I love the color–hard to name what it is, and that seems to be a quality that wears well. It has a nice, relaxing feeling, and should go well with everything. And anything that doesn’t go with it, you probably didn’t really like anyway. Getting over some of the tough hurdles now! Keep on keeping’ on!!
LikeLike
Yup, thanks! It’s Behr Still Gray, I think it was the lightest gray in the greens. You can see the green if you’re looking for it and it’s undoubtedly warmer than a more neutral gray. Totally worth the time it took me to pick it out.
LikeLike
Looking good! Love everything about the process, especially the honesty “The moment we realized how little we cared” Long, tiring process but with determination & perseverance you two will accomplish your goal and have an amazing adventure both behind you and ahead.
LikeLike
Ha! I really did feel kind of bad about how long I stood there laughing at Matt, and then I made him wait while I grabbed my phone to take that picture.
LikeLike