
Hello everyone!
I’m going to jump right in with the kitchen since it’s been a little while since I showed you the start of it. We brought the cabinet and countertop back to the apartment last week so I could paint and polyurethane them during lunch breaks. The weather was pretty mild for most of the week, so I was able to get everything done for the kitchen as well as a few areas of the walls that still needed to be painted.
For the countertop, we ended up using a glued edge pine board we picked up at Lowe’s. We read mixed reviews about the durability, but we wanted something thicker than plywood without spending too much so we decided to give this a shot. If we run into problems down the road (haha, get it? We’ll literally be driving down the road…) we’ll swap it out for something else. I already forgot what stain we used on this, but I really like it! I think it might have been dark walnut, but a different brand than the dark walnut stain we used on the benches. Then again, I could be wrong. It’s a different wood so it would have taken the same stain differently anyway. Good thing that at this point we’re not too concerned with things matching.

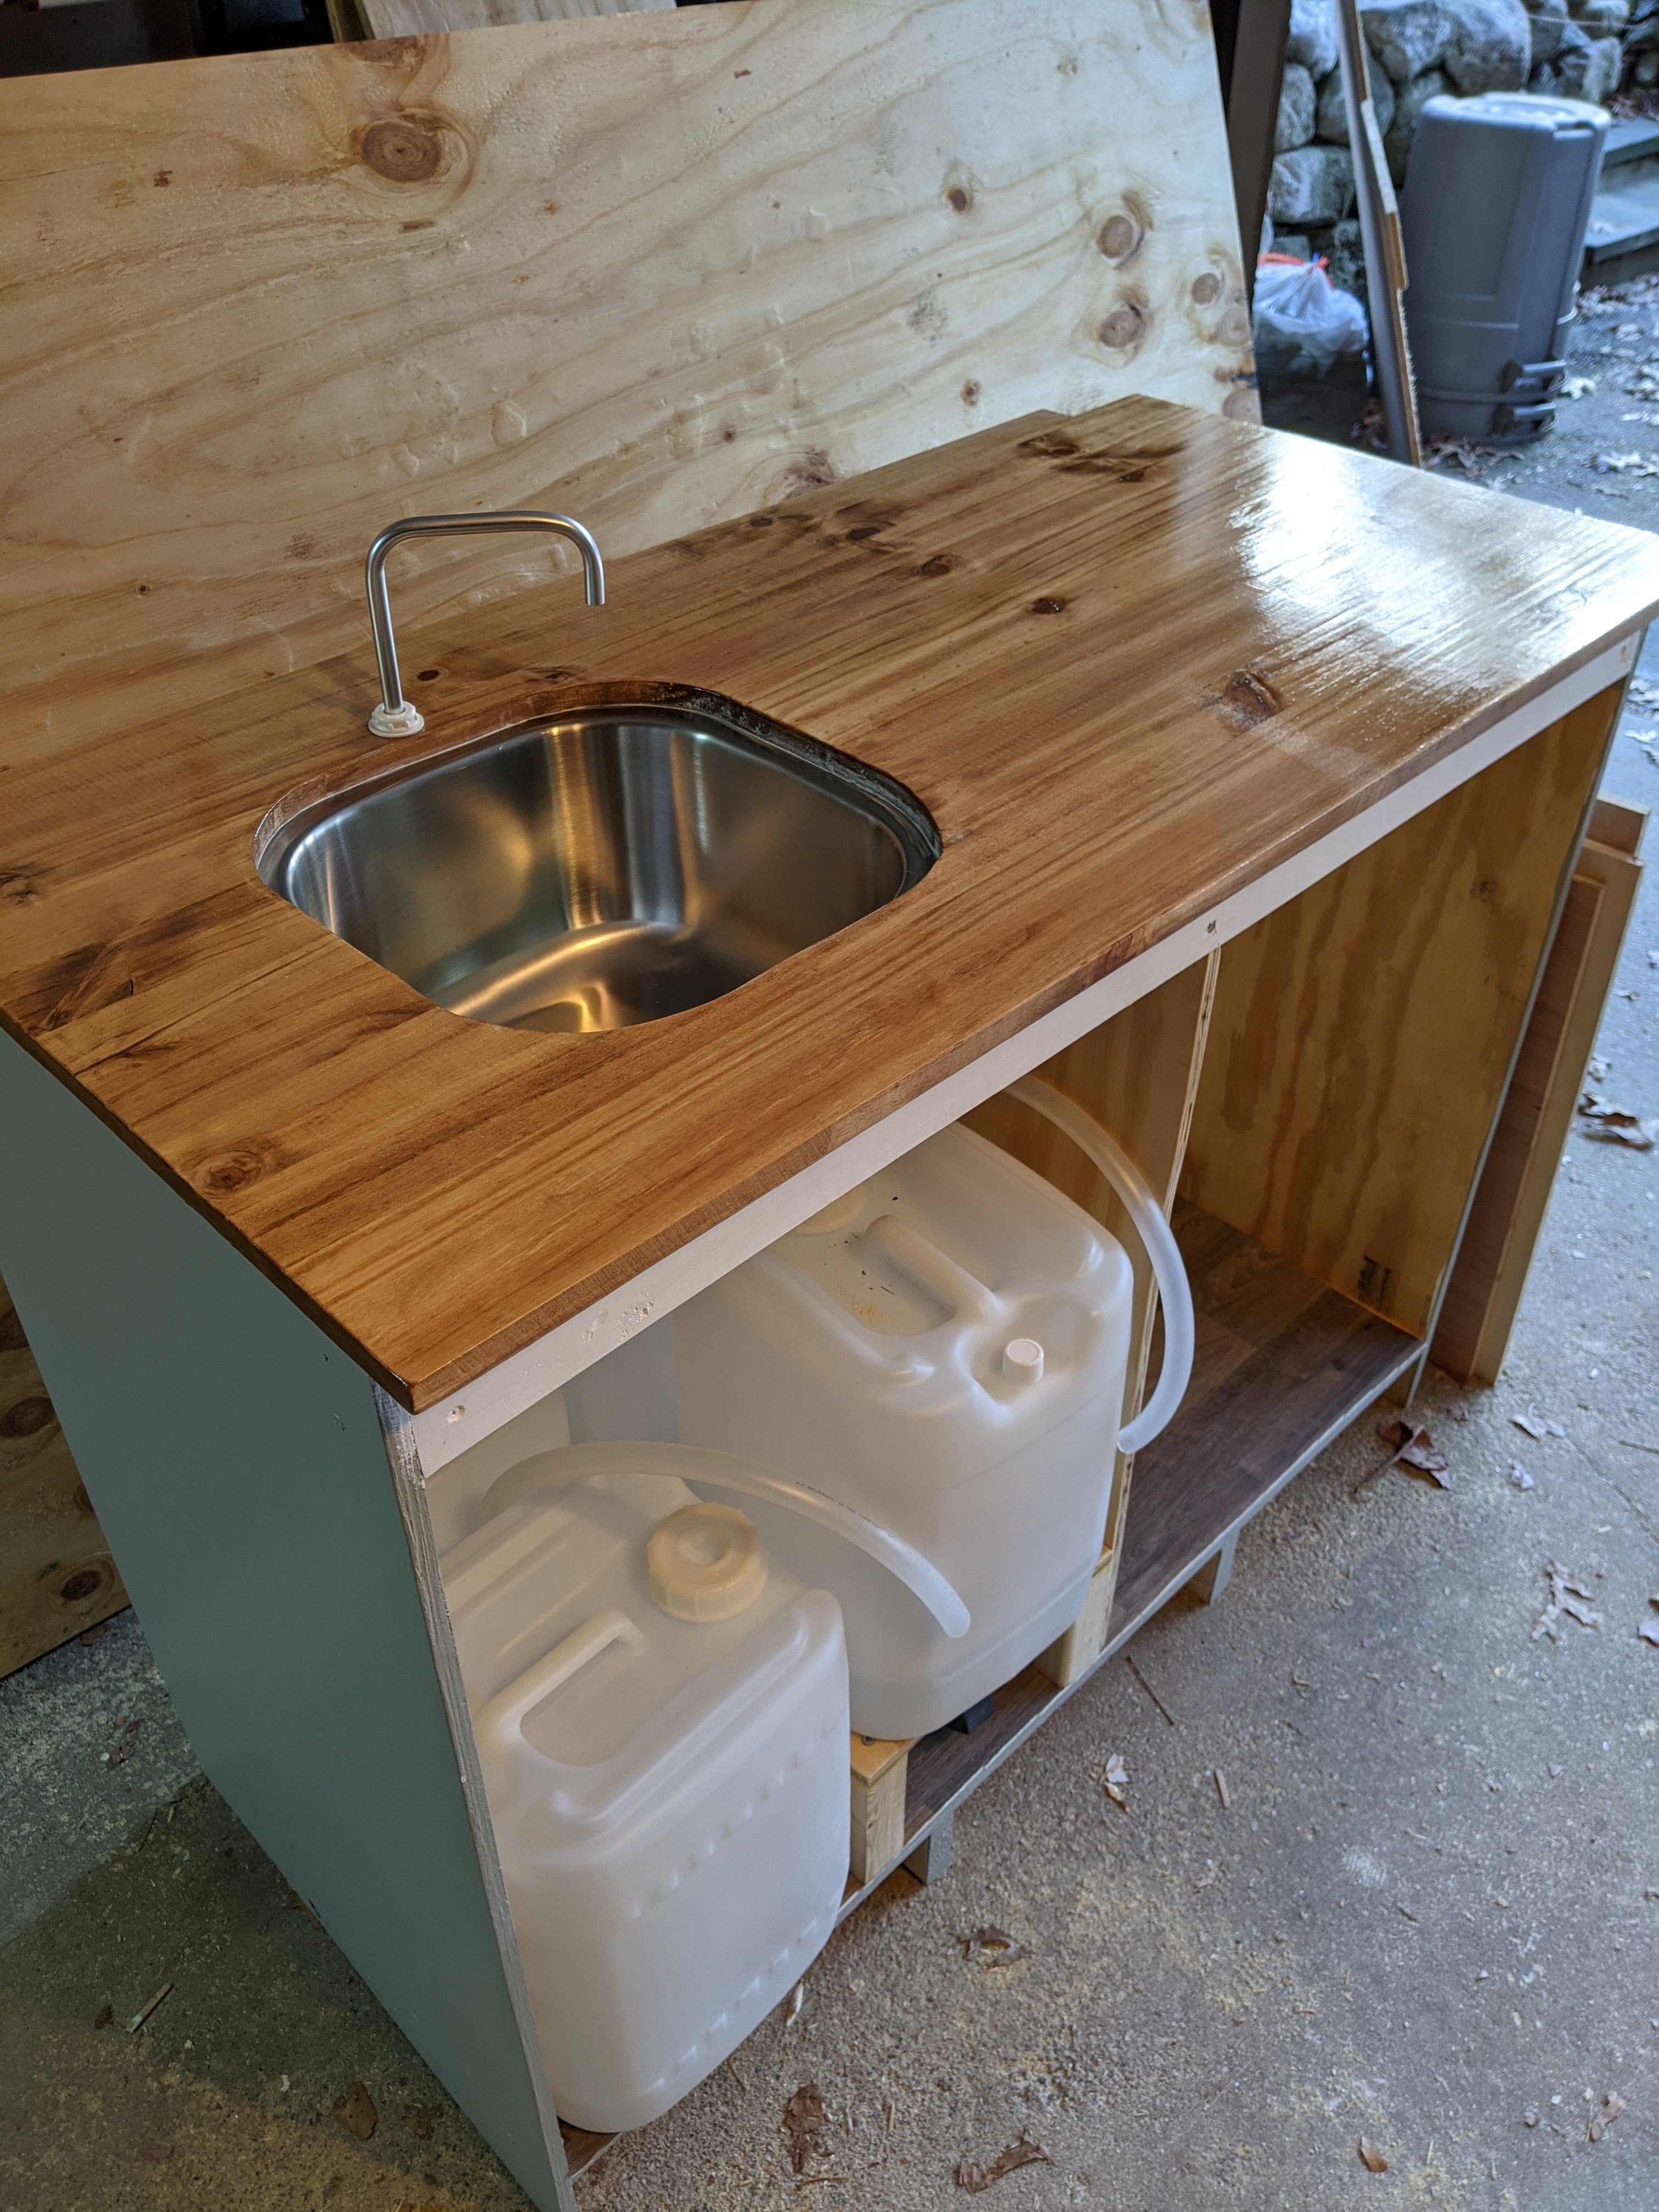
As you can see in the picture on the left, we saved the piece Matt cut out for the sink and treated it the same as the rest of the countertop. When Matt cut the hole for the sink he made it slightly bigger than you normally would, so rather than the sink being flush with the counter there’s maybe 1/4 inch or the whole way around that this piece can sit on. This way, if we don’t need to use the sink we can pop this piece back in and have a bigger workspace.
Our water system is pretty simple. We have four five-gallon water jugs, three for fresh water and the other one for gray water. Two of the jugs are sitting on a little shelf Matt made to make space for the foot pump underneath them, inside the cabinet. Had we planned this out a bit more before we built it, we might have constructed this so the pump was actually on the floor. The way this ended up seems alright though, it keeps everything contained inside the cabinet and leaves us with some good storage space under the whole thing.
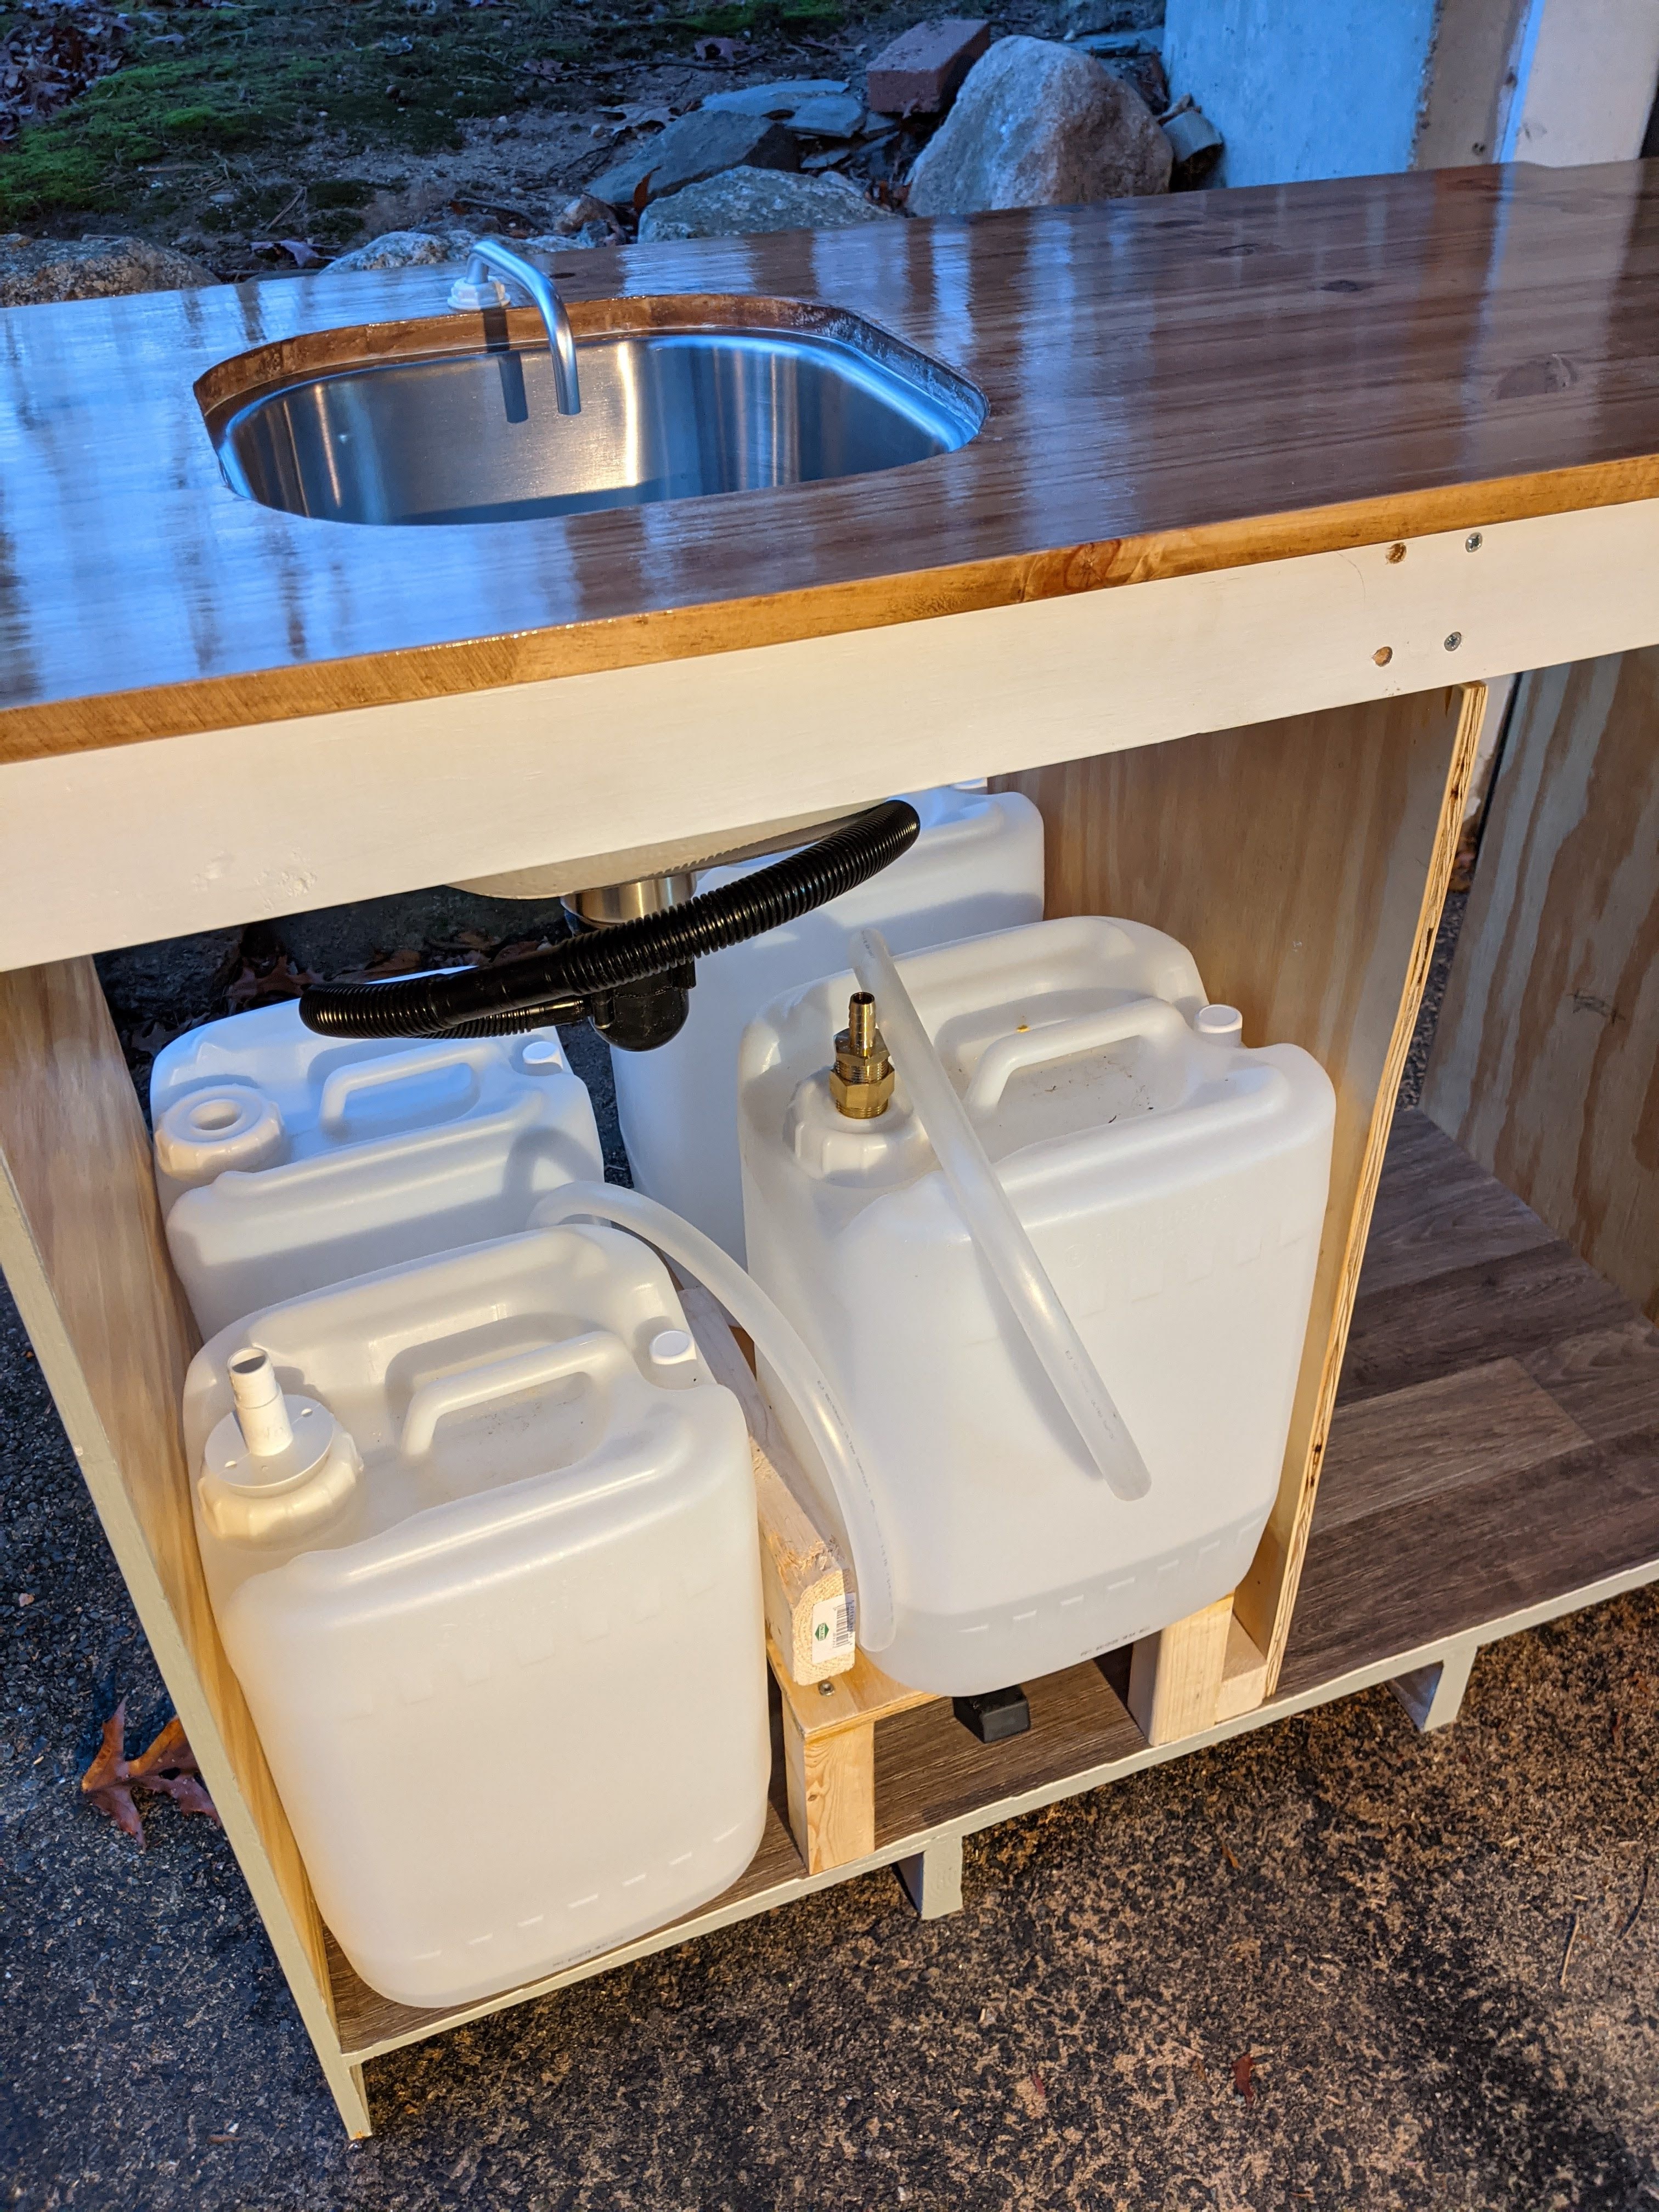

These pictures don’t offer a great view of it, but you can kind of see that on the cabinet floor we used some of the leftover vinyl flooring. We still haven’t installed the flooring in the van, but we cut it down to size a while ago. Since we had a strong preference of which direction the design goes we ended having to buy a fairly large piece. We didn’t need to be that picky, but at least we’re finding uses for the excess in other places. I’ll show you where else we’re going to use some in a minute, but before I do I have a few more things to show you on this kitchen.
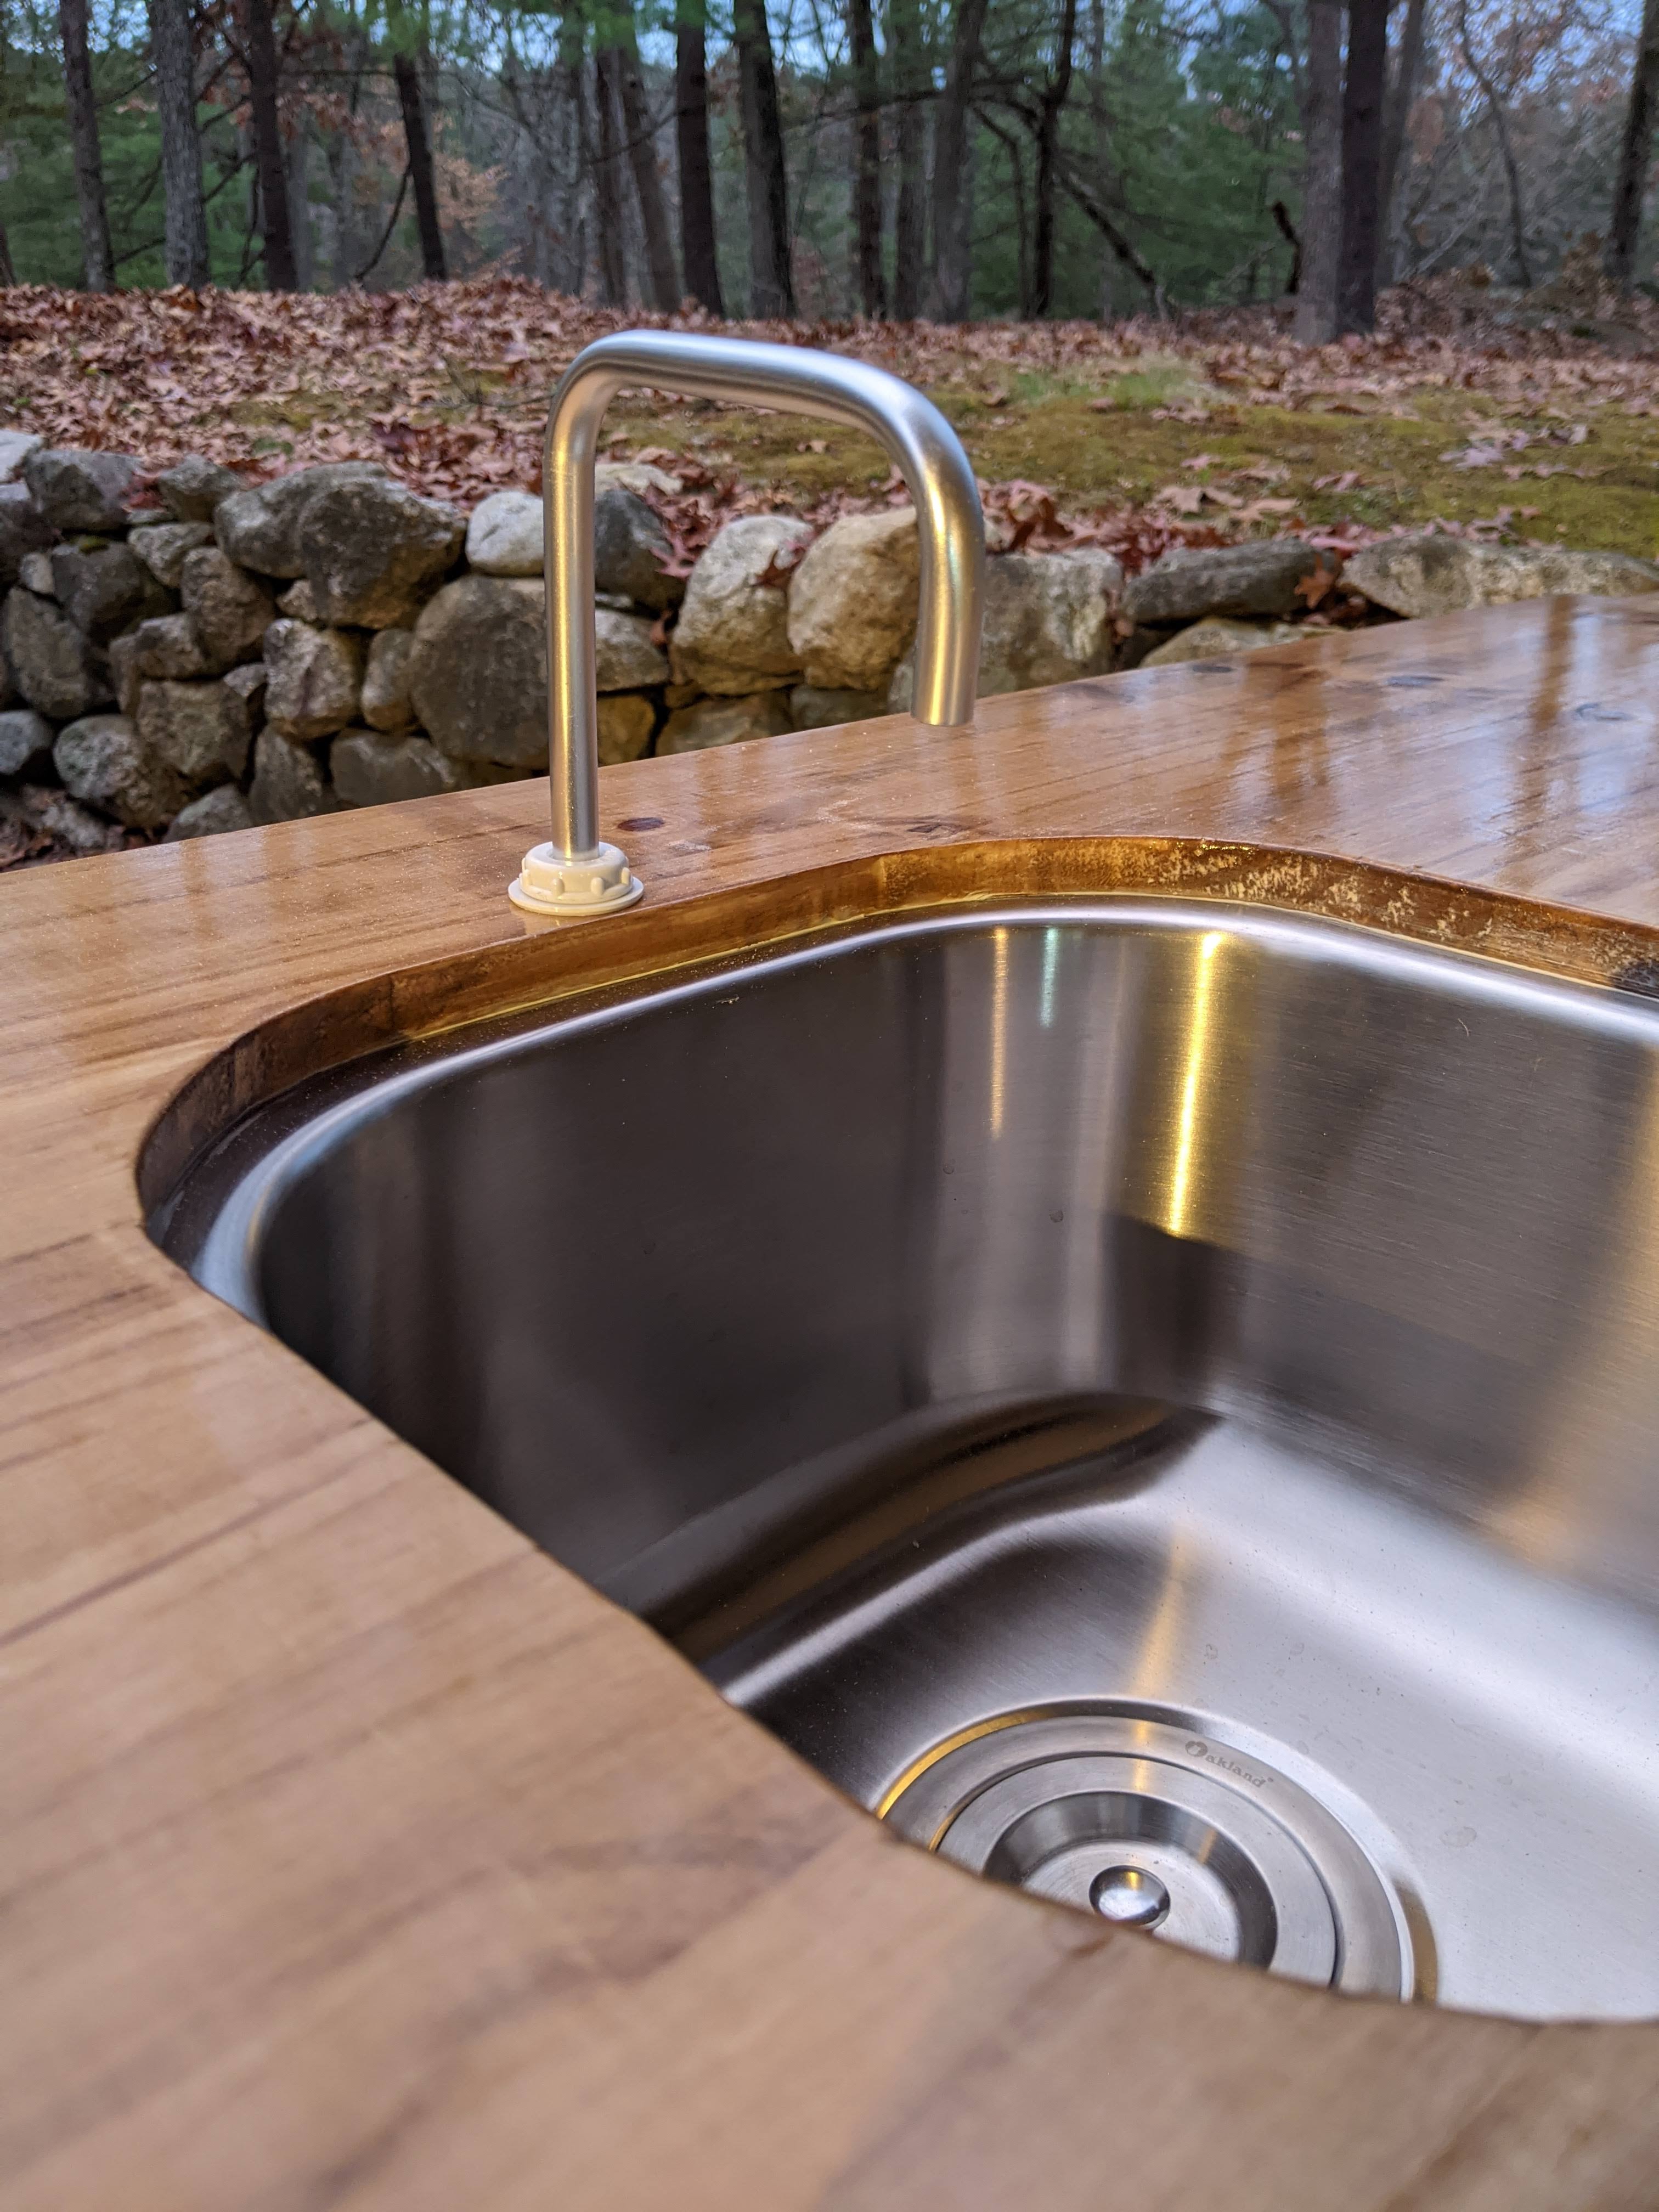
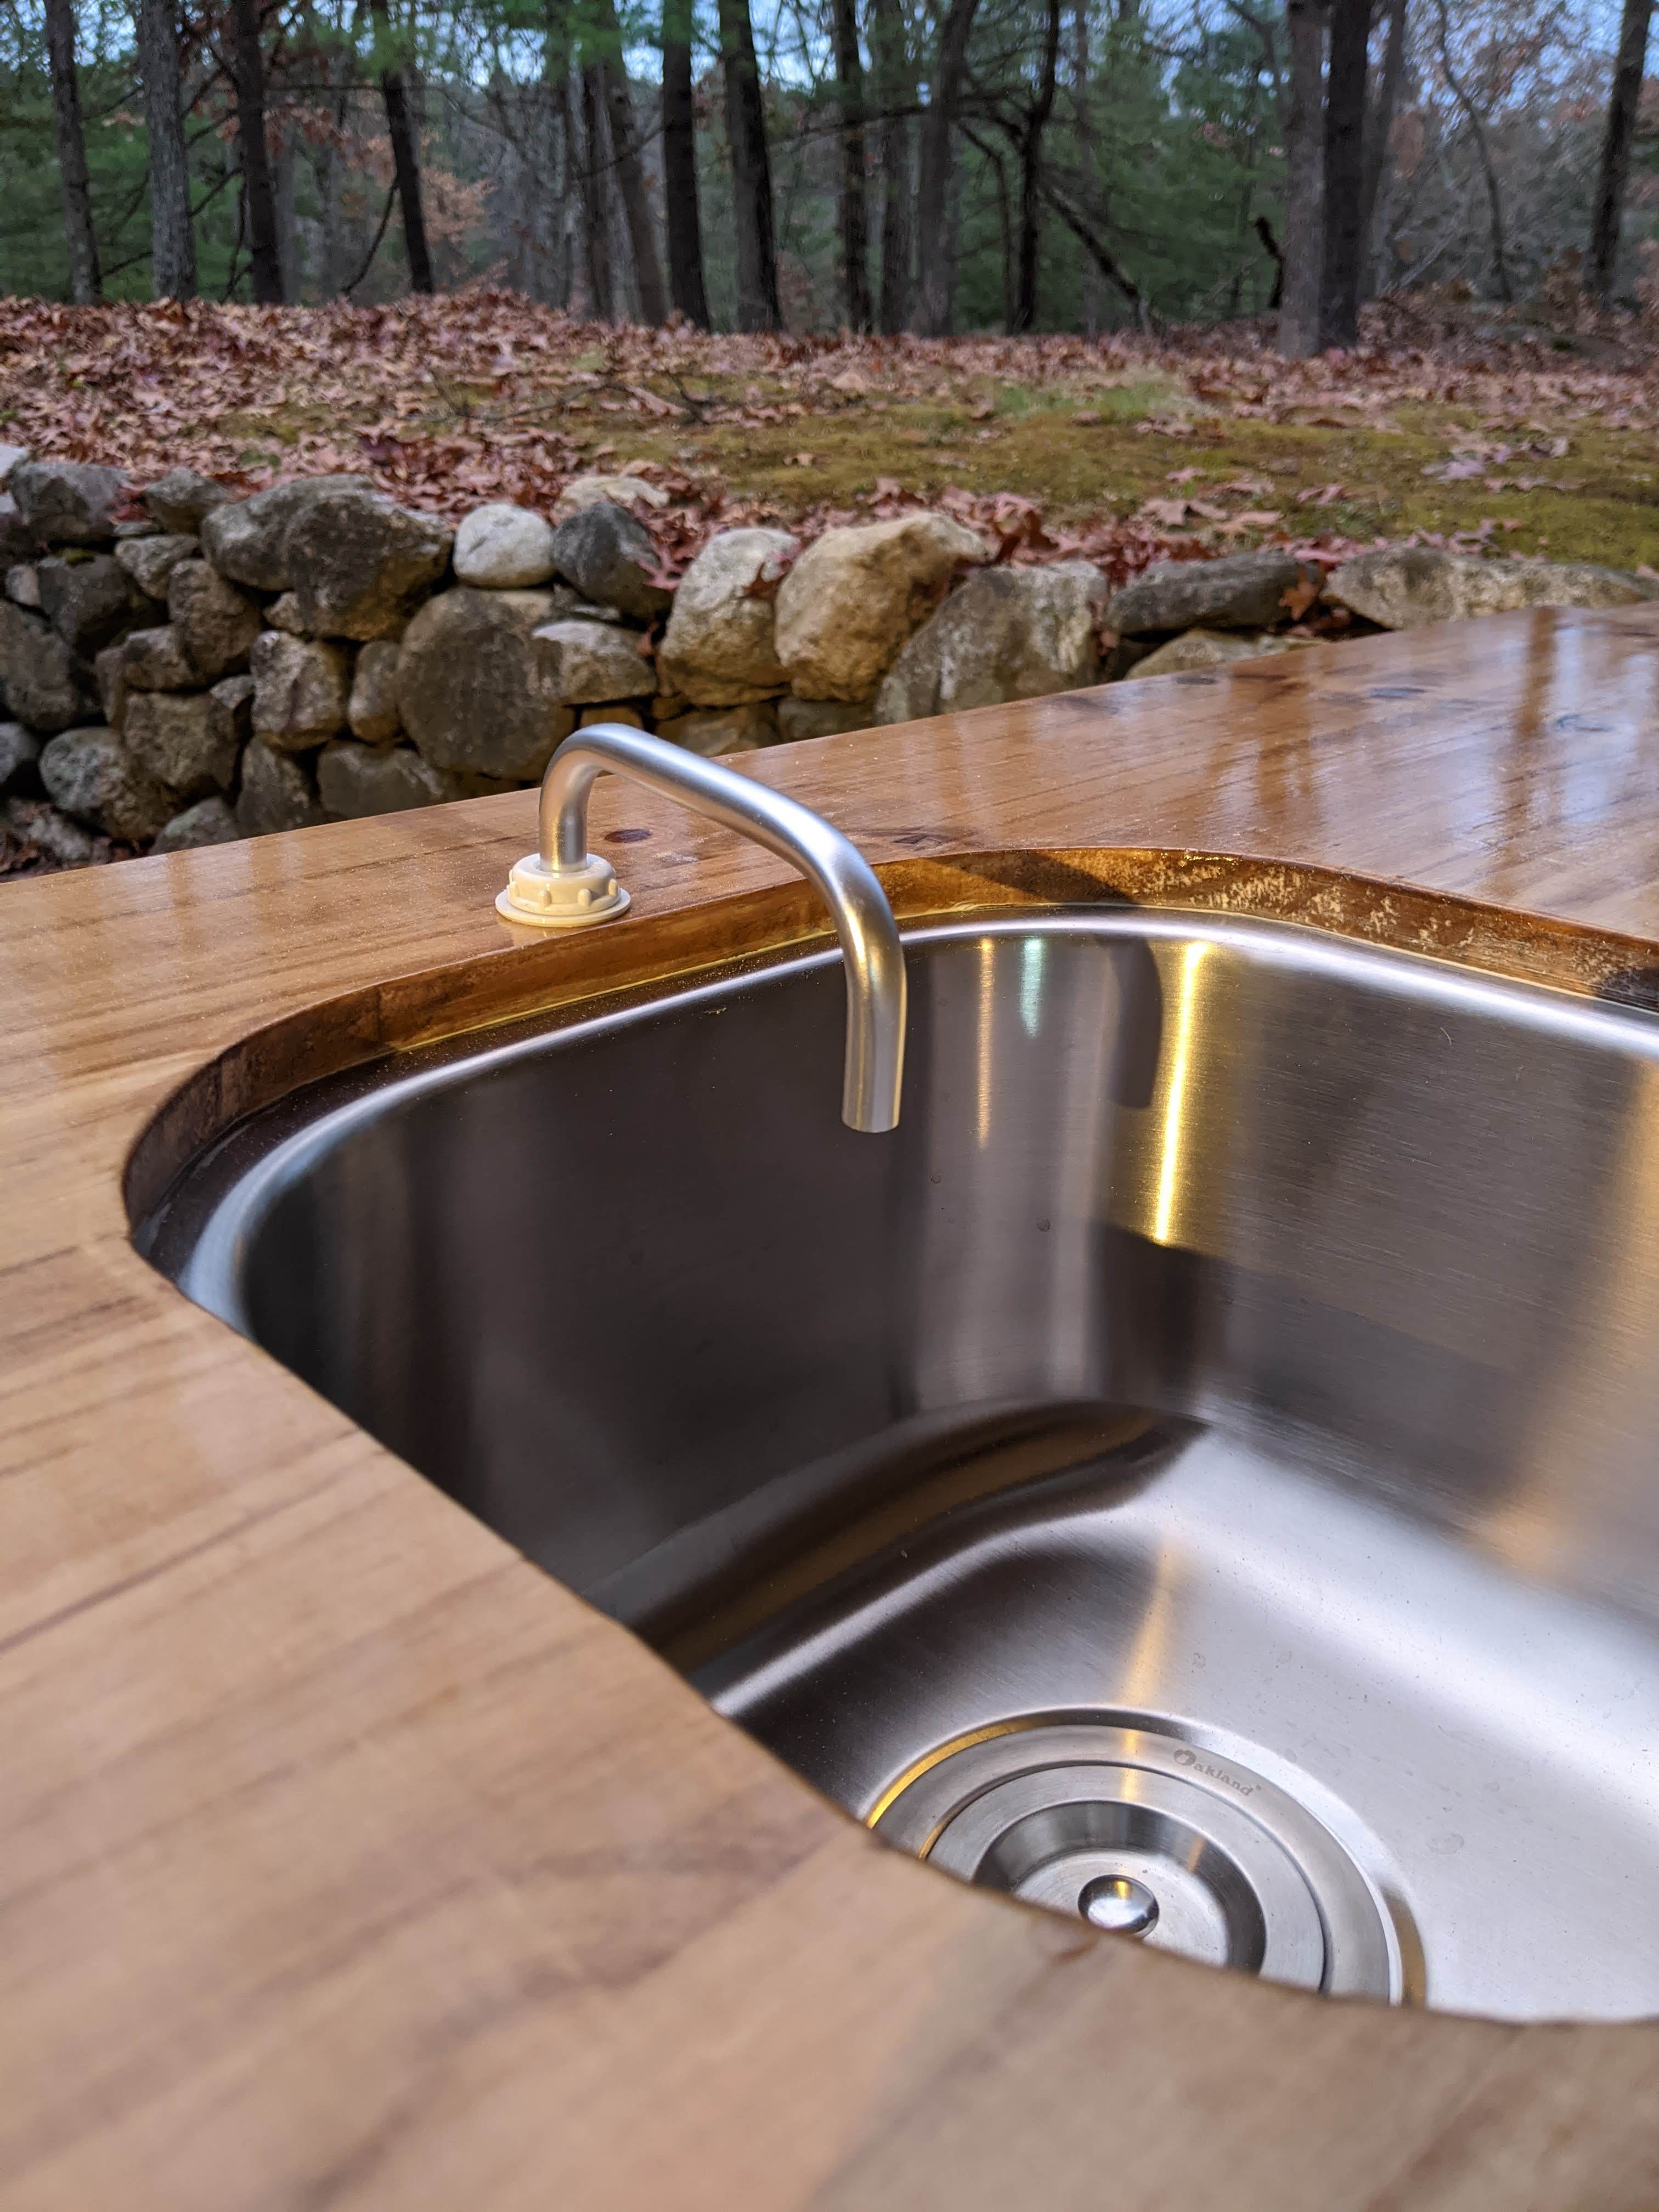
This is nothing thrilling, but we got a faucet that we can raise, lower, and swivel out the way. I honestly have no idea if we’re going to care about this once we’re using this kitchen regularly, but it seemed like good option to have. Especially since we’re keeping the counter piece to make the whole area a work space. One thought we had was that this might be helpful in keeping the water and mess inside the sink. If we don’t need it that high we can keep it low and minimize splashing (we have less control over water pressure with a foot pump), but if we need it higher we can raise it. I don’t know why but I feel like I’m irrationally preparing for us to suddenly be making messes in the van that we never make in our apartment.
On Sunday I put in a few shelves on the right side and attached the countertop. All that’s left now is to attach the doors (we didn’t have the right hinges), touch up a few places, and then this is all set!

While I worked on the kitchen cabinet, Matt was busy building a shelf to go above the cab. When we bought the van there was a wooden shelf already in it, but it was built to be attached to the partition we didn’t want, plus it only went about halfway to the front. It stopped when it hit the large plastic piece that had the visors and lights attached. Apparently we didn’t take any good pictures of that whole area as we cleaned out the van, but you can kind of see it in the picture below.
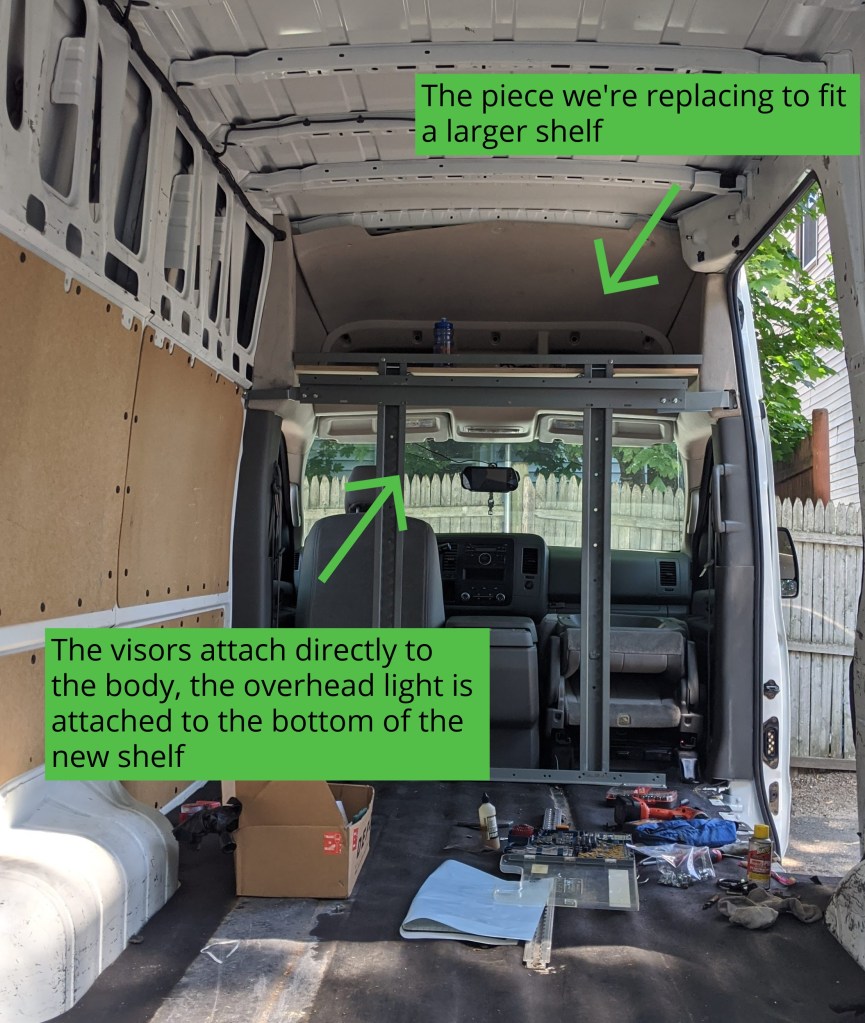
The shelf Matt made has a support running across underneath the middle of it. One reason being it’s a huge shelf and we would have had to use really heavy plywood if we built it unsupported, another reason is that it’s simply easier to build it in two pieces. We were going to buy some angle iron for this, but we got back from a run one night and saw a metal bed frame sticking out of the dumpster. I’ll let you guess what we did.

Once I wrap up this post I’m going to order some headliner fabric to cover this area. We have all the pieces that came out of here, but the plastic piece we’re getting rid of covered that entire lower section. As soon as we get the replacement fabric and the right size bolts, we can insulate this area, cover it, and bolt in the shelf.
The top of this shelf is one of the other places we’re going to use some of the excess vinyl flooring. This is our solution to not wanting to deal with sanding this down very well, or at all if I’m being totally honest here. We’ll do a coat of polyurethane on each side of the wood to seal it a little, then we’ll throw some of the flooring over it so whatever is stored up here won’t catch on the wood. Problem solved.
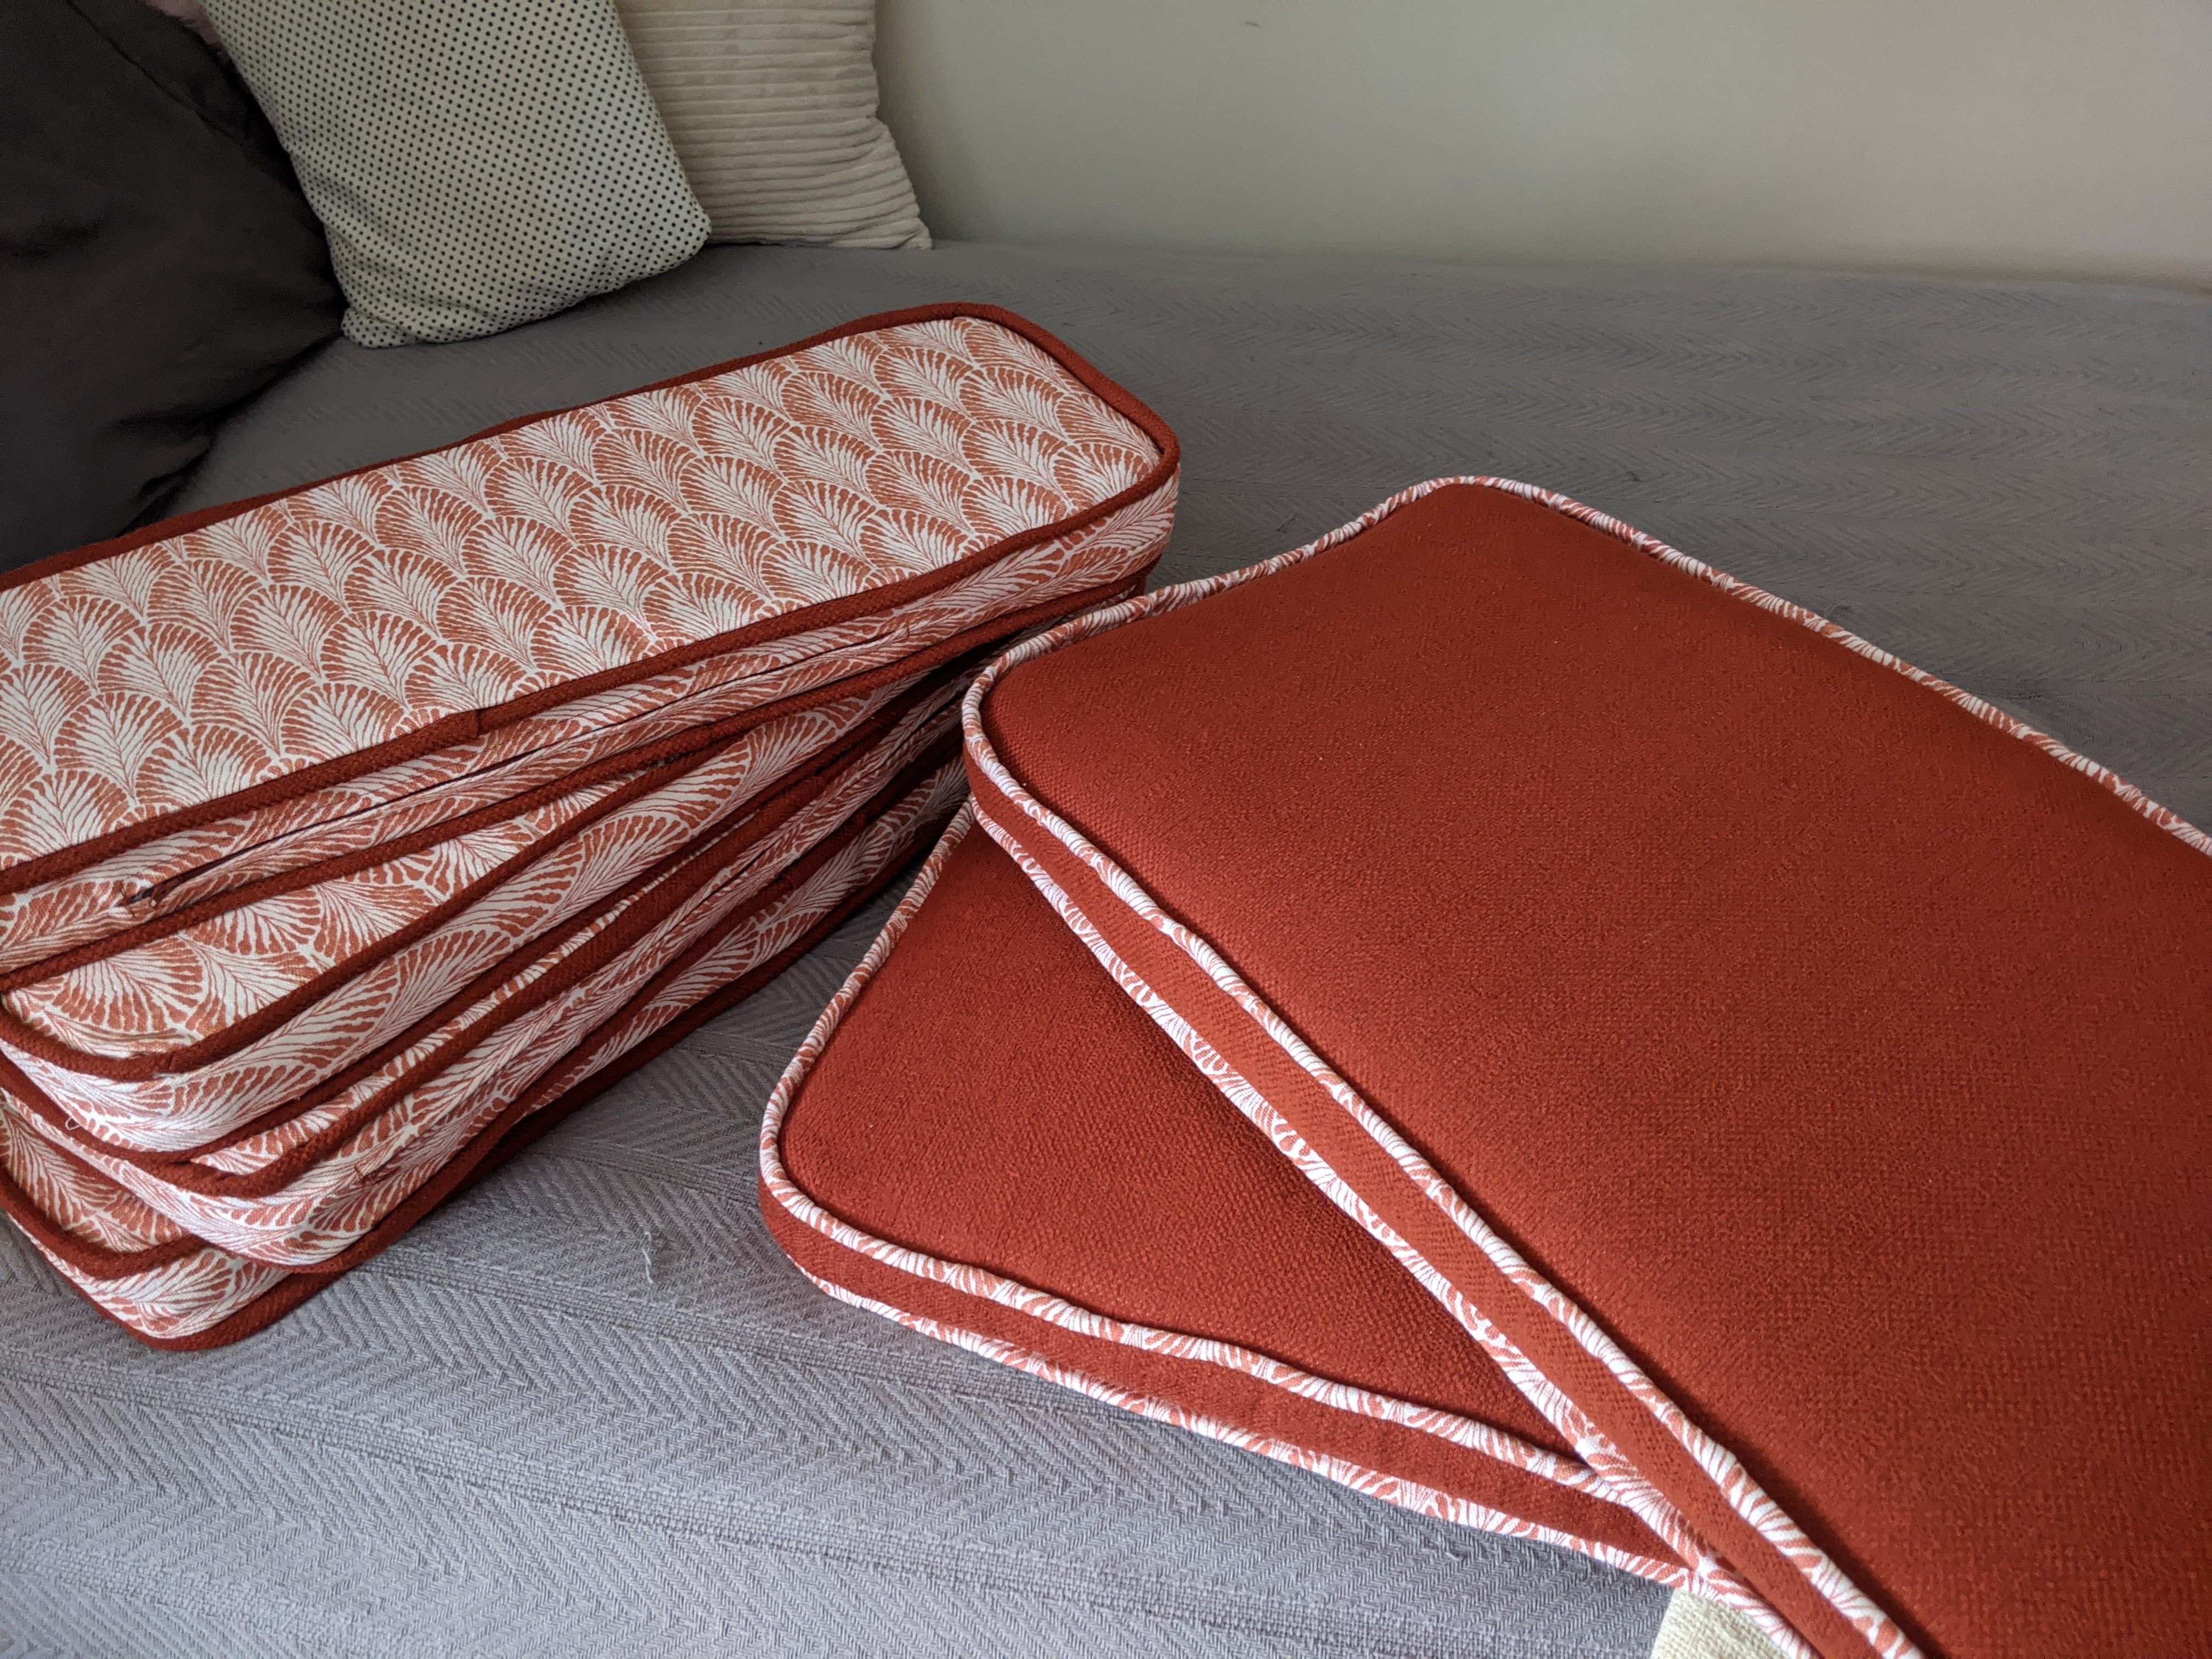
This post is getting a little lengthy, but I have one more thing I want to show you. If you remember in a previous post I included a picture of one of the seat cushions I’d made, well, I finally finished making the rest of them. I’m not sure I like them as much as I thought I would, but I’m hoping once we have them on the benches I’ll change my mind.
Each bench will have two cushions for the back, so when we’re sitting at the table we can stack them behind us and have them tall enough, but when we’re ready to slide out the bed for the night we can stack one in front of the other to keep them out of the way. I’d initially wanted to make them so we could just flip them up and down, but for the sake of simplicity I went this route instead.
I’ll try to get better pictures sometime when we have better natural light, but in the ones below the picture on the right shows the color more accurately. The one on the right shows how low they’ll be to fit below the bed support when we slide out the bed each night. They’re far from perfect, but this was my first attempt at making seat cushions so at least I learned something new.

That’s all for now. Hopefully it won’t be long before I get to write a post to show you everything actually in the van!

Exciting to see how all the parts are looking. I’m REALLY looking forward to see all the parts in place. The puzzle is almost done!!!!!
LikeLiked by 1 person
Getting there! I keep reminding Matt that we only feel like we’re not getting anywhere because all the pieces are still outside the van, even though they’re all built and ready to go.
LikeLike
Progress coming fast now! You’re really getting some great skills doing this, and it’s looking good! Nice choices of materials. The vulnerable point on the counter will be the wood edge around the sink, but you know that; extra coats of varnish is probably the best you can do, and keep an eye on it as you go. You’re at the gratifying stage now–hope it all works together!
LikeLike
Yup, we’re taking every precaution we can there. Fingers crossed we don’t run into any issues with it.
LikeLike