Hi everyone!
Wow, has a lot happened since the last post! It’s been a little longer than I planned, we moved out of our apartment at the end of the month and I forgot how hectic moving can be. With how much I moved around my first few years in MA though, I will admit it was kind of nice to be in one place long enough to forget how much of a hassle it is.
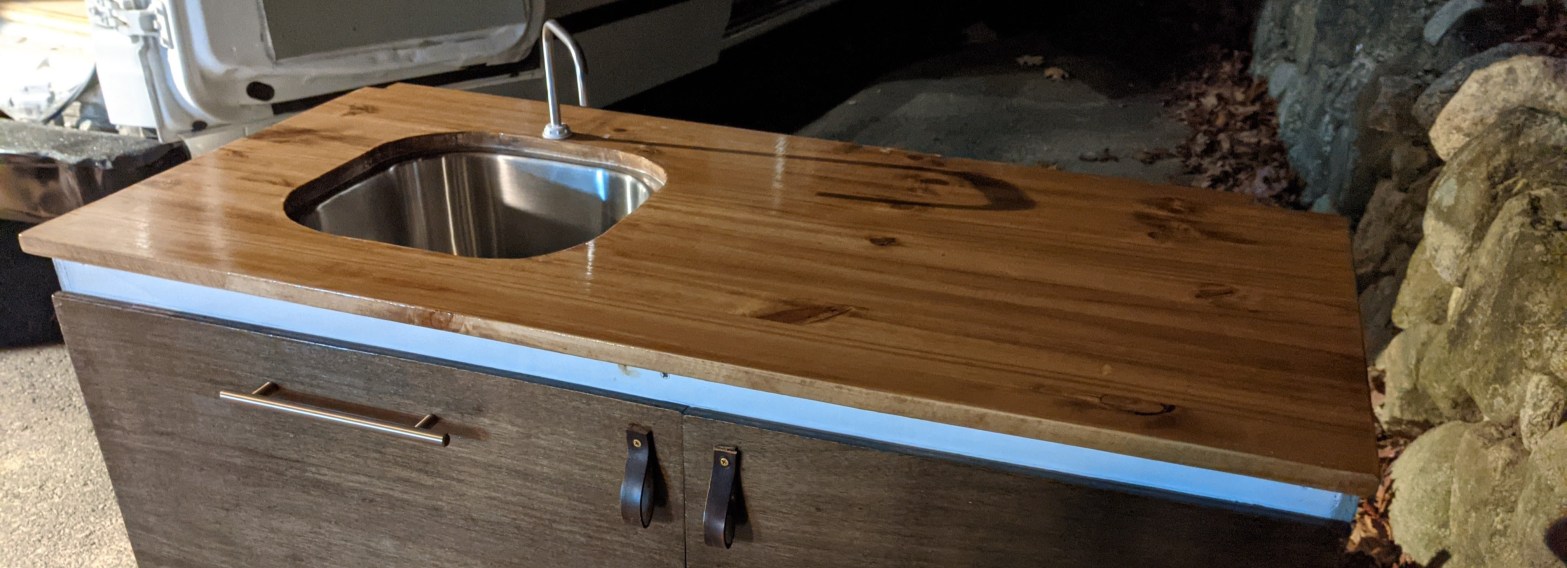
I’m going to start with a few quick updates on things from our previous post. You already saw the kitchen cabinet mostly complete, but now we finally have doors on it and it’s as done as it will be until we can paint one last little bit. We absolutely love how this cabinet turned out! It’s been sitting in Matt’s parents’ garage for a few weeks now and every time I walk by it I run my hand over the counter and ask Matt “how excited are you to see this next to the back splash?” whether he’s listening or not.
The doors are the same wood and stain as our benches. We really like this color but didn’t want to make the interior too dark, so we used the leftover wall paint on the walls and face of the cabinet. There’s still one section right below the counter where I only got as far as a coat of primer, but we’ve run out of good painting days so that’s just going to have to wait. We should be able to do it once it’s in the van and we can run a heater, but the garage has been too cold lately.
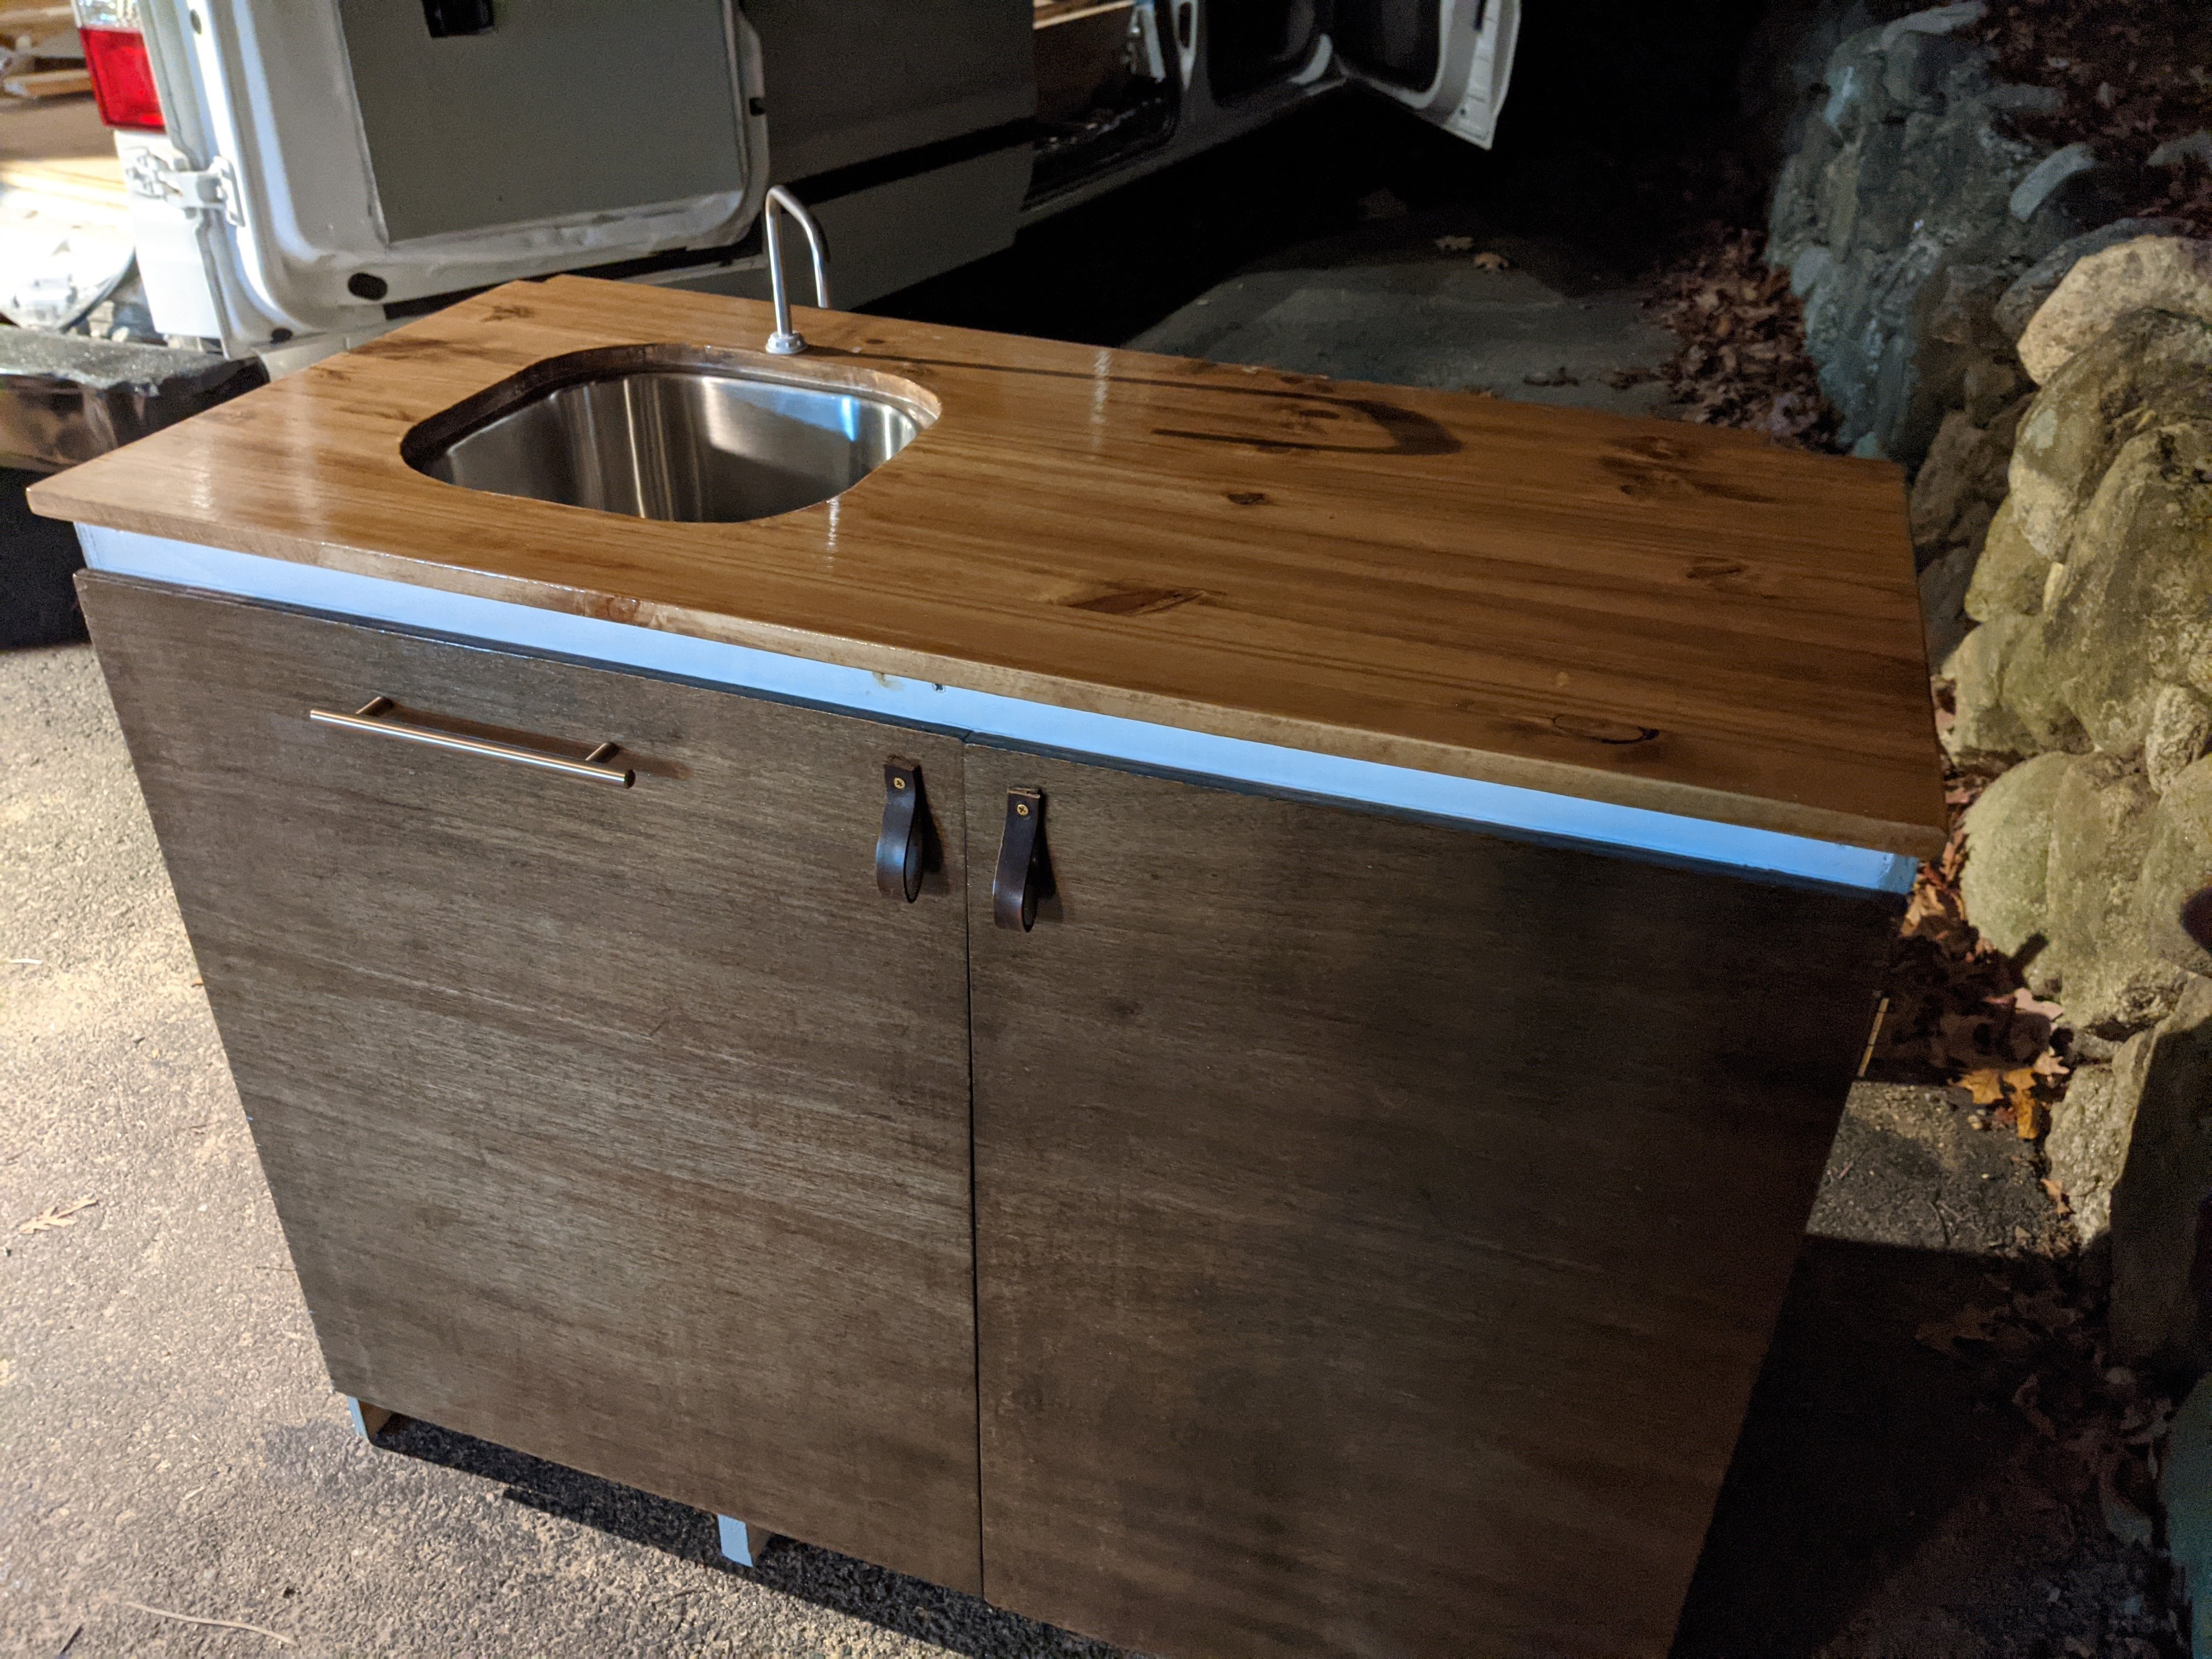
As you can see, the doors are super close together. We didn’t construct this as you normally would, and I know there was a reason for it at the time but I don’t remember what that reason was. Oh well, it’s functional and we’re happy with it.
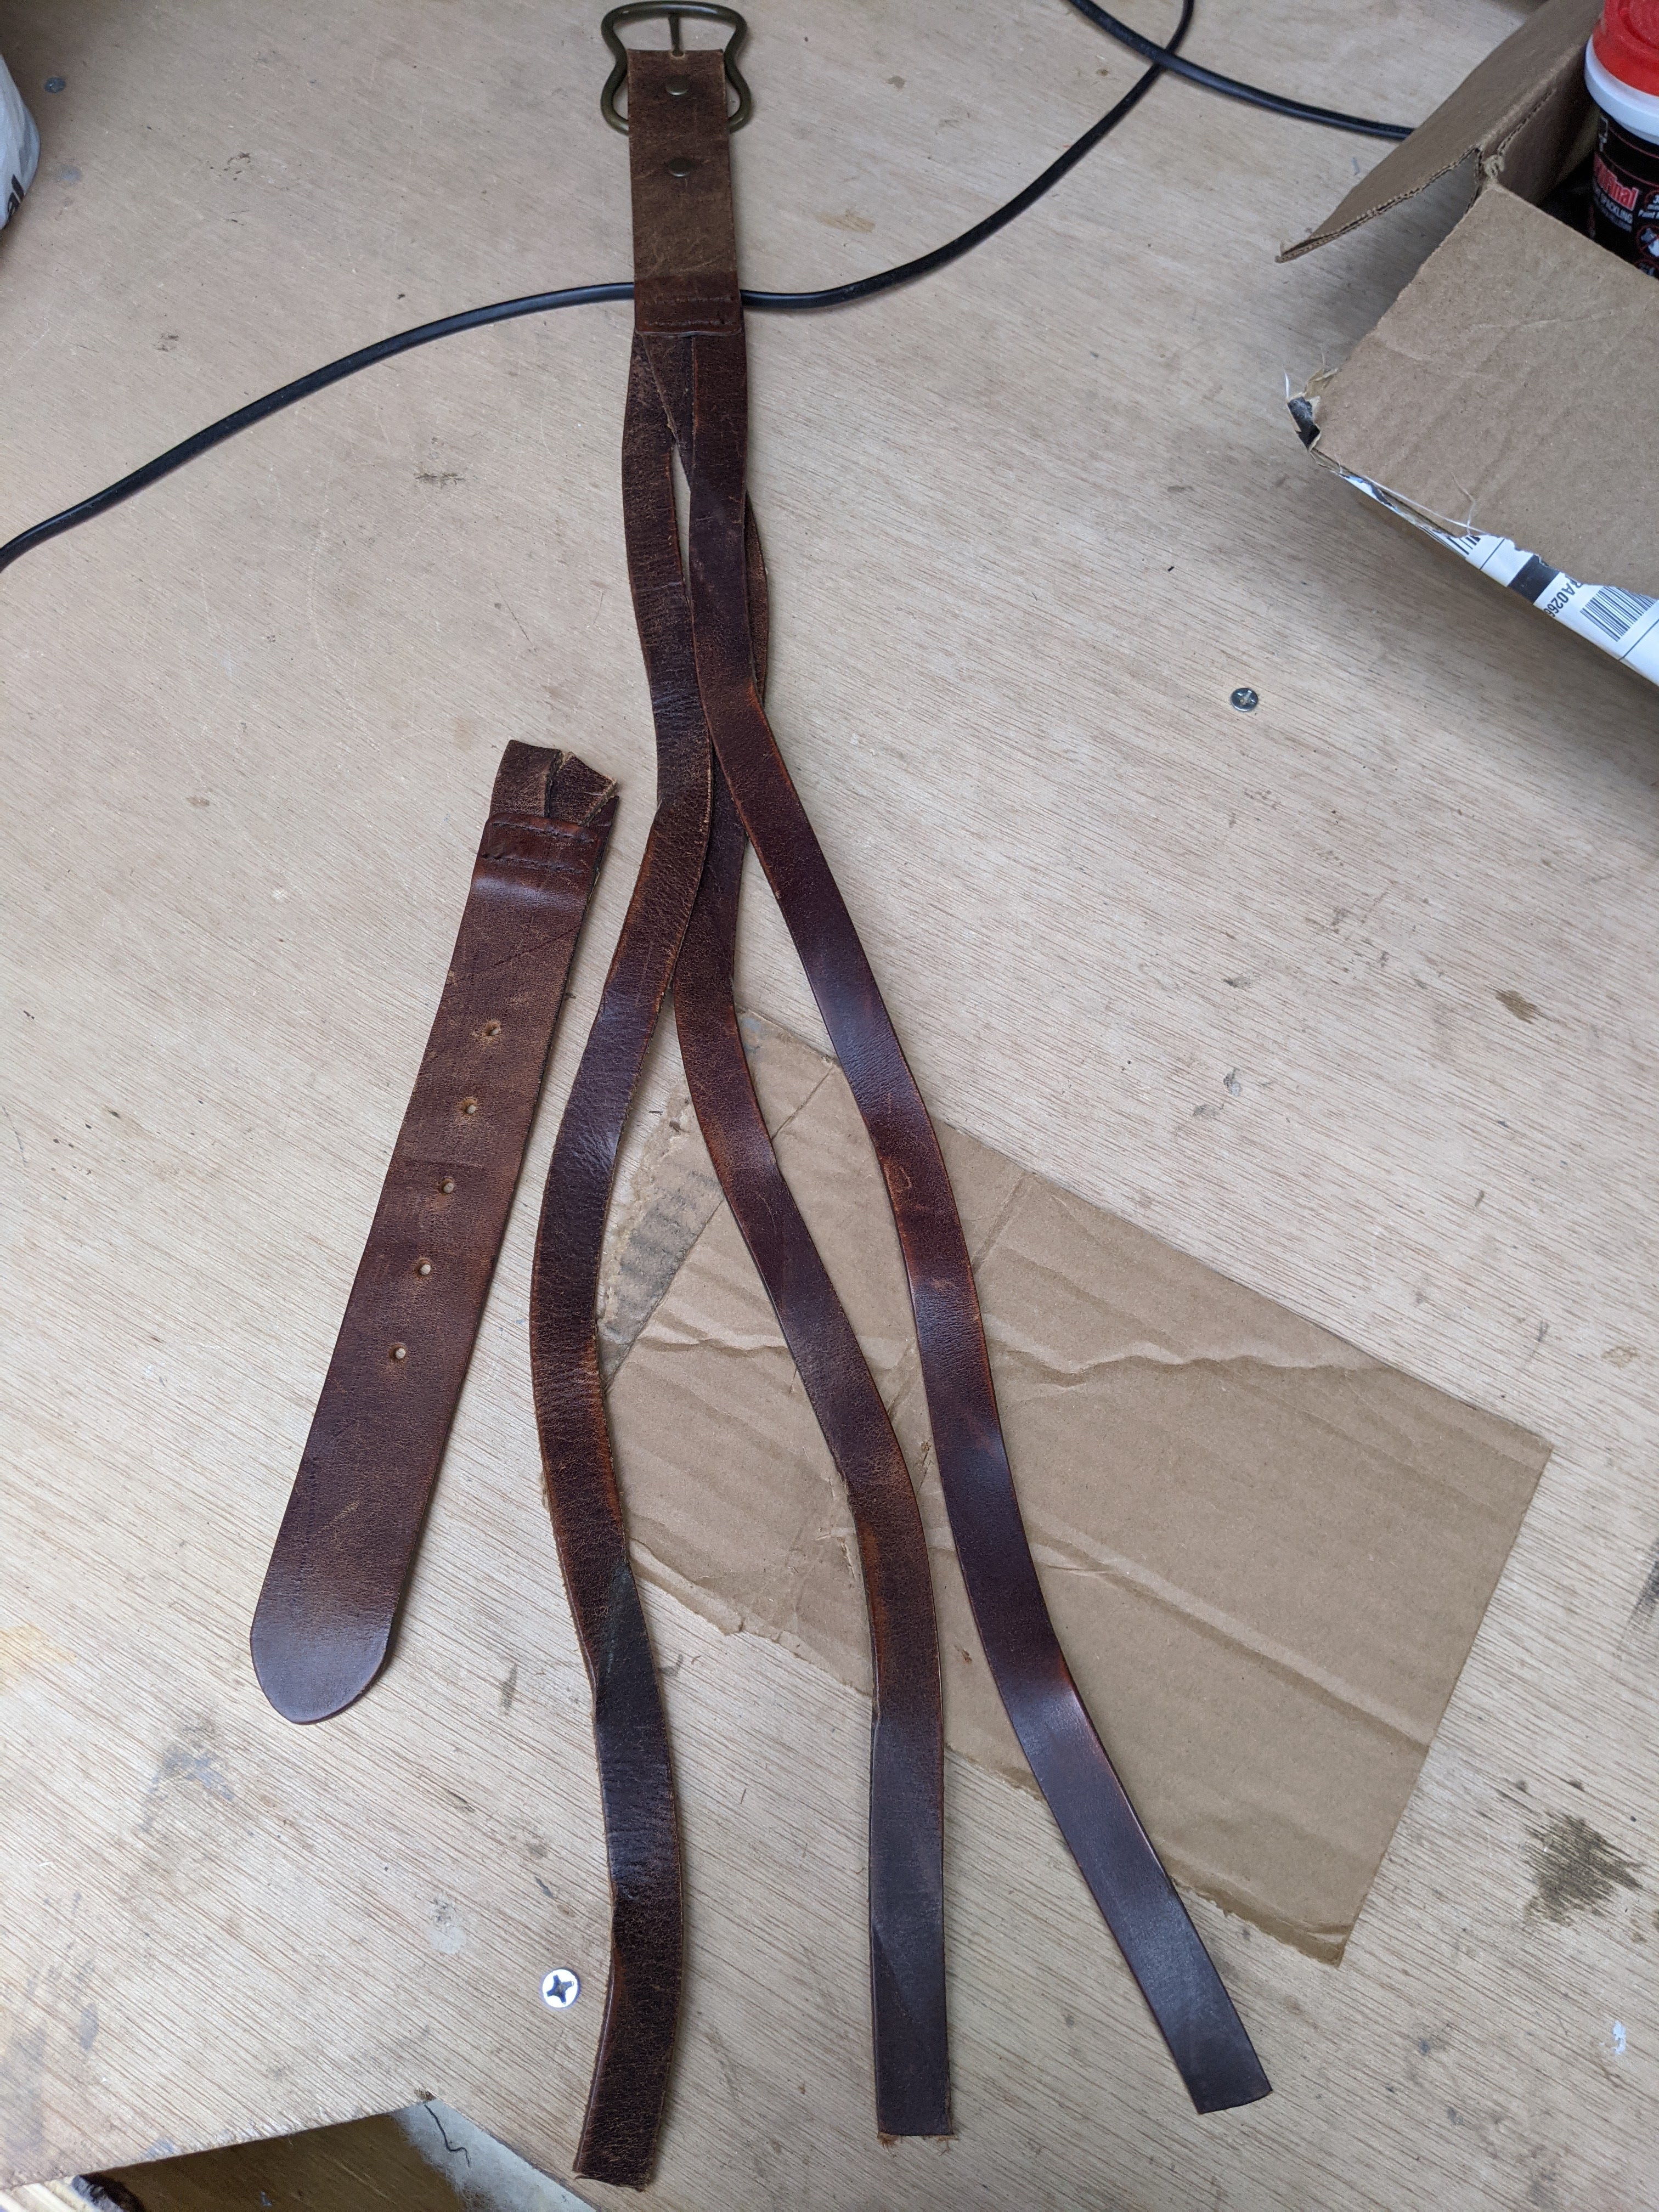
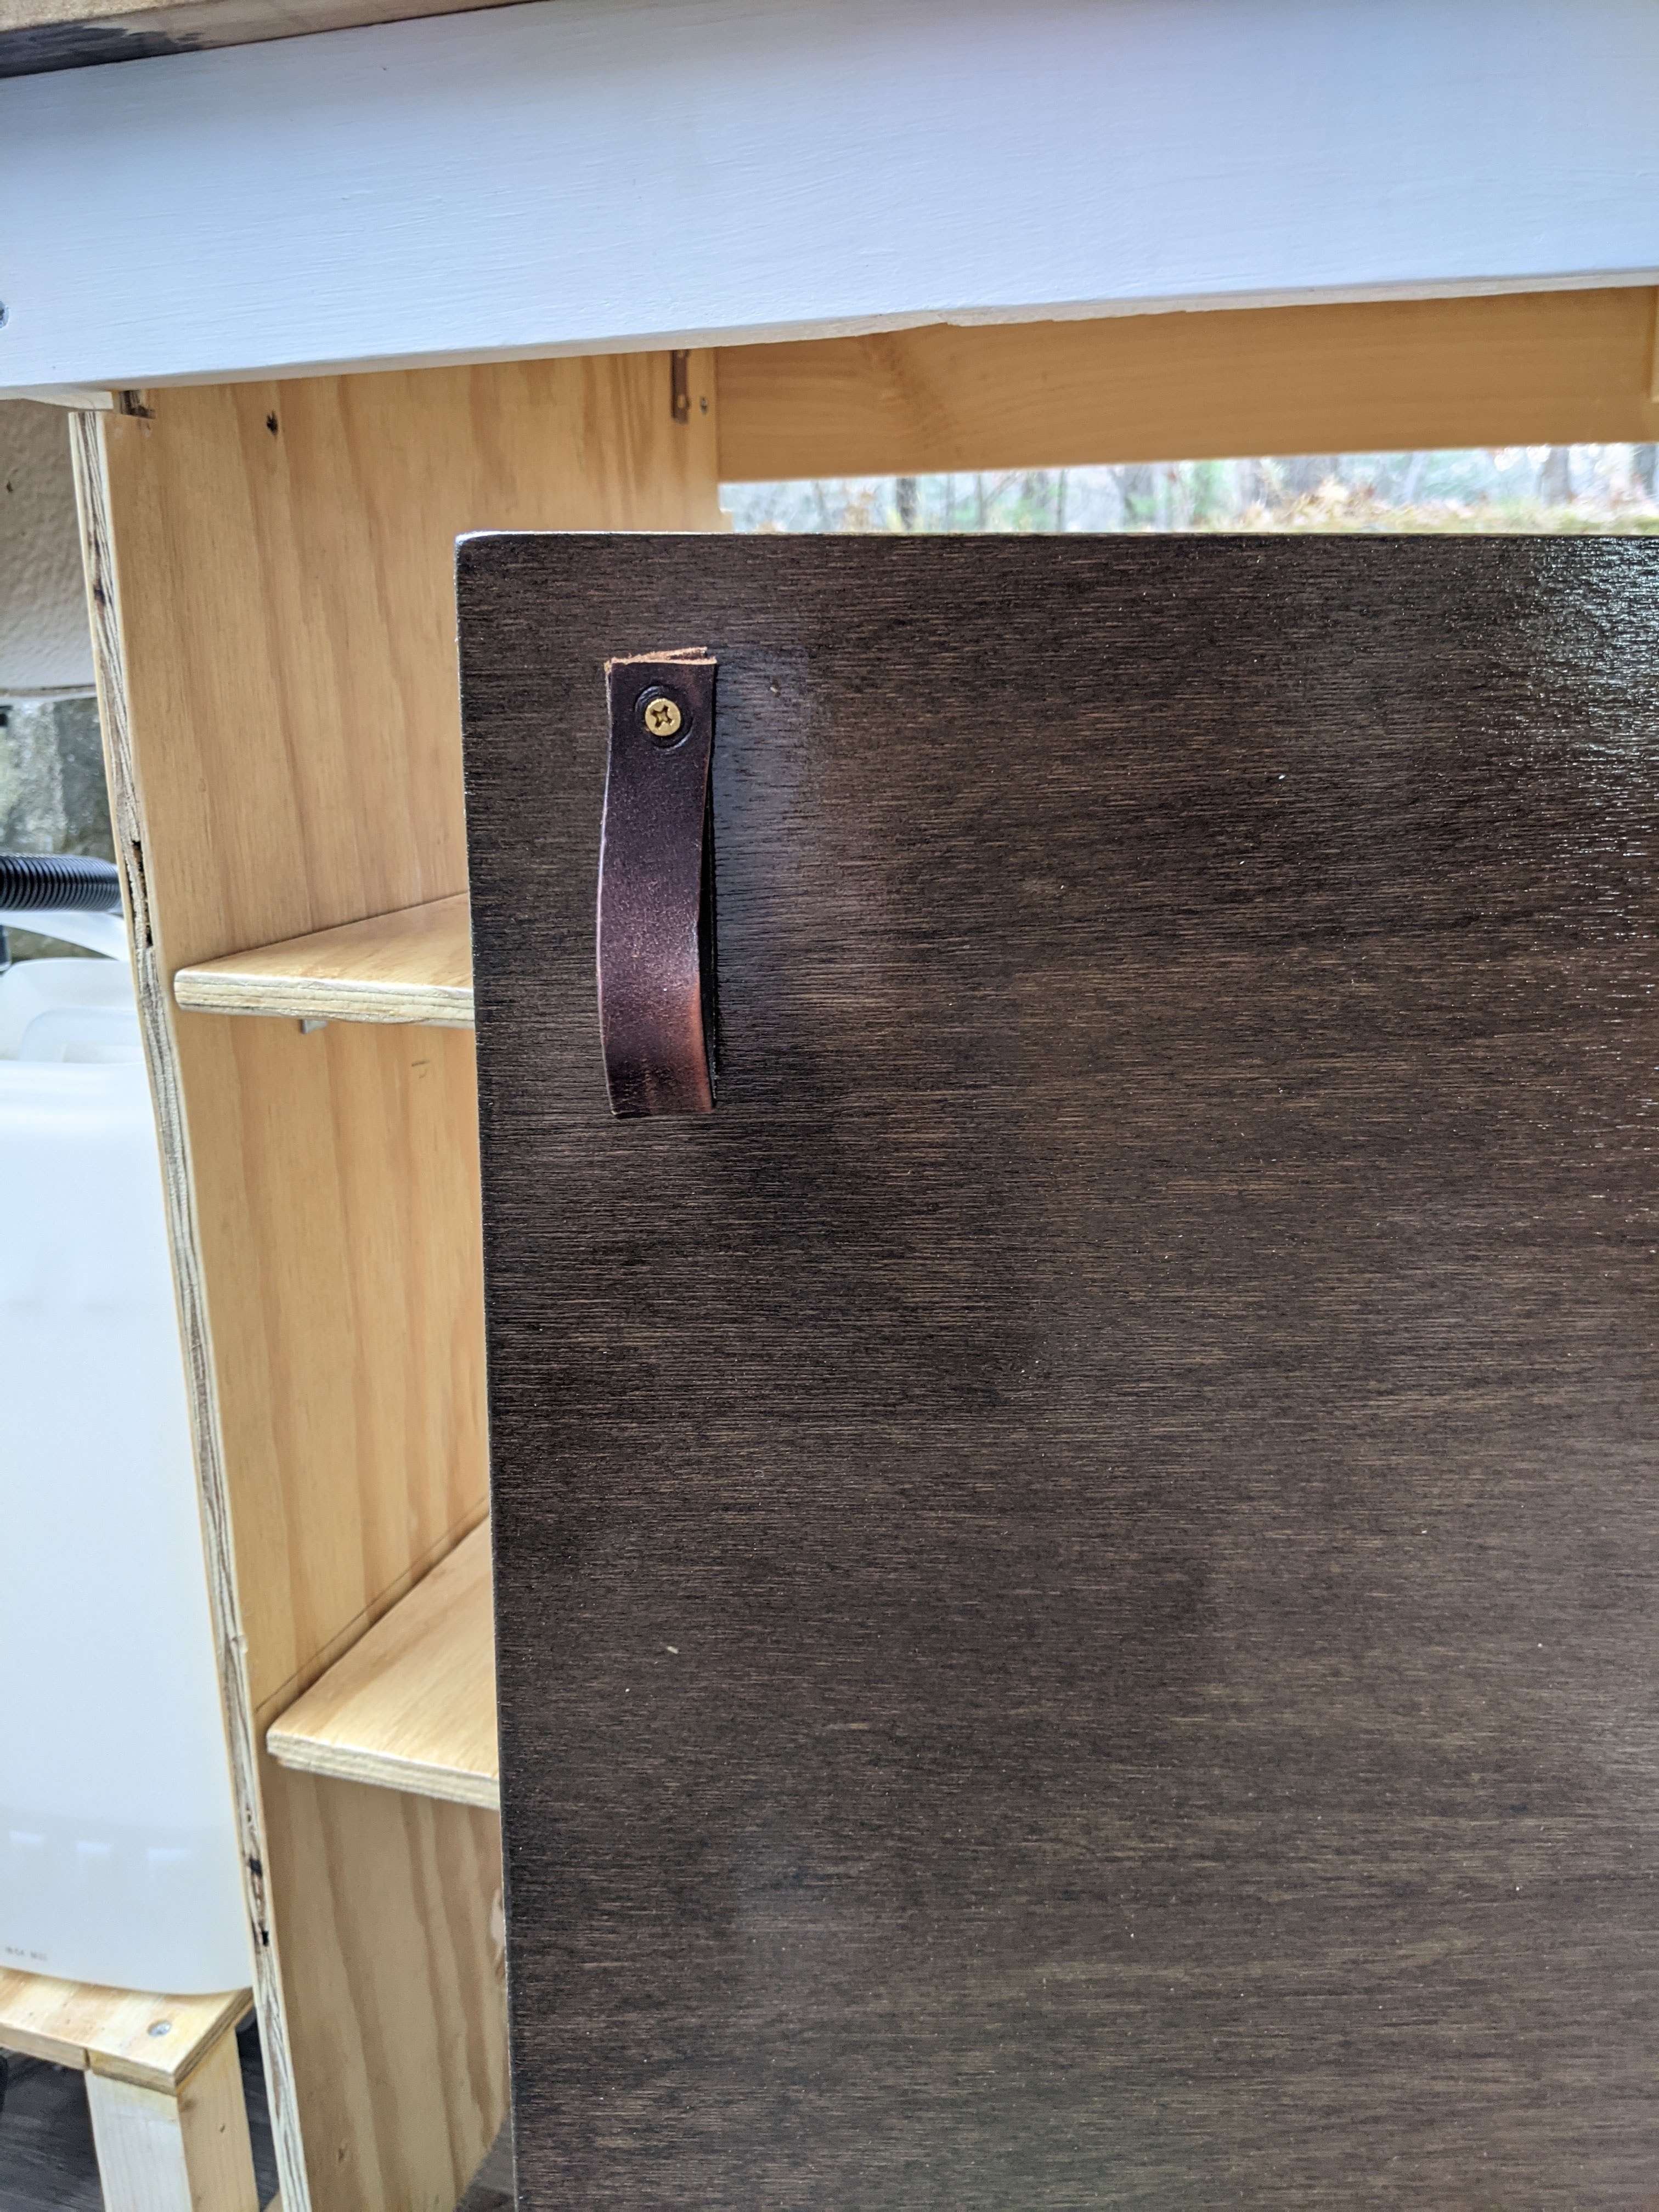
The part I might be the happiest with is the door pulls. I don’t think I’ve showed you any of this yet, but those door pulls I made from a leather belt I picked up from a local thrift store. The belt was so ugly, I probably would have loved it when I was in middle school. It was a wide braid, so I ended up getting three decent length strips of leather out of this one belt. Not bad for $3. I had bought some brass tacks hoping they might work to attach the leather loops, but in the end I decided they’d likely loosen up too much over time so I simply screwed the loops to the door instead
A day or two before I finished the cabinet I had the rare opportunity to run to the hardware store by myself and actually take a little time to browse. Usually we’re running in 15-20 minutes before closing on our way home from Matt’s parents’ house. I wanted to give myself the chance to think of things we don’t necessarily need, but would be nice to have; those little details to help tie things together. After walking around a bit I found myself in the cabinet hardware aisle. We had previously talked about putting a hook somewhere to hang a kitchen towel on, or maybe sewing a loop onto the towels and hanging them from a leather loop closed with a snap. While I was looking over the selection of drawer pulls, I came across a simple brass one, long enough to hold a towel. You can see it in the first picture above, but here’s a closer look at the leather door pulls and the drawer pull “towel rack.”

You can see how close the doors are, we’re going to do something about that at some point, but for now it’s a pretty low priority.
If you remember from the last post, we were getting ready to put in a shelf above the cab and order headliner fabric for the space that used to be covered by the pieces we removed for the shelf. That whole area is just about done, the only thing left to is put the covers back over the airbags.
This is what it looked like with half of the shelf in and the whole thing insulated. The night we drove home after doing this it was so much quieter! This wool insulation really is great.

You can see how the lights are now attached to the shelf instead of the big plastic piece we took out. The visors will be attached directly to the metal just below the shelf. That’s where they had been clipped in anyway, the only difference now is you’ll be able to see the connection.
The second shelf piece went in after the insulation. We literally only did things in this order because I’m too short to reach across the shelf with both hands (yes, even on a step stool) and I couldn’t hang insulation one-handed. So it was either do it in stages or wait for Matt to help. Both sides are attached to the support in the middle, and the side towards the inside of the van is attached at the corners with two brackets.
I could not for the life of me get the holes drilled into the walls, so here’s a picture of Matt doing it to give you a sense of how much force had to go into these two little holes (the other side wasn’t as bad). Yup, a lot of force and a few choice words did the trick.

Once the shelf was in, I covered the bottom of it with some of the leftover vinyl flooring. Figured we might as well get some use out of it and save ourselves the time and energy of sanding the shelf down well enough. None of this will be very visible anyway. After that, all I had to do was put in the headliner fabric and snap the one headliner piece we kept back in place. I will add, we had considered using fabric for the whole thing just so it would all match, but we don’t know if we would have had enough for that and everywhere else we want to use it, so we didn’t.
Before I show you the finished shelf, I must warn you that it looks terrible. This might be the worst looking thing in this van so far. We kept one headliner piece but replaced the rest with fabric so we could gain access to the maybe 4-5 inches of empty space behind each side piece. All of the fabric that was a similar color to the existing headliner was way more expensive than the darker colors, and since we haven’t really been following through completely on our promise of making this a budget build, we sucked it up and bought the cheaper color. Once all is said and done this won’t be visible though, so at least it’s only a major eyesore for now.

We’re thinking this will probably be our gear storage. Once our packs and sleeping bags are in there you won’t even see most of it, plus I made a huge insulated curtain that will hide some of it even when the curtain is pulled up.
Switching gears completely here, let’s move to the back of the van so I can show you where Matt’s focus has been lately. I’ve shown you various parts of our electric and solar set up in previous posts, well all of that is finally hooked up and we have a working electrical system! This whole system has very much been Matt’s project. He put so much time and thought into all of this, seeing it all come together has been really, really cool.
Matt’s said a few times lately that maybe when things calm down for him at work he’ll write a thorough blog post about our set up, I’ll try to hold him to it! Basically, we set ourselves up to have enough power to both work full-time for a little over a week without driving or plugging in to shore power to charge. That’s assuming getting about half days of sun on the solar panels, which is one of our biggest variables, but depending on where we are we might need to drive somewhere to fill up our water again anyway.
Most of the electrical stuff is under the bed on the passenger side of the van. We initially had it under the bench on that side, but decided instead to leave that space open for things we’ll need more regular access to. There’s a monitor on the wall above that bench, plus we can both monitor the battery management system from our phones, so hopefully there’s no need to go physically messing around with all of it.
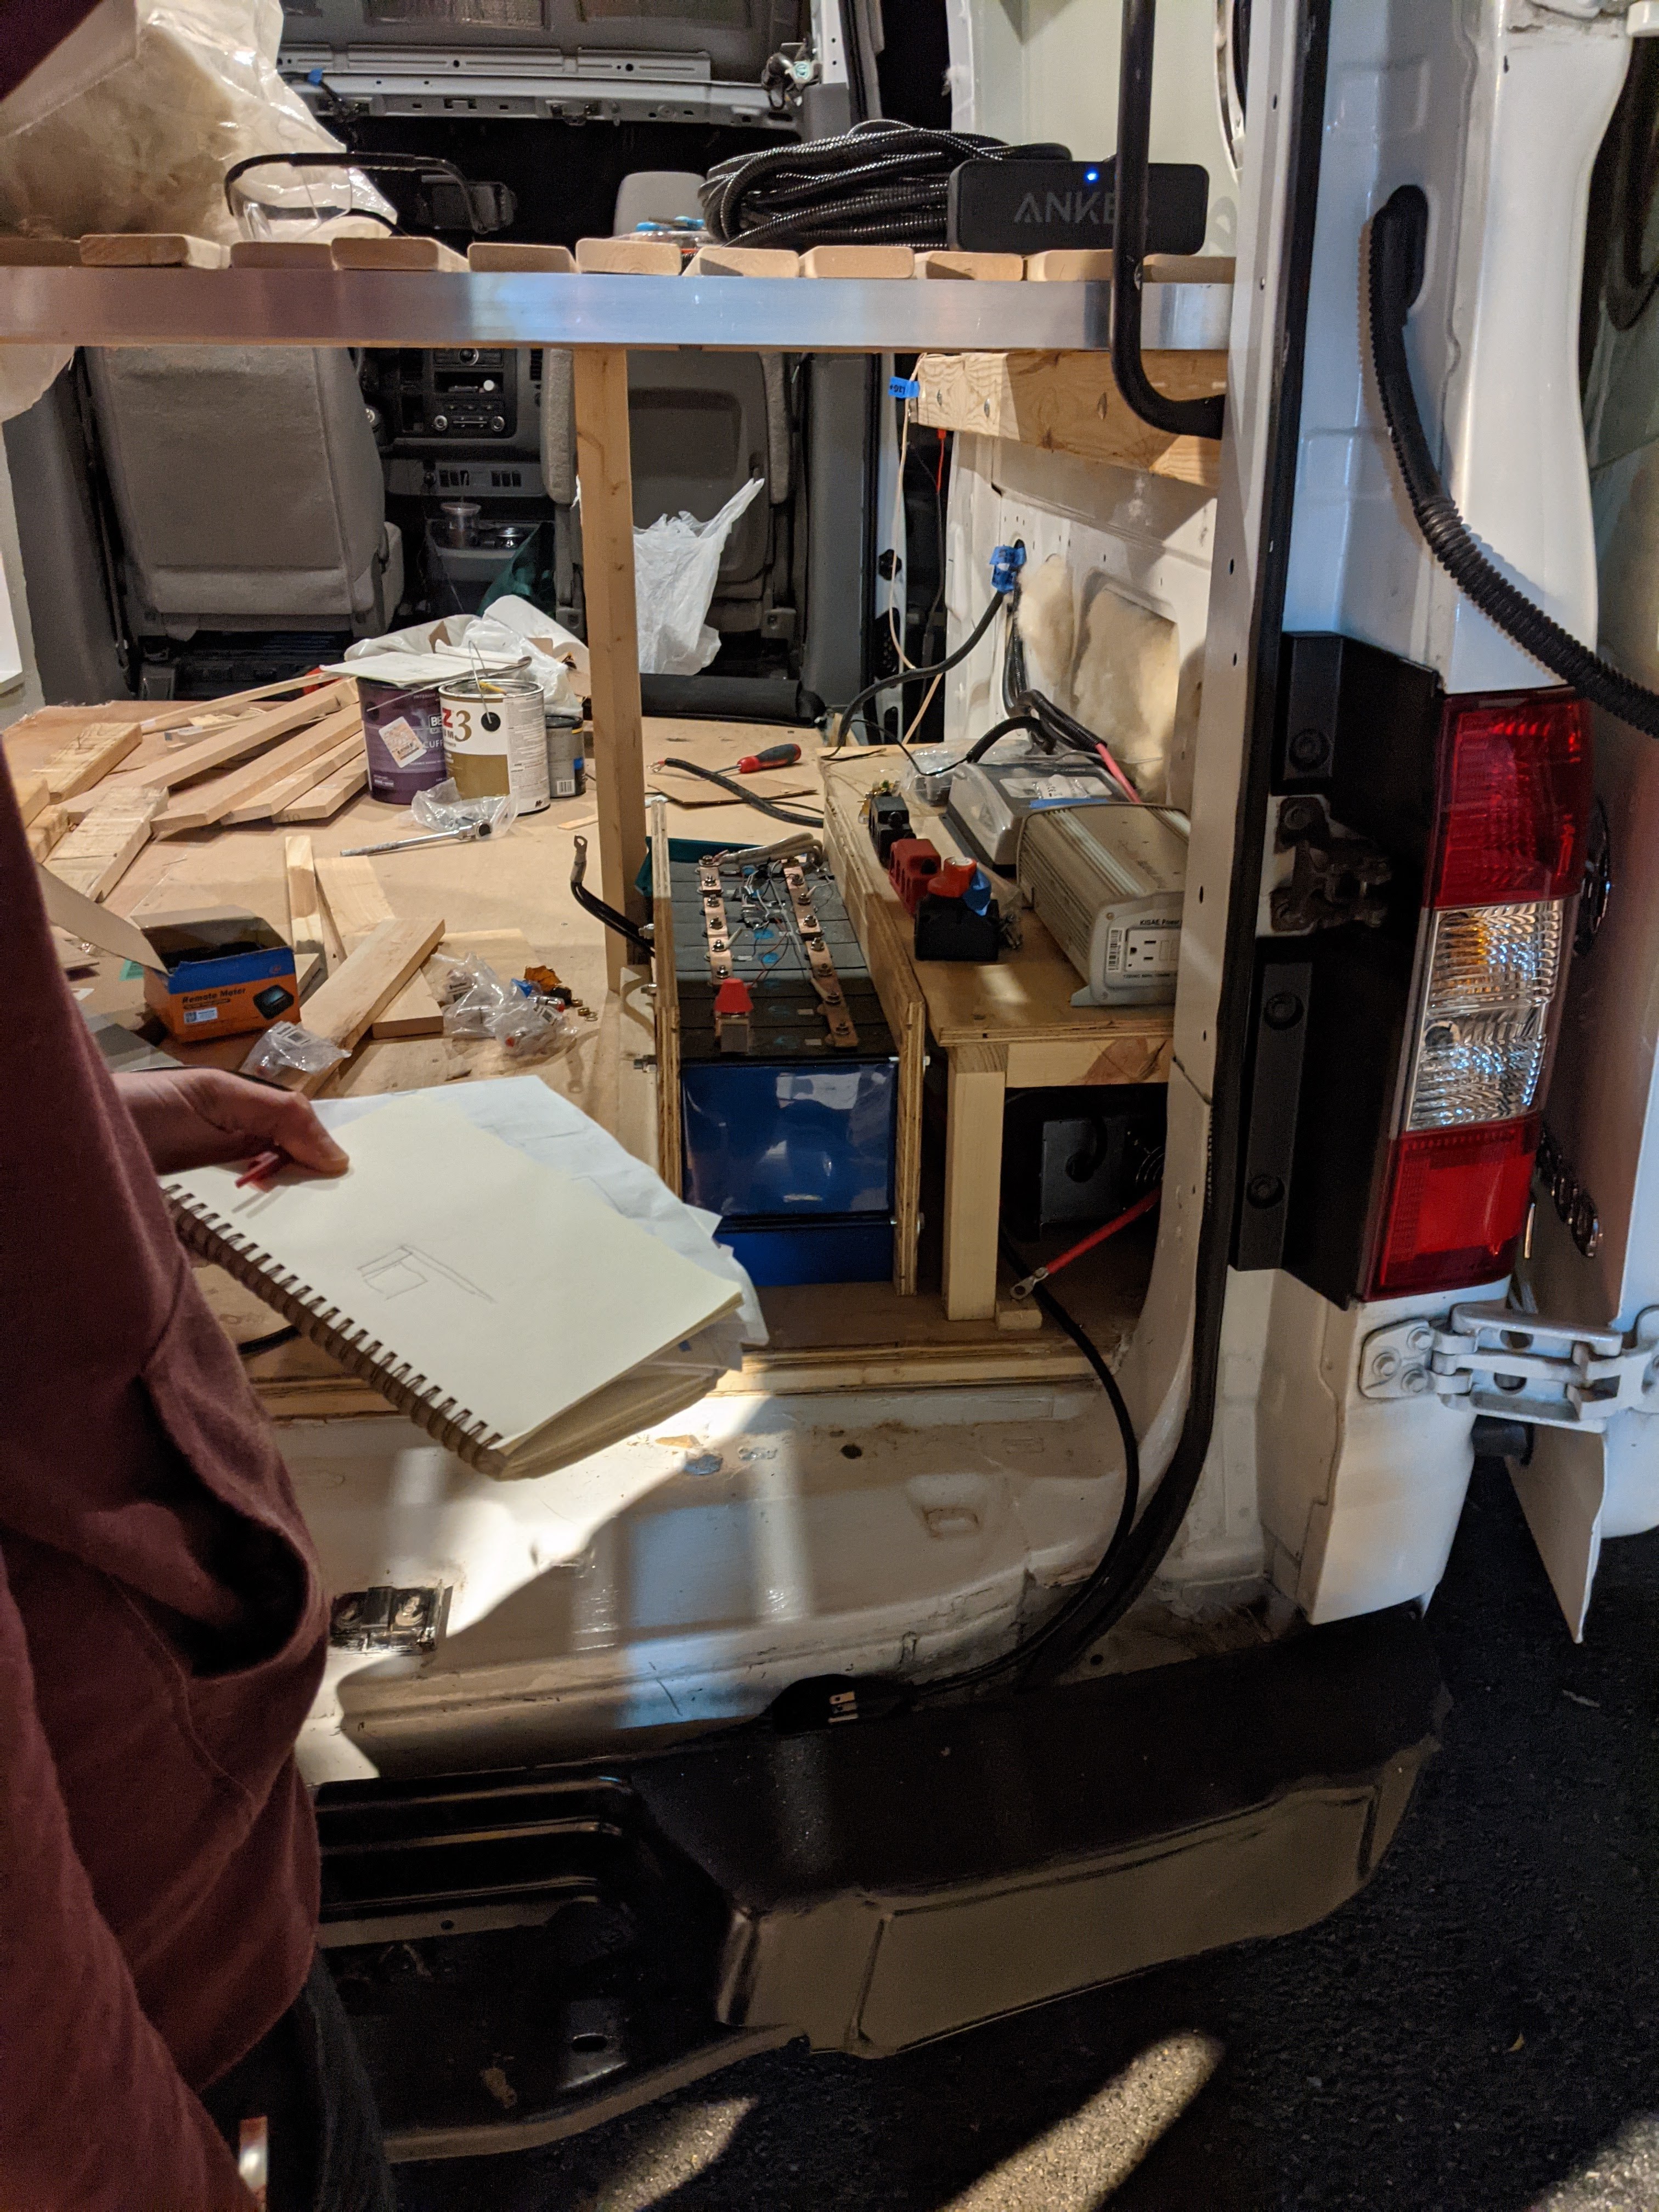
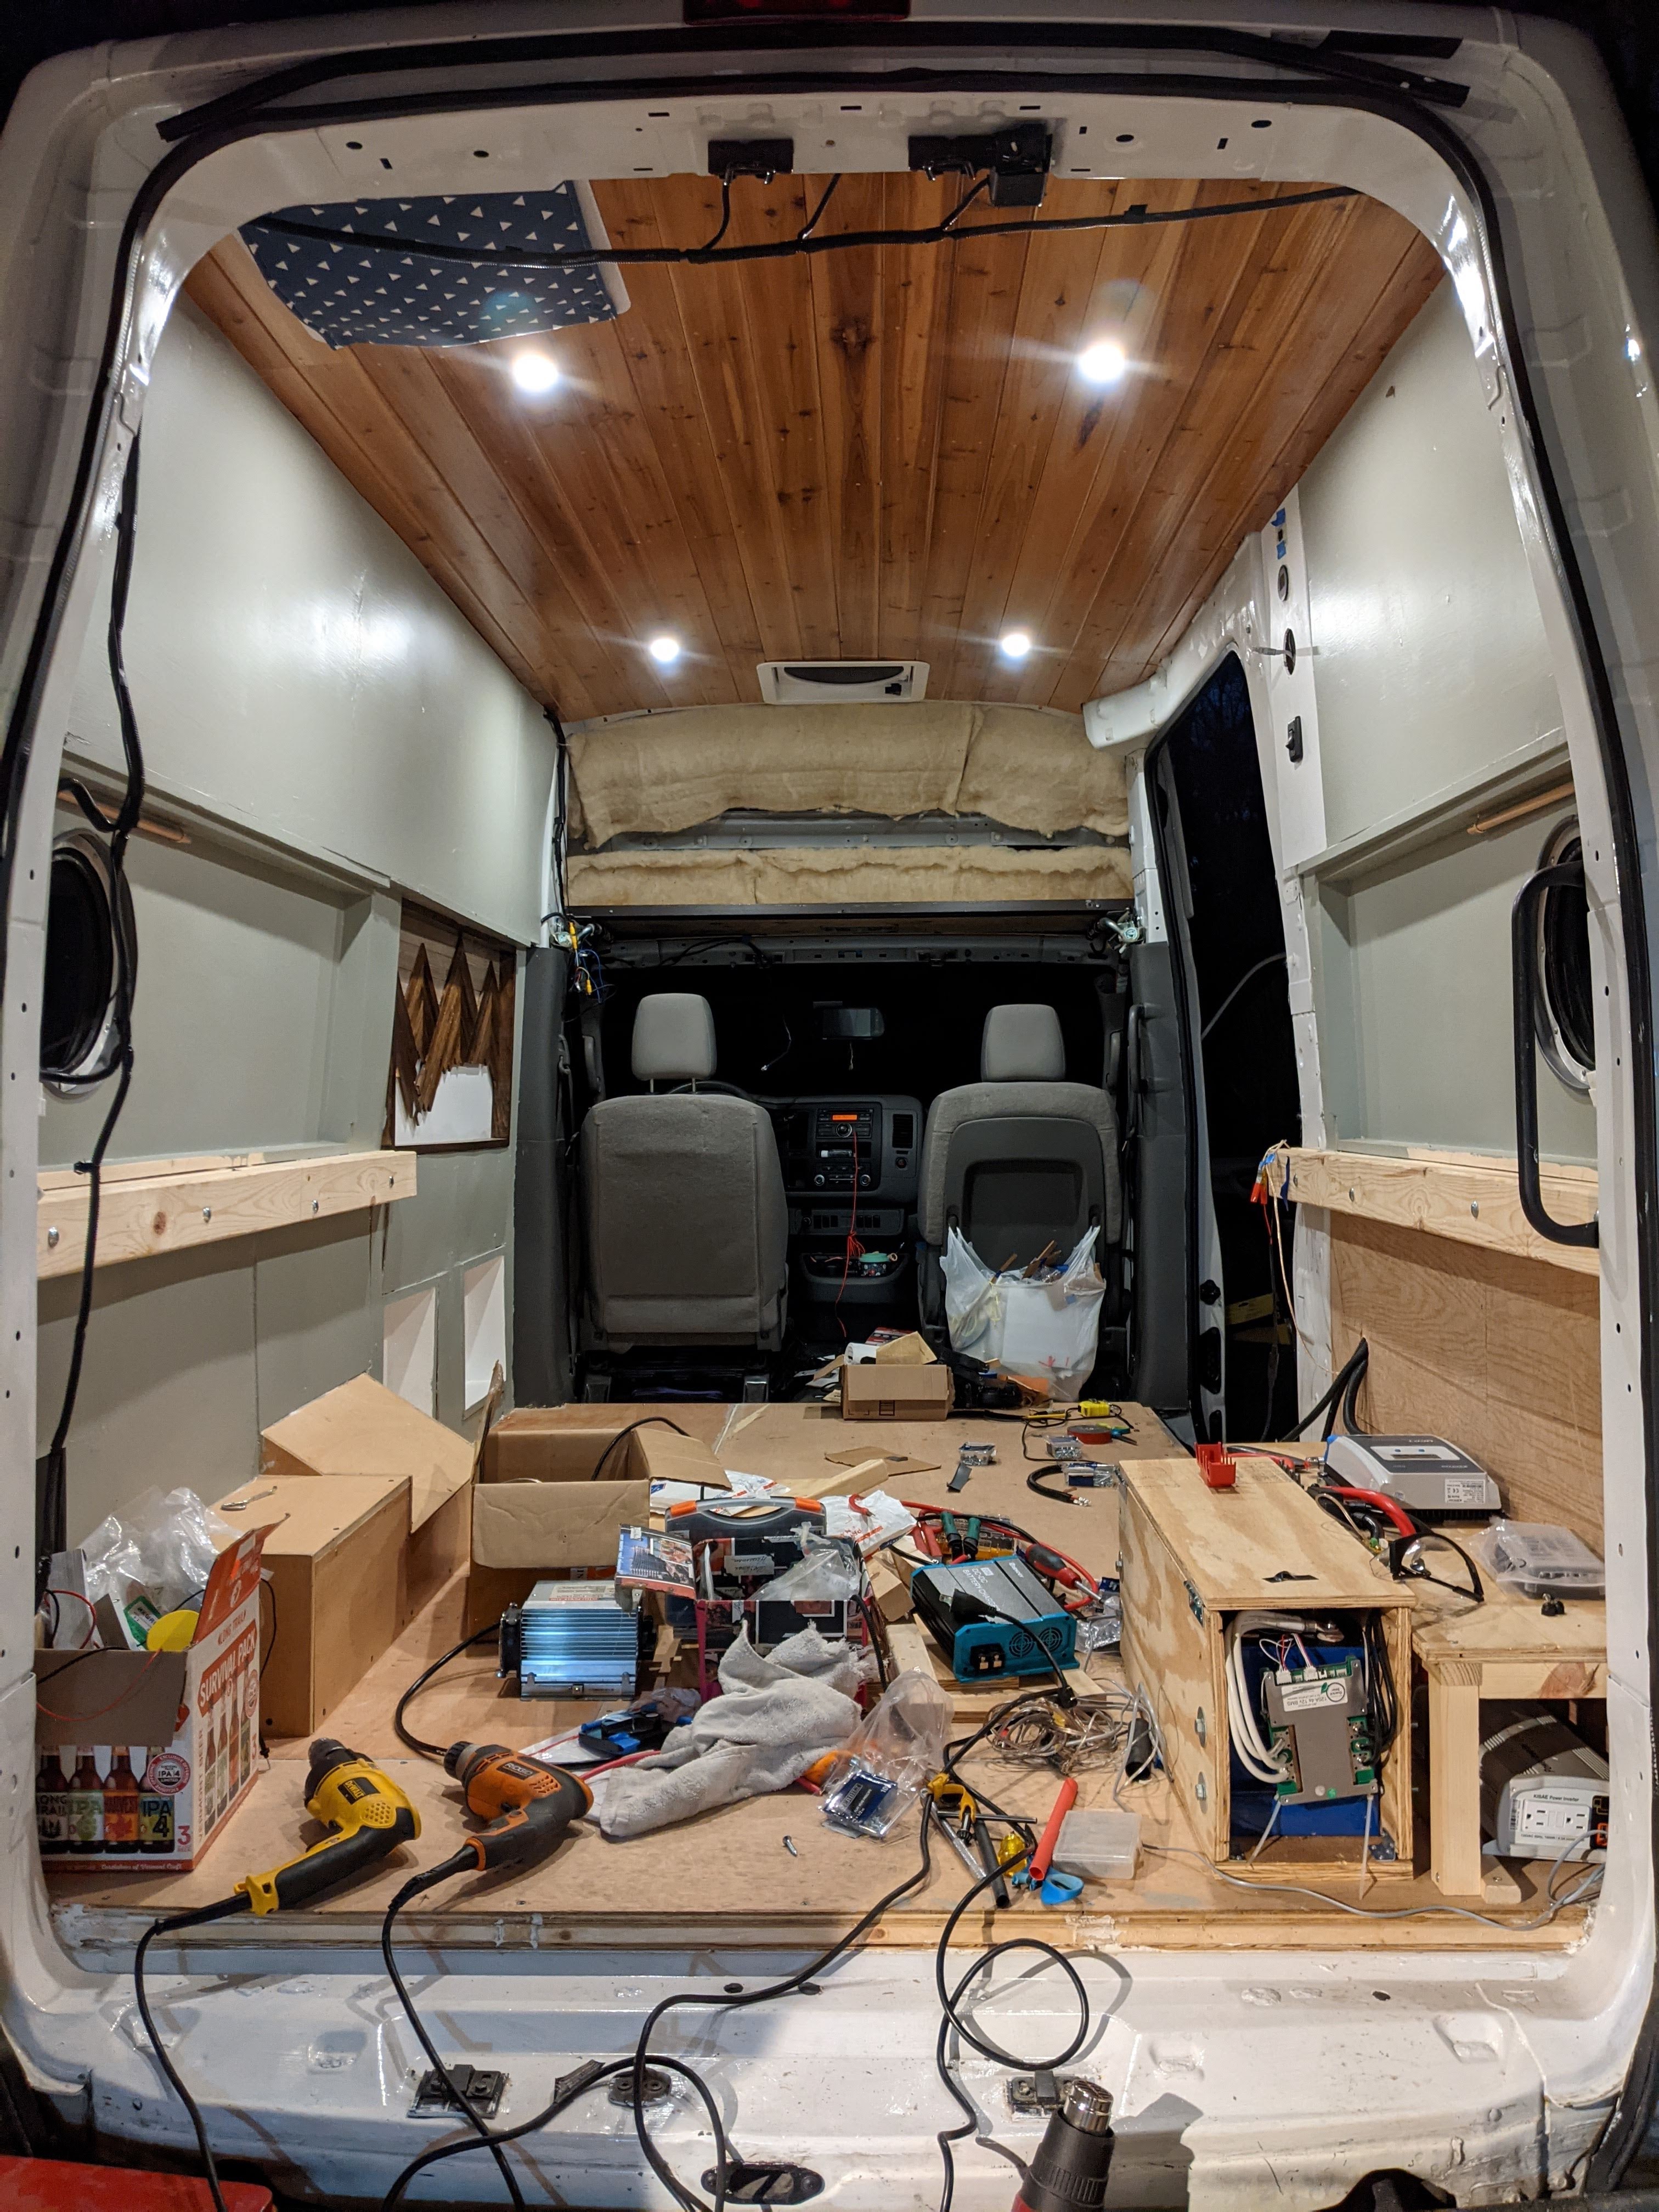
Matt built a box around the batteries, then we built a box around all of the components together. The top flips up and there’s a chain with a small carabiner to hold it open. Here’s a picture before the side wall went on so you can see inside a little better.

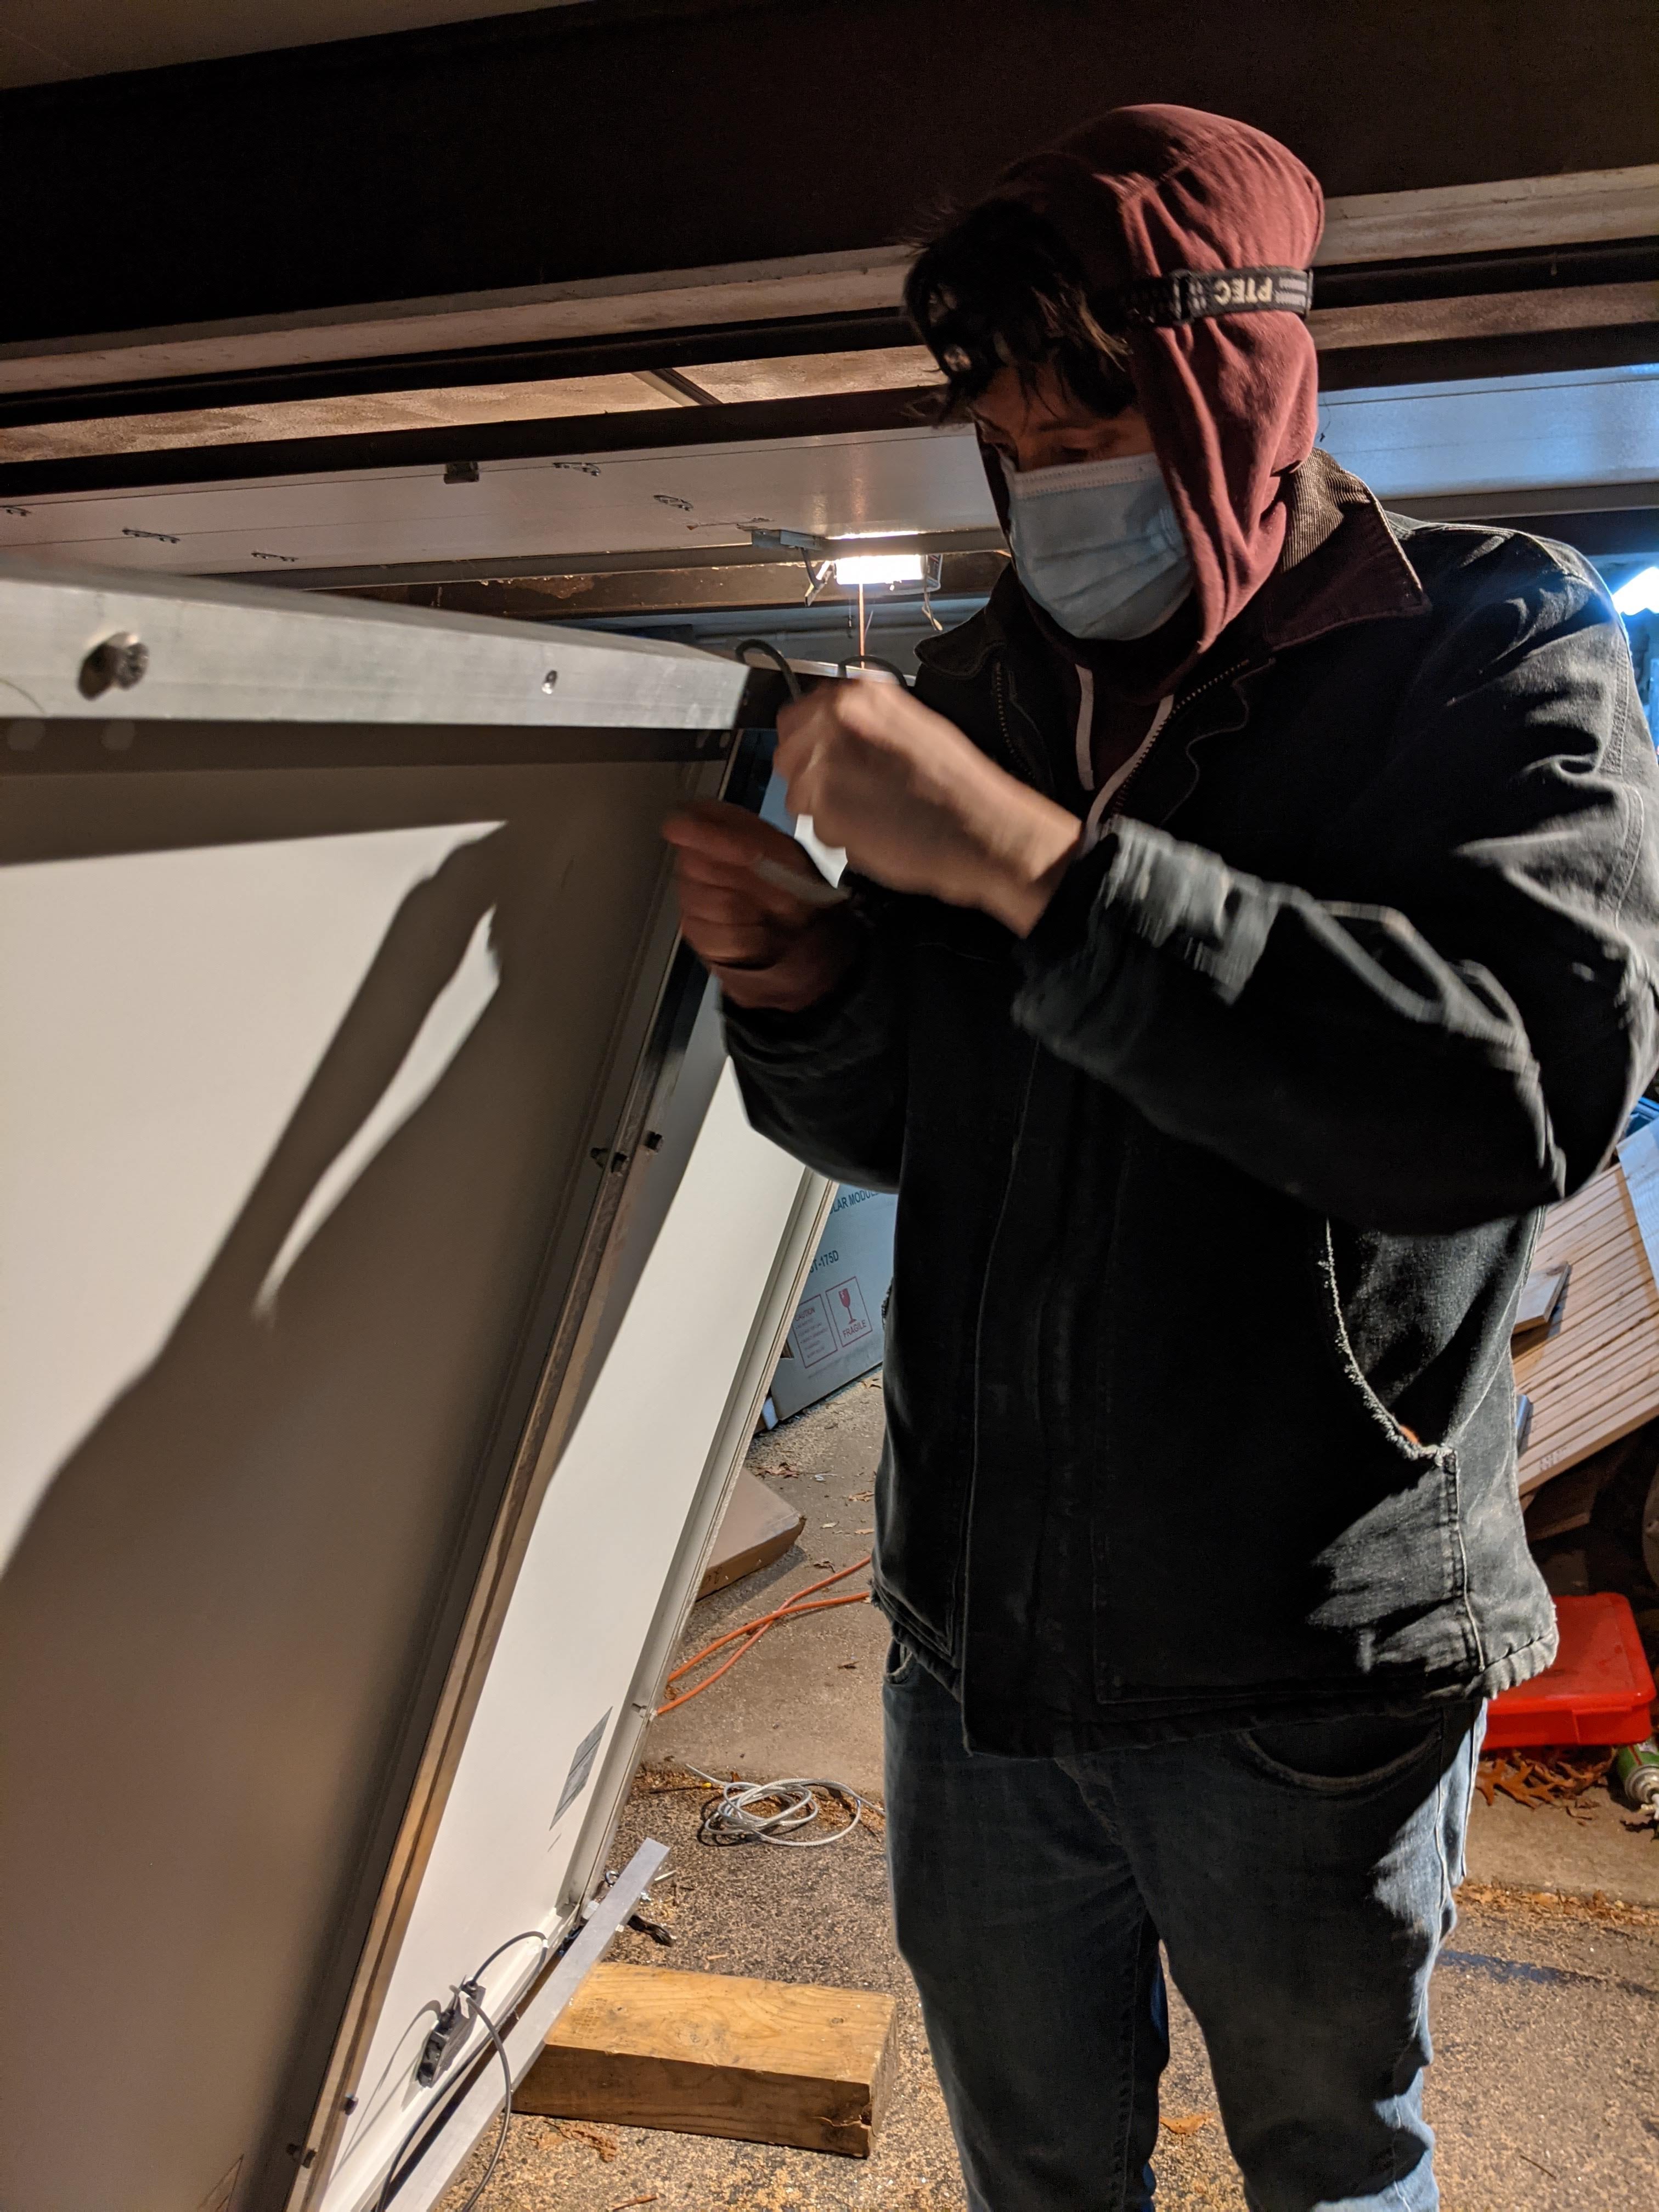
The finishing touch was getting the solar panels mounted on the roof, which turned out to be quite the ordeal. It had been so long since we touched this we forgot the order in which everything had to go together. Only once the rack was mounted and the panels were brought up did we remember the panels had to be mounted to the rack first, and the whole thing brought up together in one piece. Then after that was corrected and the whole thing brought up again, we remembered the bolts to attach the rack to the roof had to be put through the rack before the panels were attached. Yeah, it was a long night.
The good news is that’s behind us, they’re hooked up, and after a little daylight yesterday we can confirm they’re working how they should.

This seems like a good place to wrap things up for now. We have a lot more to show you but I’ll break it off into other posts, this one’s getting a bit lengthy and all over the place as it is. I’ll get another post up shortly to show you the insulated curtains and vent covers we made. It shouldn’t take me another few weeks again, I promise!

Wow, Annie! The amount of organizing to put this all together is pretty impressive! Good job! Looking forward to seeing it up close and personal.
Aunt Aline
LikeLike
Thanks! It’s pretty satisfying seeing it all come together. We’re excited for everyone to see it!
LikeLike