
Alright, folks, are you ready to see this van really start coming together? Because what a difference installing the floor made! We used sheet vinyl flooring, partly because it’s so thin it was a good way to give Matt a little extra headroom. This step was a process, for sure, but honestly it wasn’t as bad as a lot of other van-builders made it out to be.
From what we’d been reading about other van builds, many people make a template of their floor and use that to cut the vinyl outside the van (leaving a little excess, just in case). We didn’t bother doing that and it worked out just fine. In general throughout this whole build, we’ve found we’re usually more accurate when we don’t rely on templates. The shelf above the cab was probably the only exception.
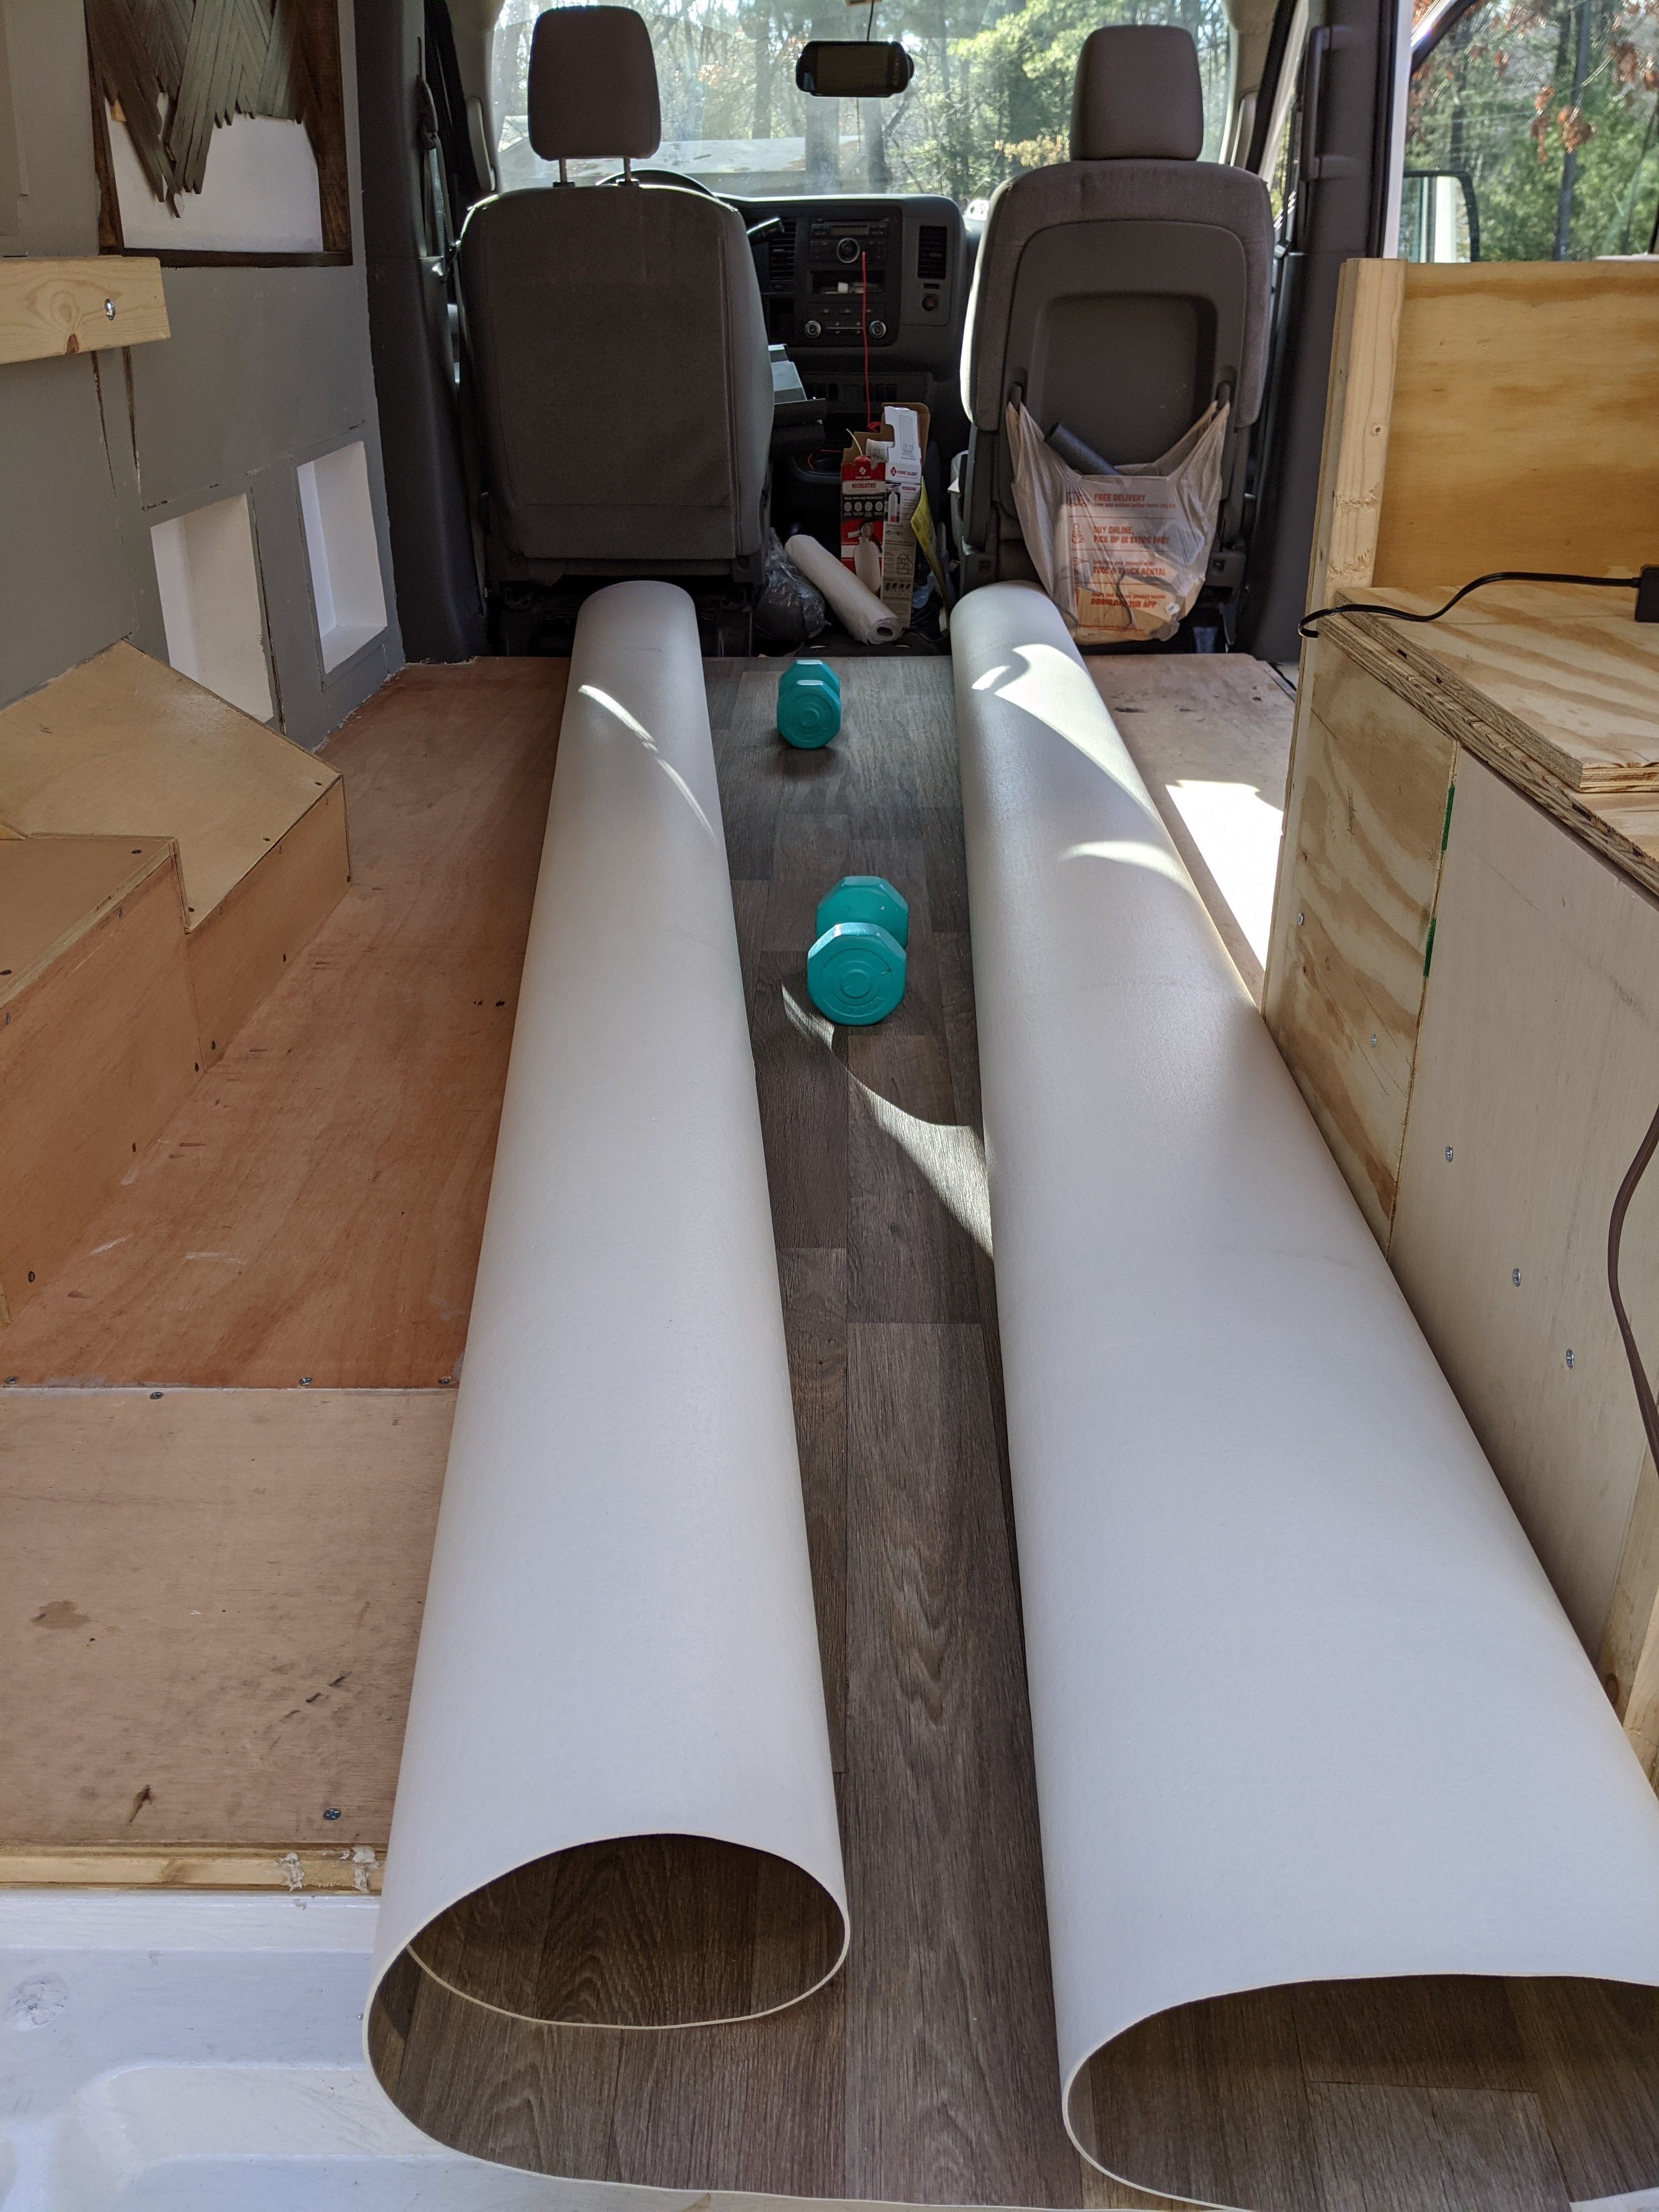
Our plan was to start in the middle and work out towards each side of the van. This seemed easiest because of what we had to cut around as we went. We had already cut the vinyl closer to size shortly after we bought it, leaving several inches of excess on all sides, so that removed a step the day we installed it and also allowed us to use some of the excess in other areas (such as the kitchen cabinet and the cab shelf) that were done before the floor.
The first step was simply to mark the center of the vinyl on either end of the vinyl, then do the same on either end of the plywood subfloor. We rolled the vinyl in from both sides to the middle, then lay the roll in the van lengthwise, matching up our center marks.
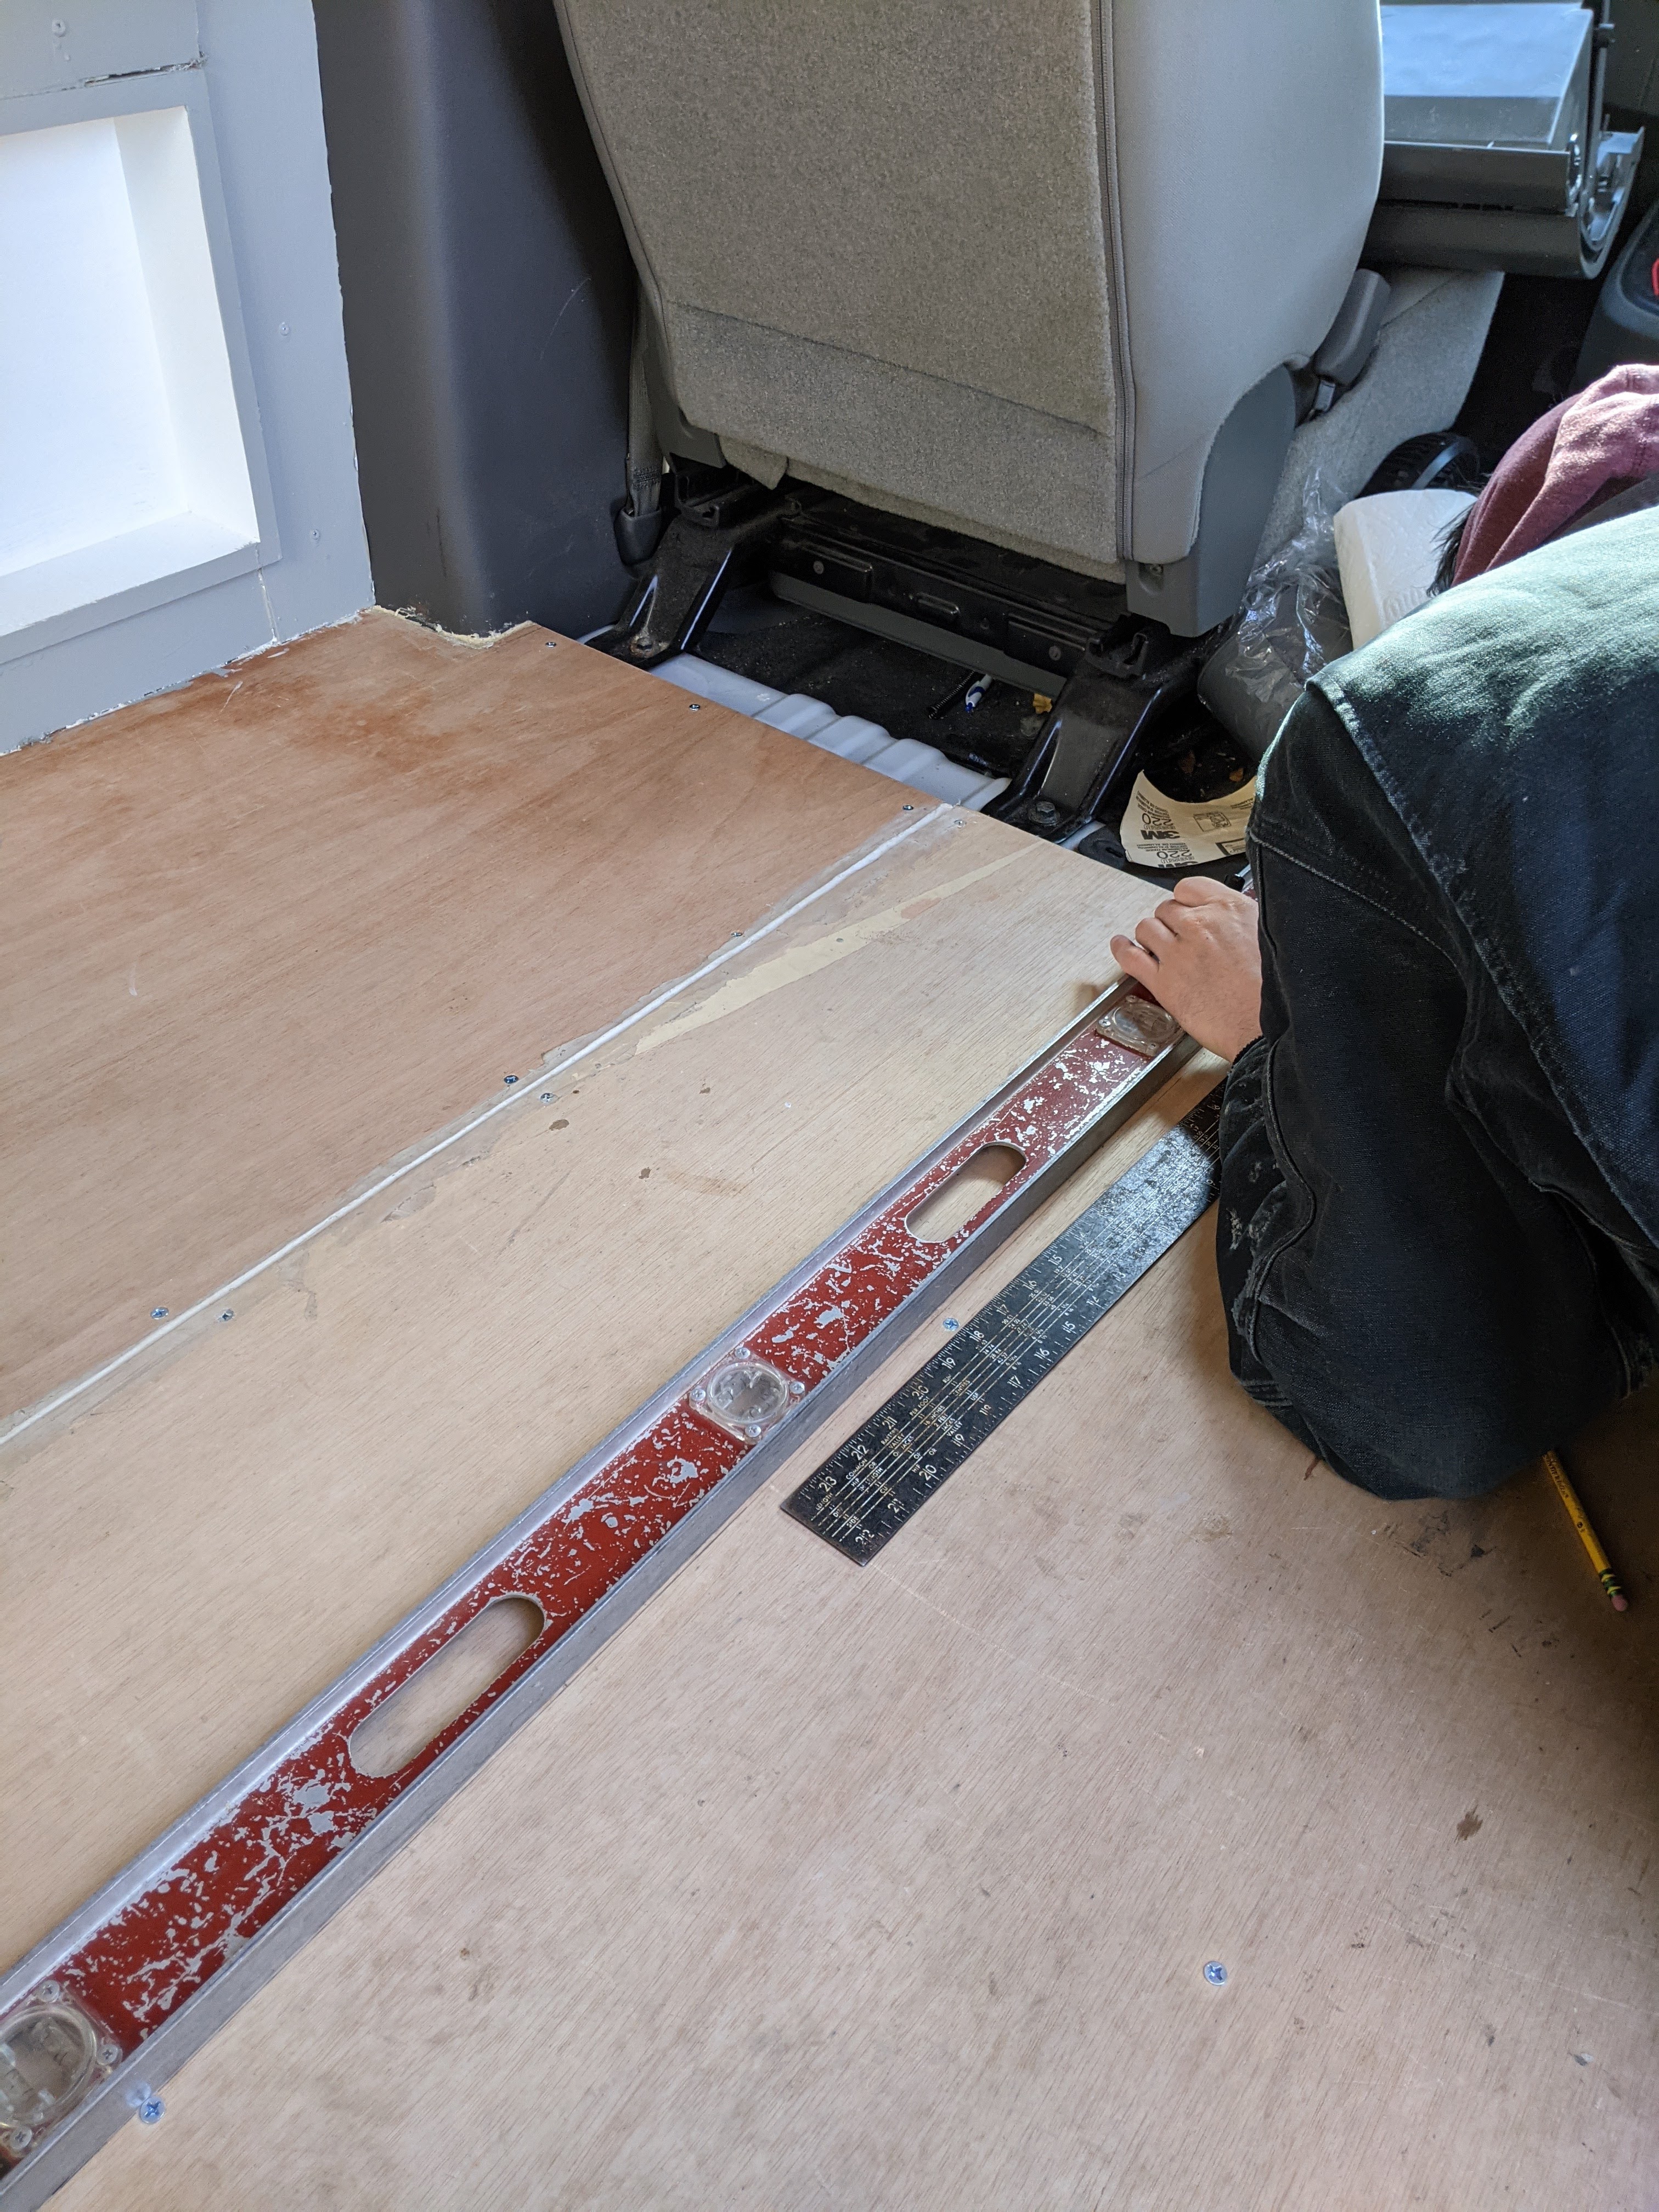
After adding some weight to help hold the vinyl in place, we rolled it out towards the back wall and made a few cuts around the wheel well box, still leaving a little excess just in case. Next, we rolled it back to the middle so we could lay the tape underneath. Neither of us got any pictures of that step, but I promise you’re not missing much. Once all of the tape was down, we started in the middle again and worked our way to the wall, taking the backing off the tape one section at a time, and smoothing the vinyl as we rolled it out. We left the excess around the edge, figuring we’d go back and trim it when we had the entire floor down.

The second half of the floor was a little trickier since there were some odd angles and more things to cut around, but even so it still went pretty quickly. If we had to do it again I still wouldn’t bother making a template.
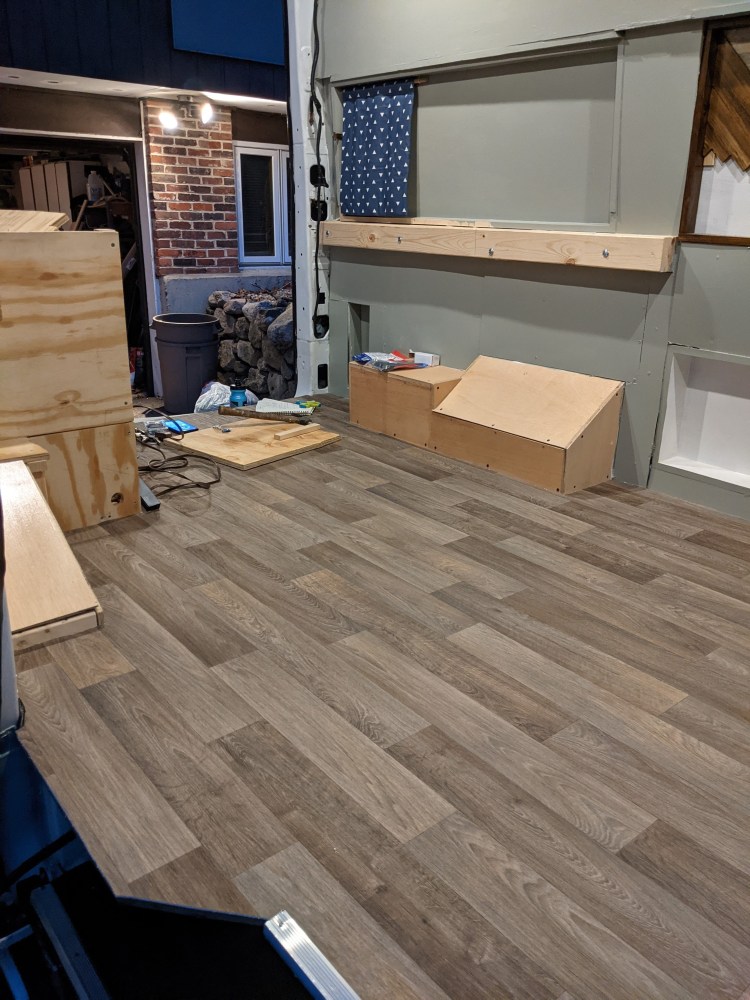
And there we have it! We’ve officially decided on no shoes in the van now, especially since we’ve recently gotten snow.

You’re right about the template idea, especially if your material is reasonably flexible and not overly fragile. Much more risk of a template flexing or shifting the wrong way, and a 1/2″ mistake means a wasted floor, or trying to convince yourselves that duct tape is a witty, soulful expression of the zeitgeist.
Looking good! Bet it feels good, too!
LikeLike
Hahaha we did have to patch a spot I messed up, but it’s underneath a bench anyway!
LikeLike