Alright folks, as promised, here is the update that is much more exciting than the last one, at least we think it is! We recently both took a week off from work, and after a much needed few days in the mountains we took the leap on one of the more intimidating steps of this build: installing the roof fan and vent. For the sake of good ventilation and air flow, we installed a fan near the front and a vent near the back. There are some great tutorials for this online so we were confident we knew what to do, but the thought of actually cutting holes in the roof was nerve-racking nonetheless.
We tackled the fan first, since our plan was to measure the placement of our solar panels and vent off that, leaving us time to swap out the vent for something smaller if needed. We’d measured and mapped out the layout beforehand, but we wanted to make sure we left ourselves some room for error or adjustments. The panels hadn’t even arrived yet, those showed up later in the week, but we knew we needed to take advantage of the clear weather since we were cutting through the roof.
The first step was to make a template for the opening of the fan. That was screwed to the ceiling in the center, then a hole was drilled through each of the four corners. Next, the template was moved to the roof where it was reattached and the sides marked with painters tape to guide the cuts.


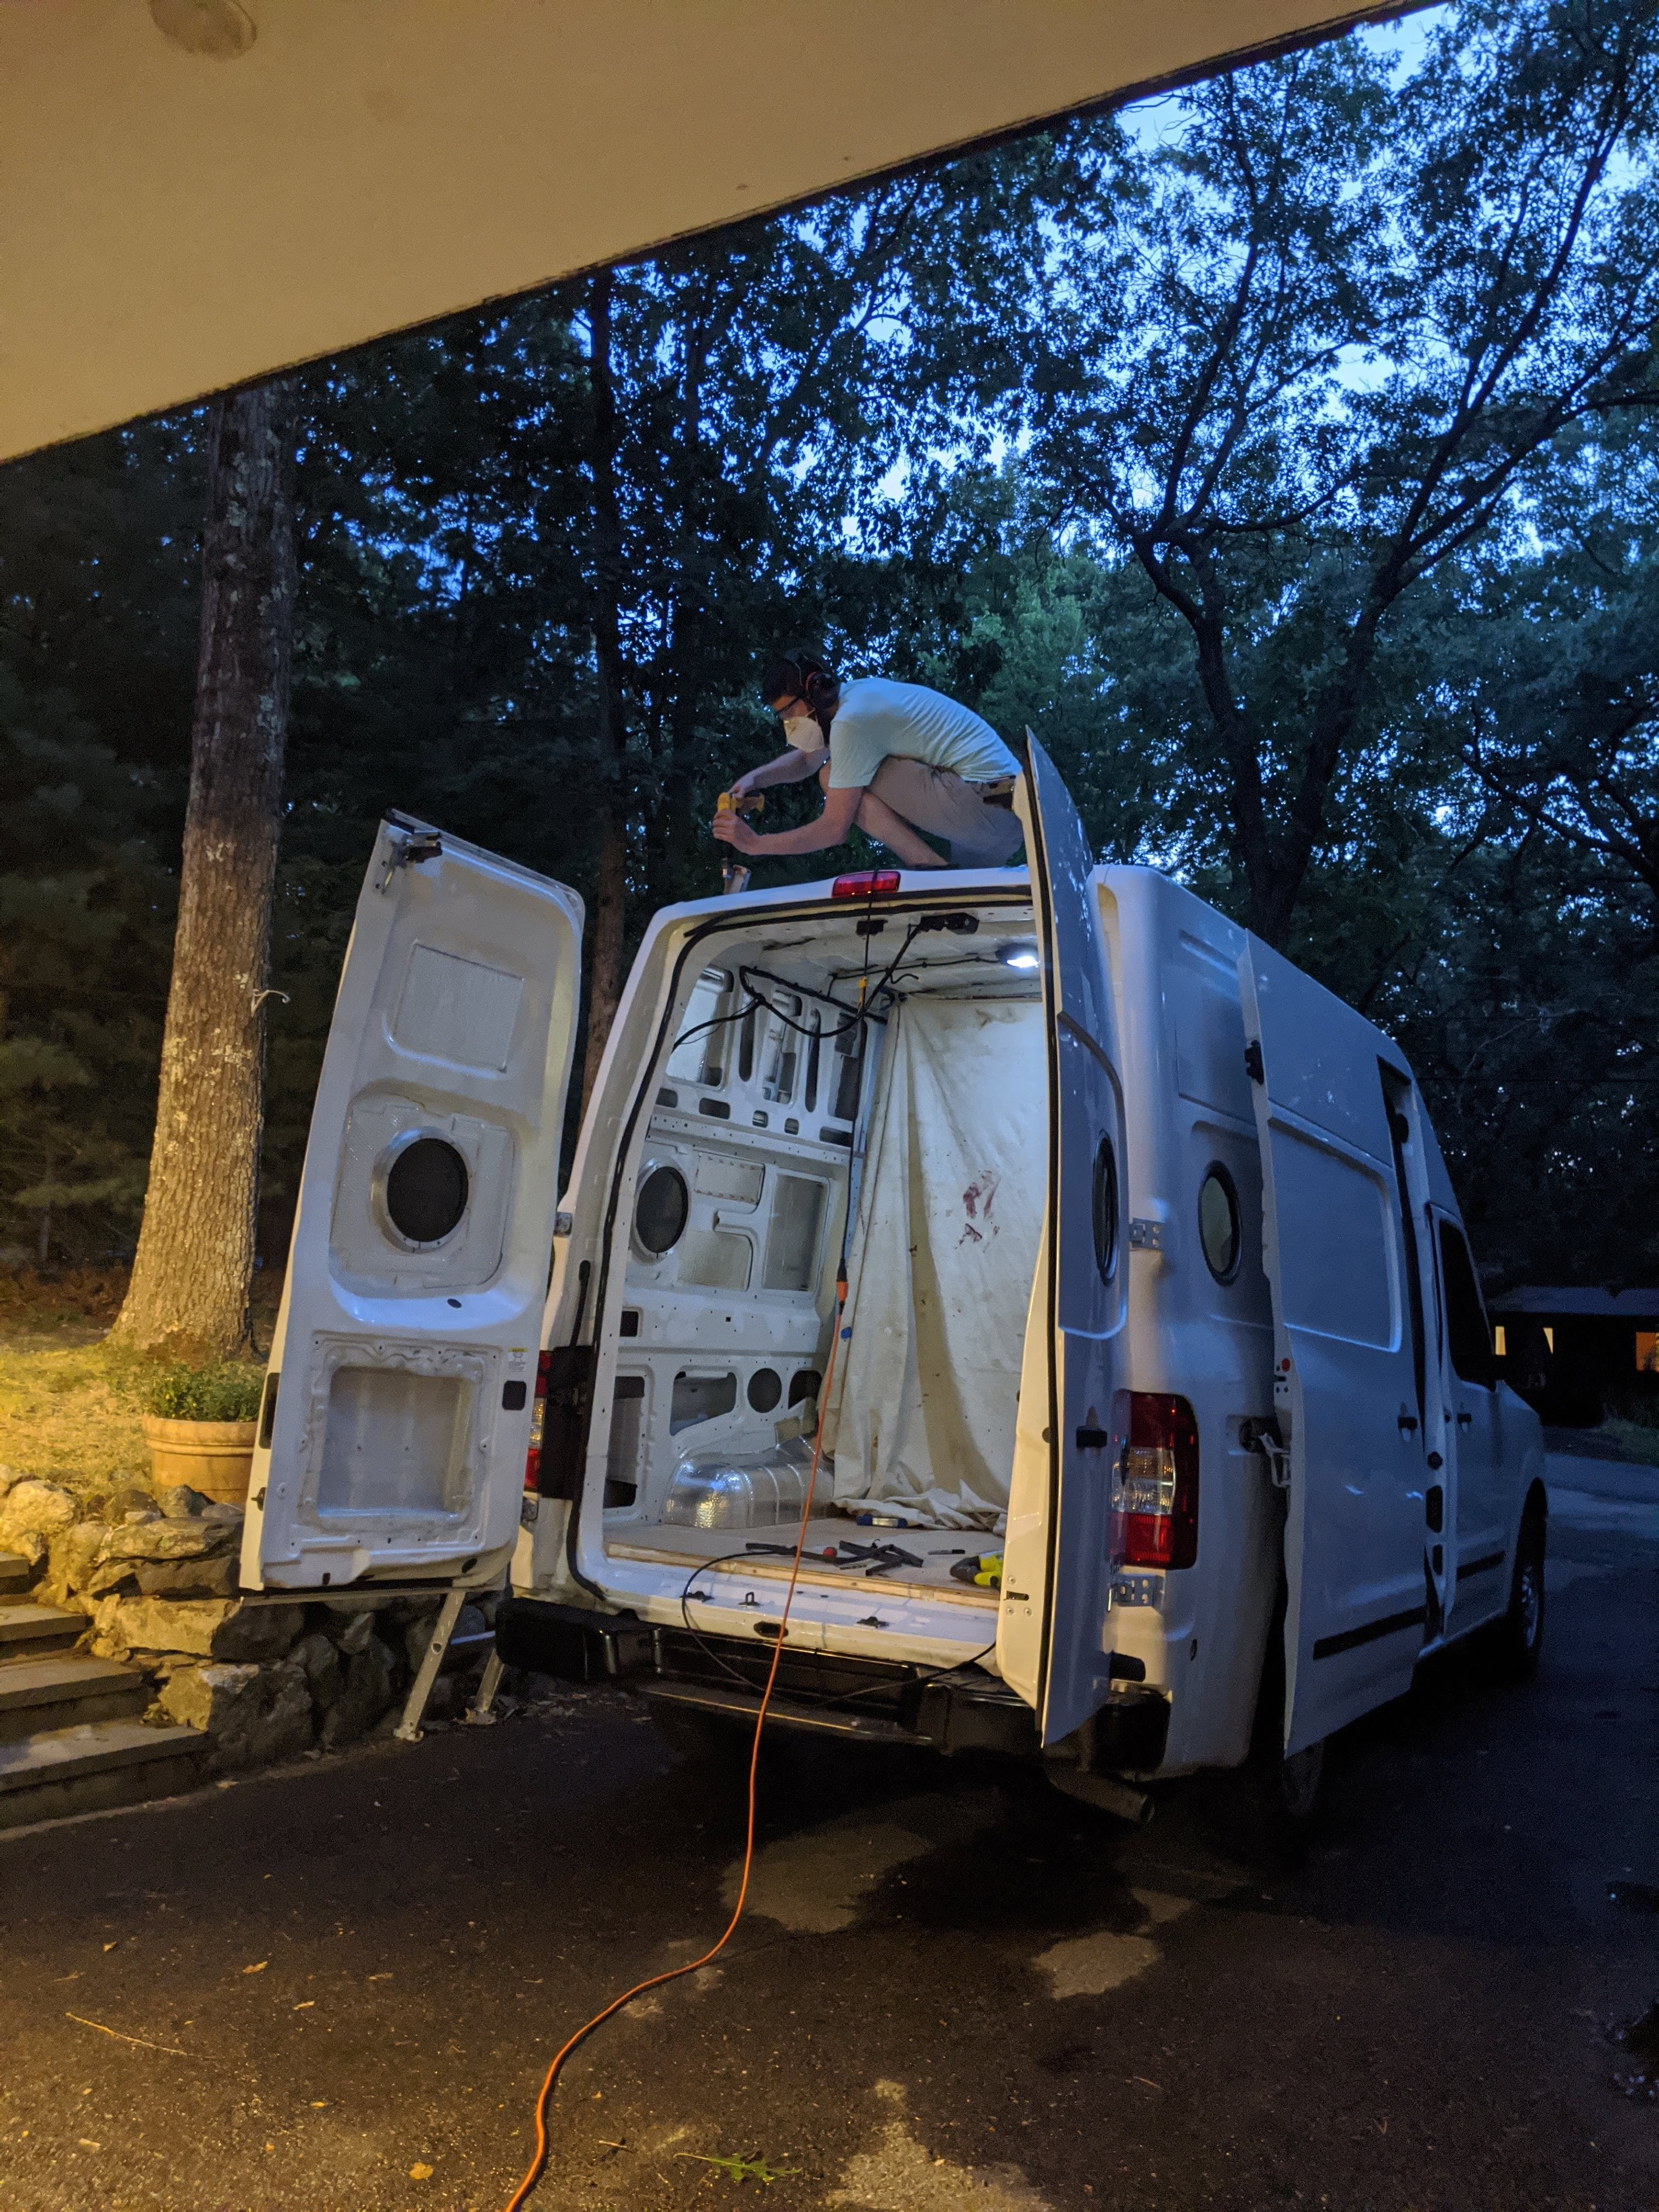
Too late to stop now, time to cut this hole in the roof!


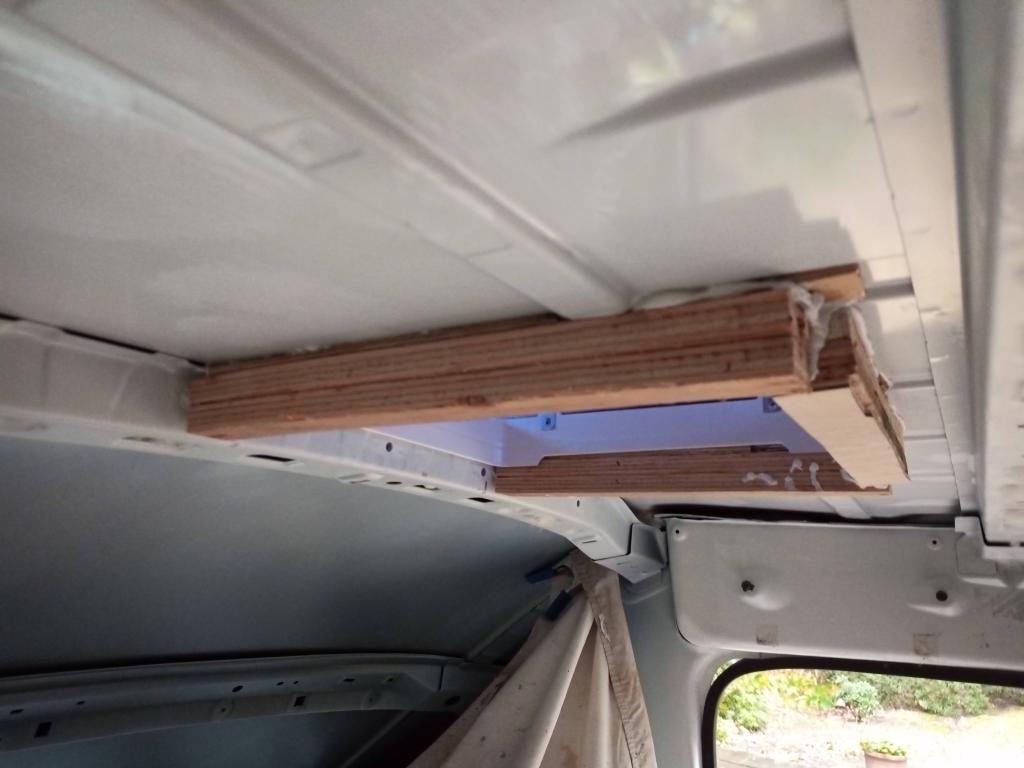
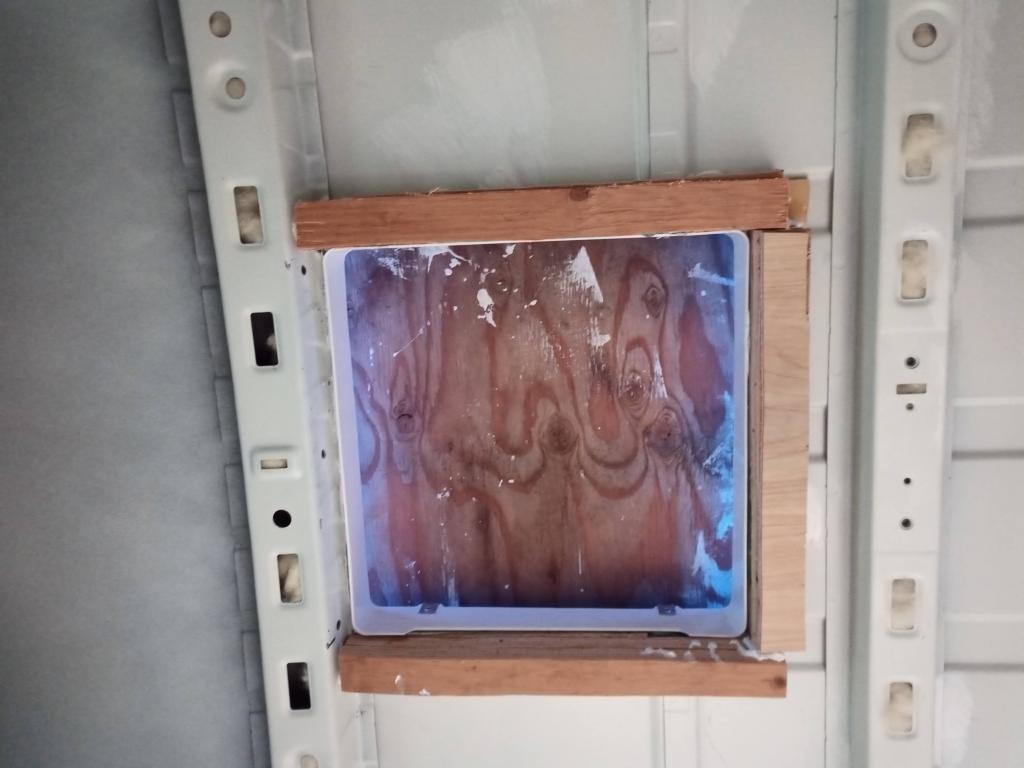
While Matt worked on cutting the roof, I made a frame for the three sides of the fan that would not be adjacent to a rib. After a quick check to make sure everything fit properly, we were ready to secure it all in place. Because we’re working on a van and seemingly nothing is square or even, we ended up with a few more shims than anticipated. This wasn’t a huge deal, but it did slow things down a little and we were already on a time crunch to get this to a good stopping point before an incoming storm arrived.

The process for installing the vent was the same as the fan, so getting that in went much faster since we knew what we were doing the second time around. The final step was to seal around the exterior with a specific self-leveling sealant we had to drive an hour (each way) to buy. That was a whole ordeal in itself, but I’m happy to report that it turns out it was worth it after all.
We’ve left the interior pieces of each one off for now until we have the ceiling installed. Our power system is yet to be installed, but we did connect the fan for a minute just to be sure it works. There were no issues there, plus it’s much quieter than I expected, which was a nice discovery.

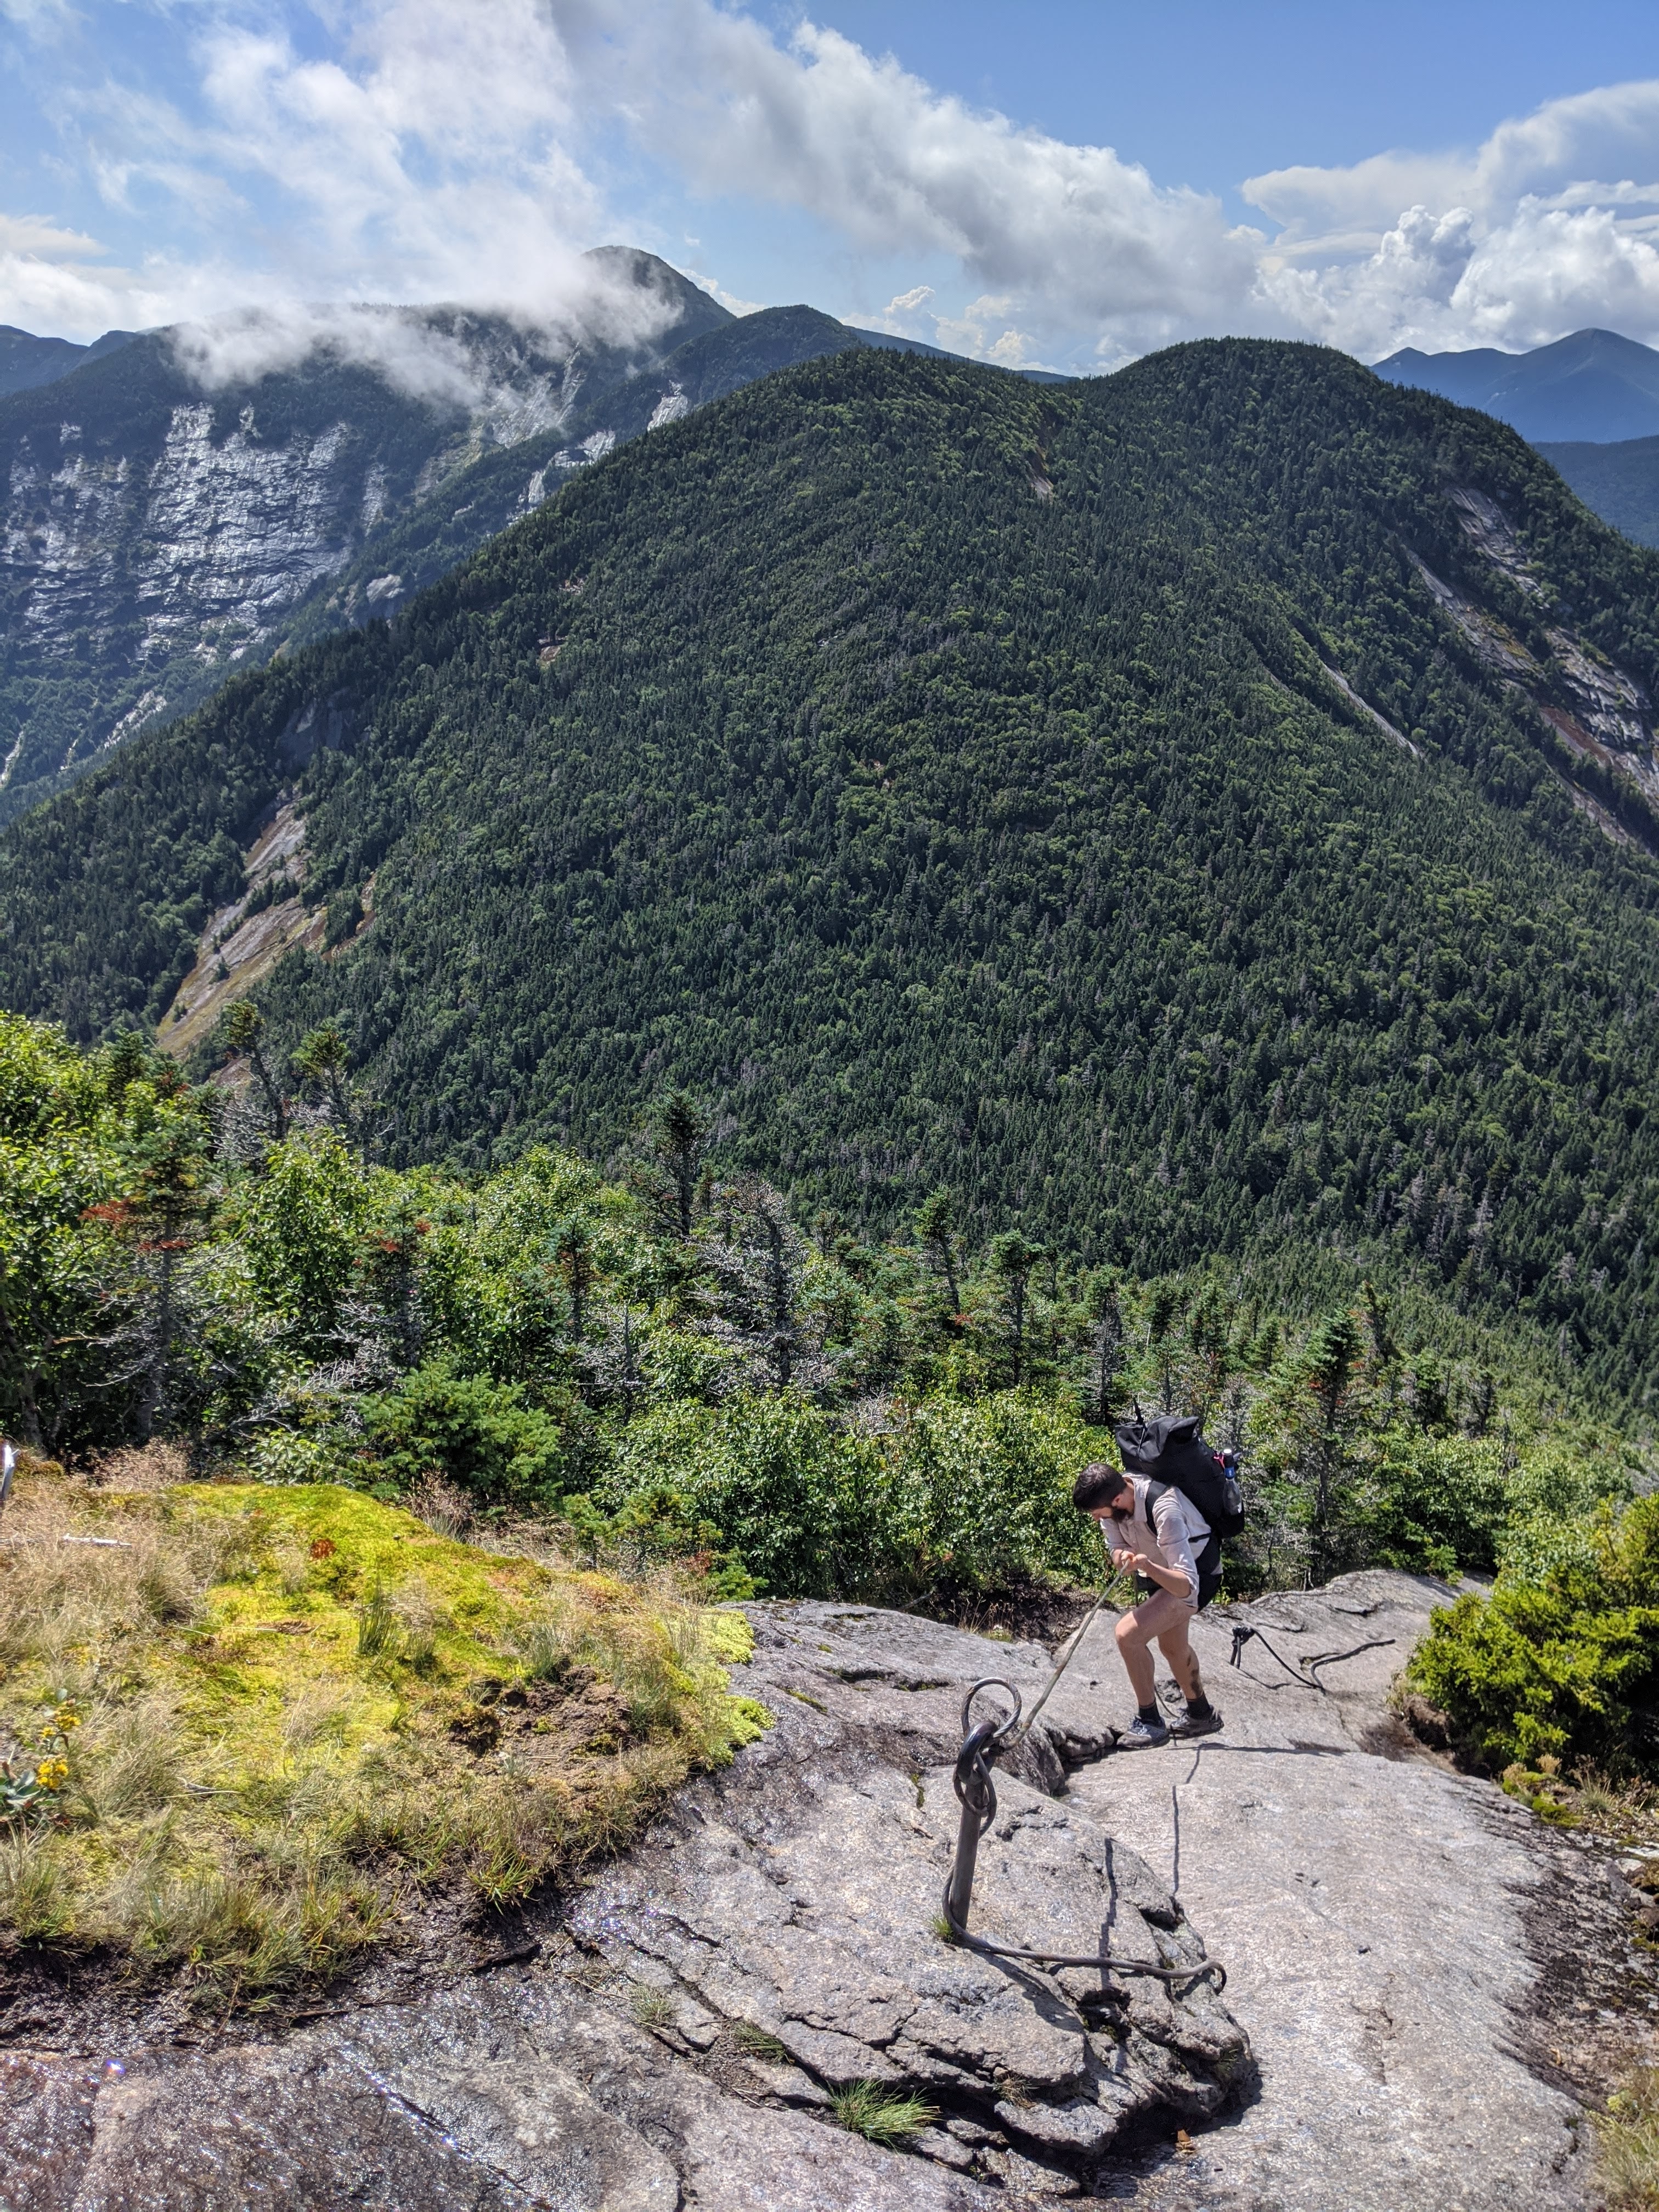
That’s about all for those two things, but here are a few bonus pictures from our few days of backpacking in the beginning of the week. Totally worth taking the time away from the van for this!