Hello everyone! It’s been slow going over here for a while, hence the long silence since the last post. For a few weeks after getting the van cleaned out, our time was spent mostly on tedious prep: cleaning, dealing with a little surface rust, and installing sound deadening mats. Nothing too exciting, but it did mean we could move ahead with getting the subfloor installed. It’s much more fun to see the progress than it is to hear about it though, so let’s get to some pictures!
There were no major problem areas with the rust, but as with most things, it’s worth the time and energy to take preventative measures rather than wait for problems to arise down the road. As for the sound deadening mats, we’ve read mixed reviews from other van lifers on whether or not it’s worth spending the time and money on this step. We installed some in our car (only in the front, not even a complete job), and after hearing a noticeable difference decided it was worth it to go ahead with them in the van.
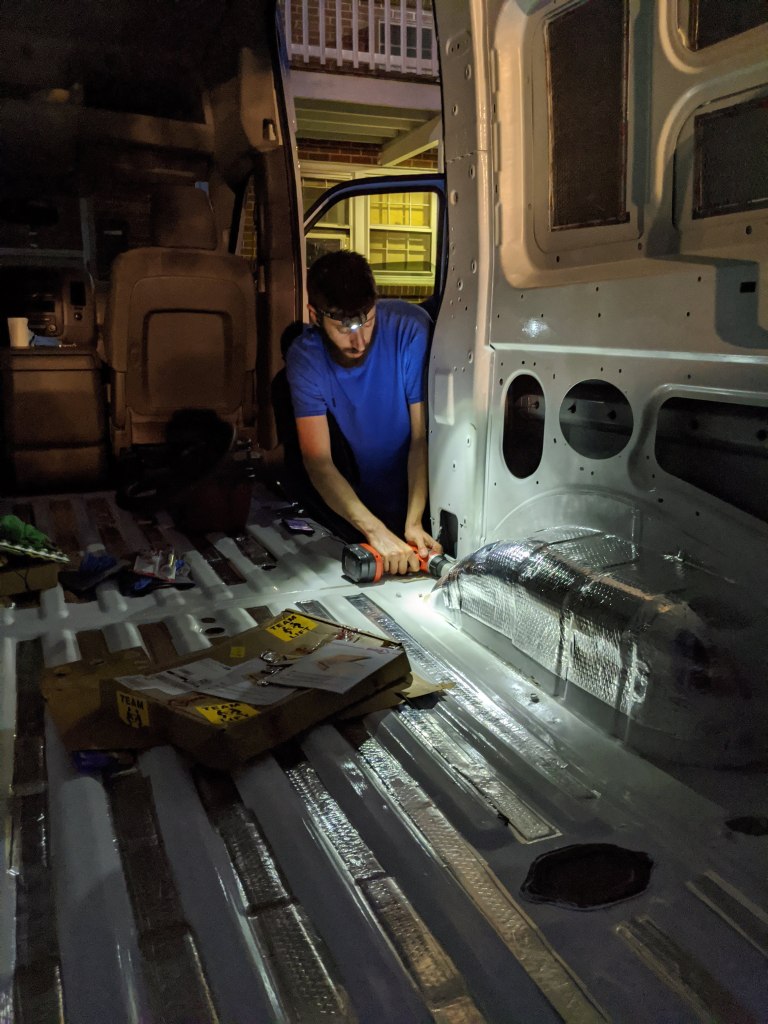

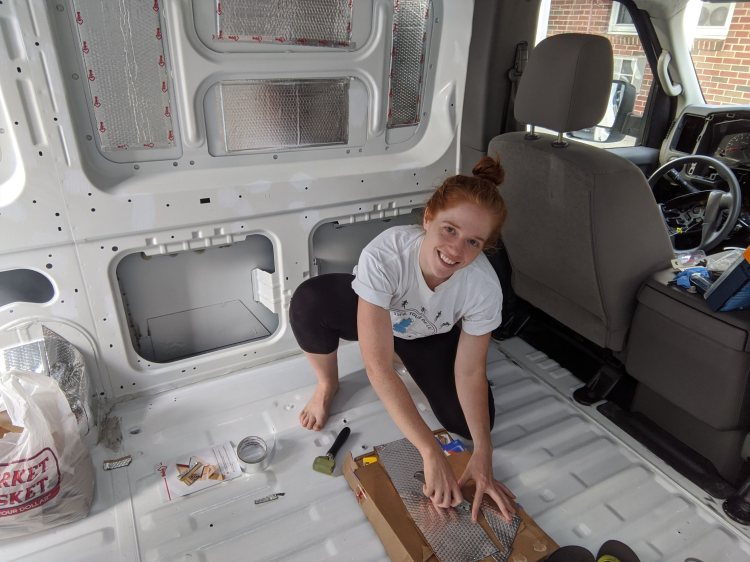
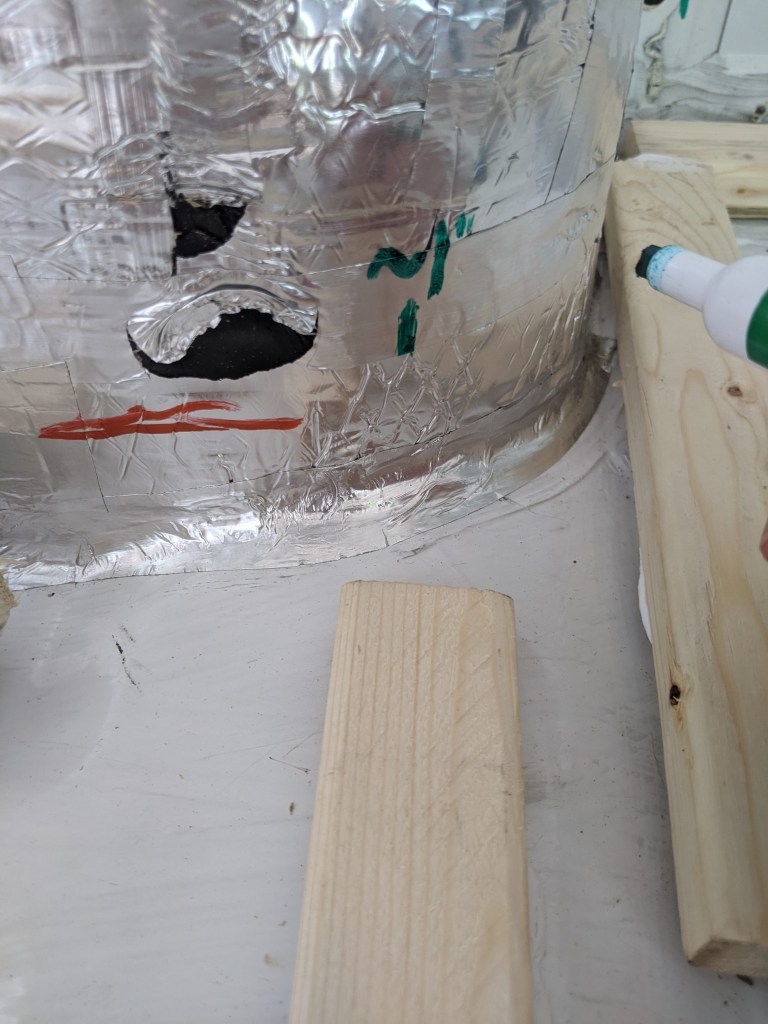
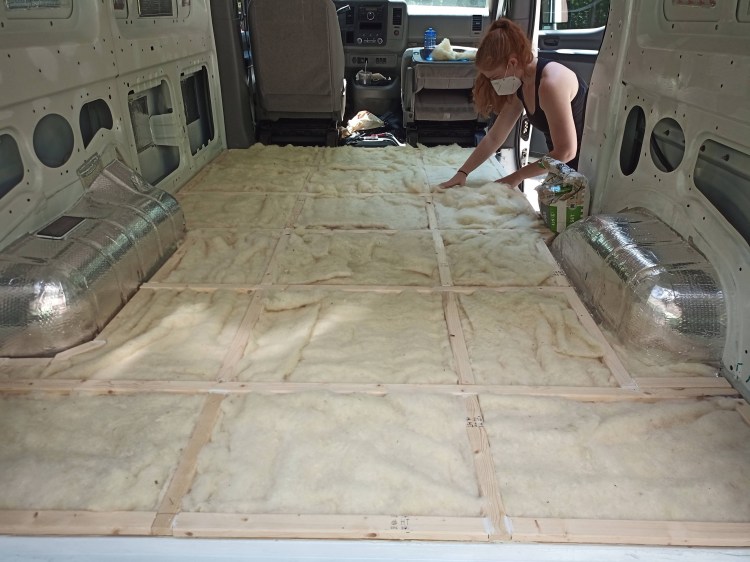
Once those two things were done, we were ready for the first major step in this build: the floor! Getting the sub floor installed ended up being much simpler than we anticipated, though it did still take a while because of how we did it. We’re using wool insulation (yes, sheep’s wool, smells like a barn and everything) so we had to frame out the floor to give the insulation enough loft. Relatively simple, but this method does require caulking between the furring strips and the van floor, which in turn requires a fair amount of downtime while that dries. Doing this serves two purposes: one, it holds the strips in place while the plywood is installed, and two, the caulk helps prevent squeaking later on.
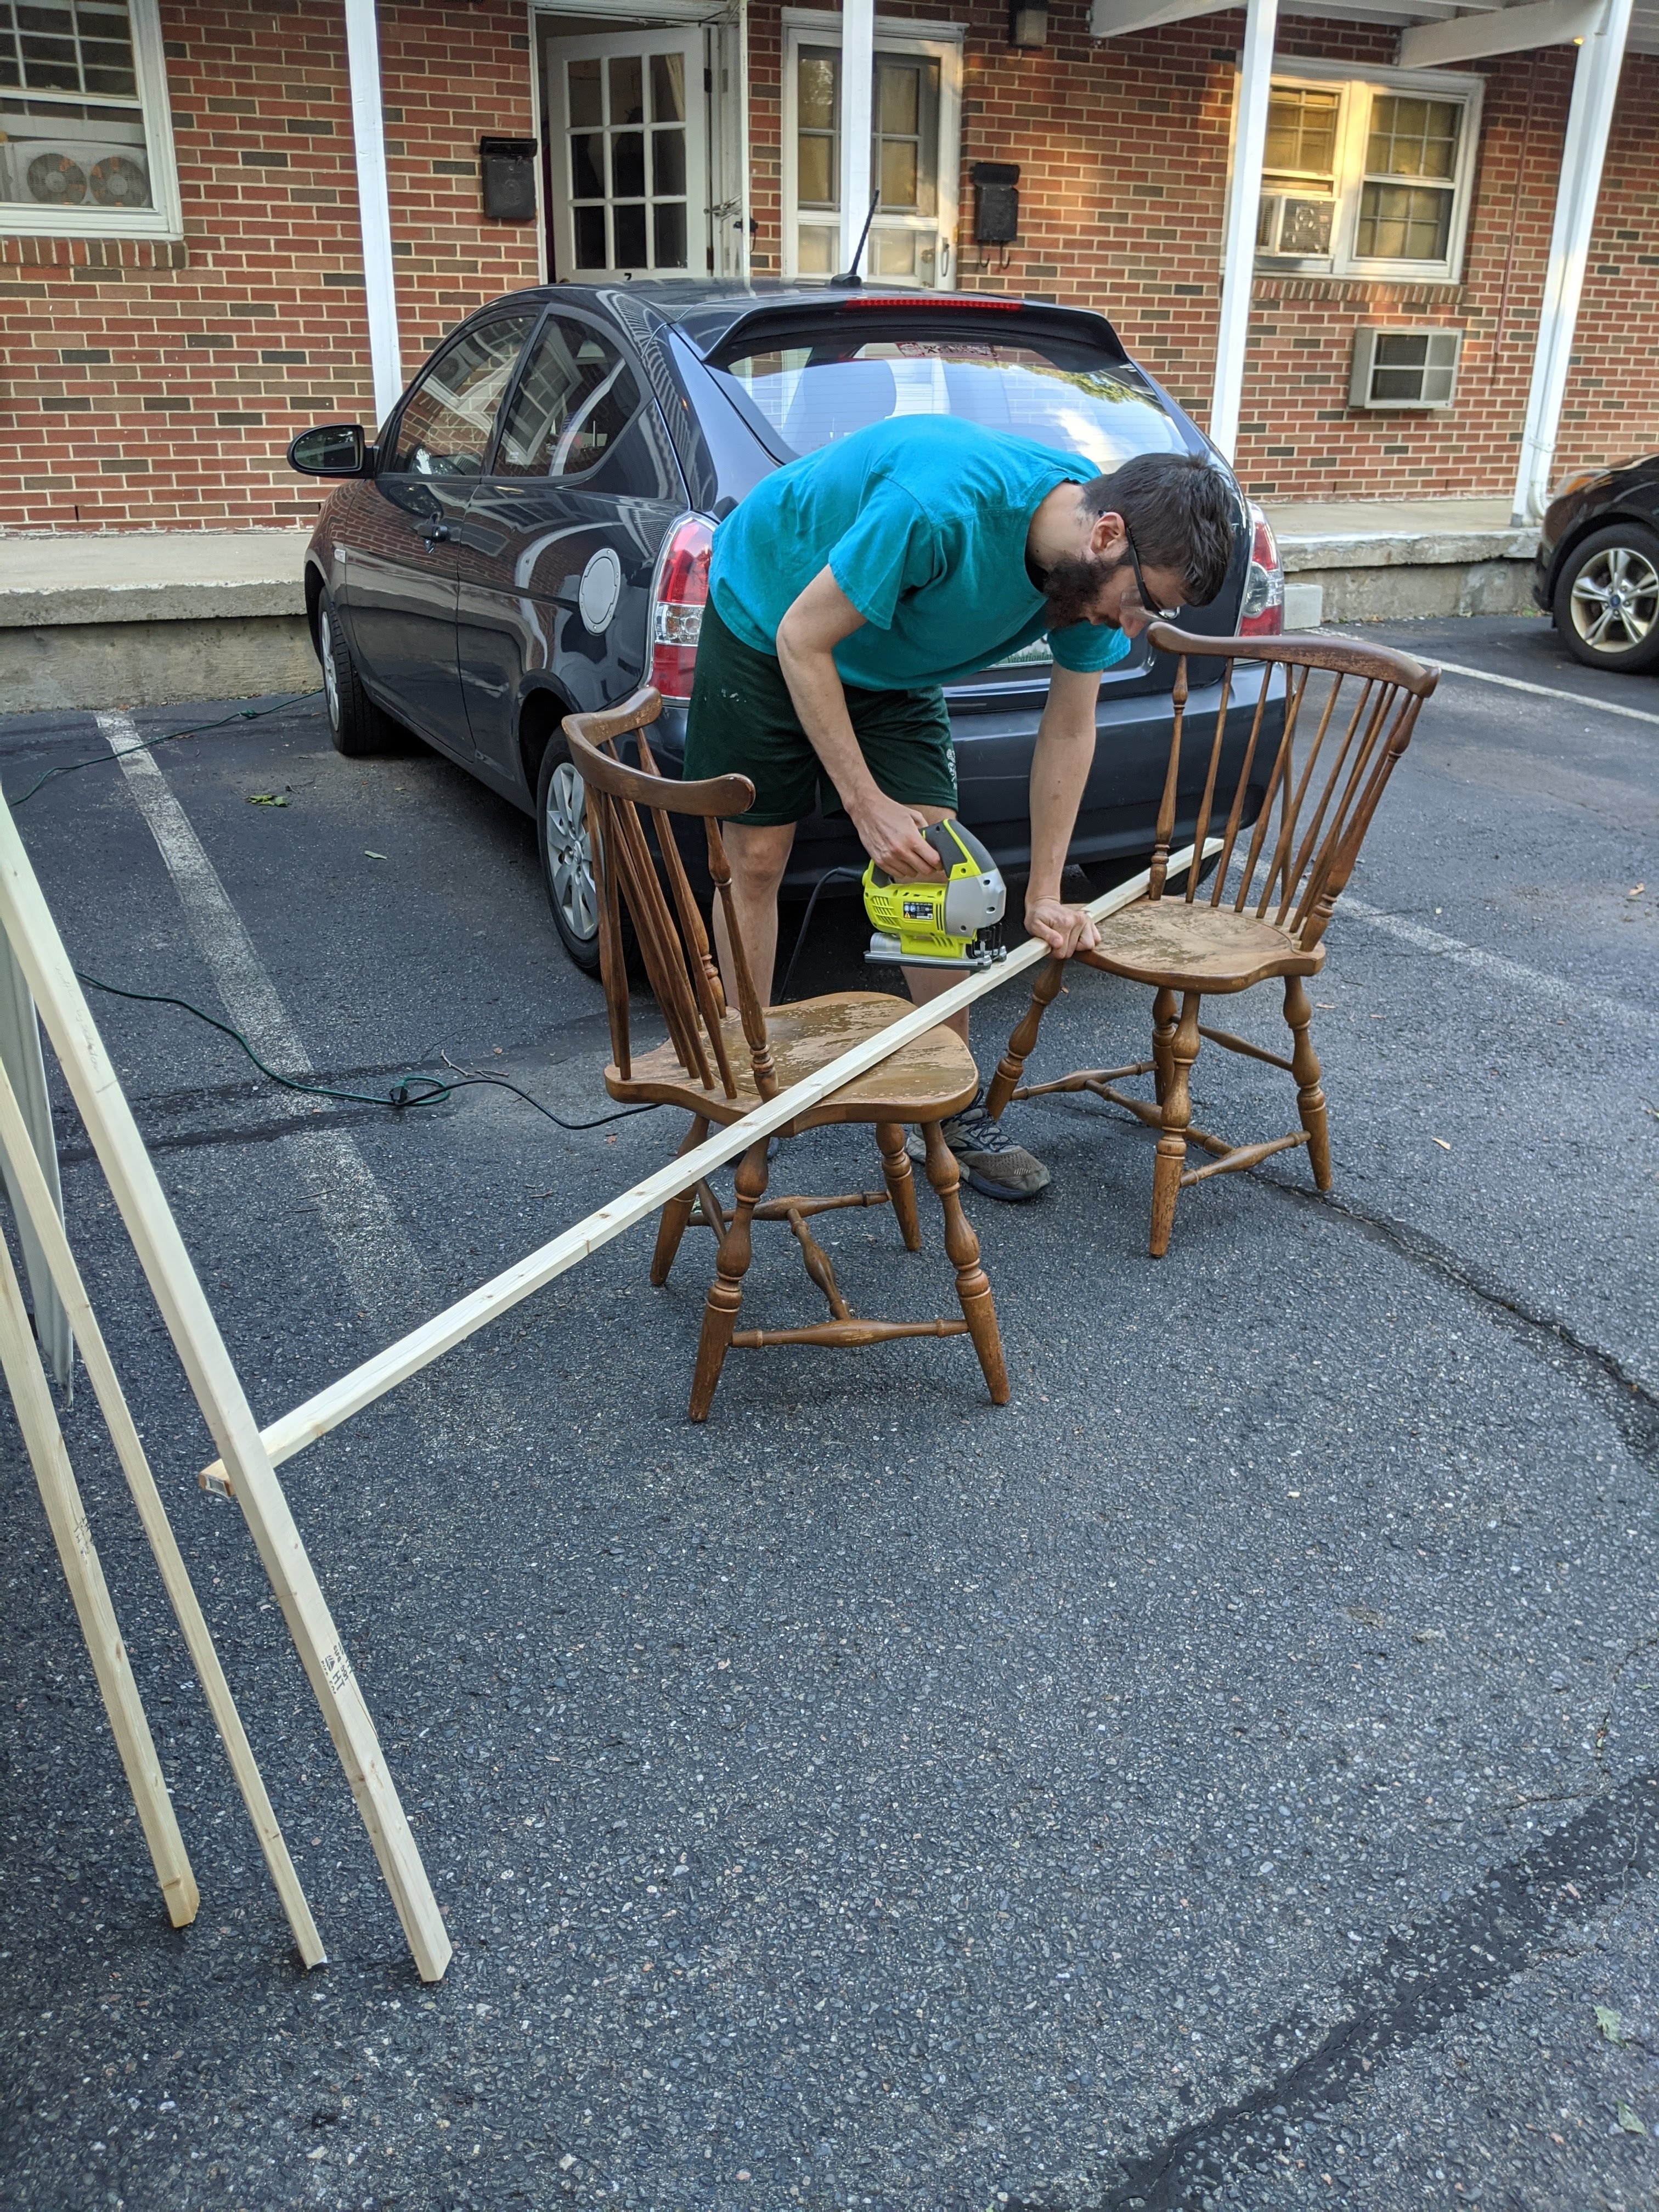

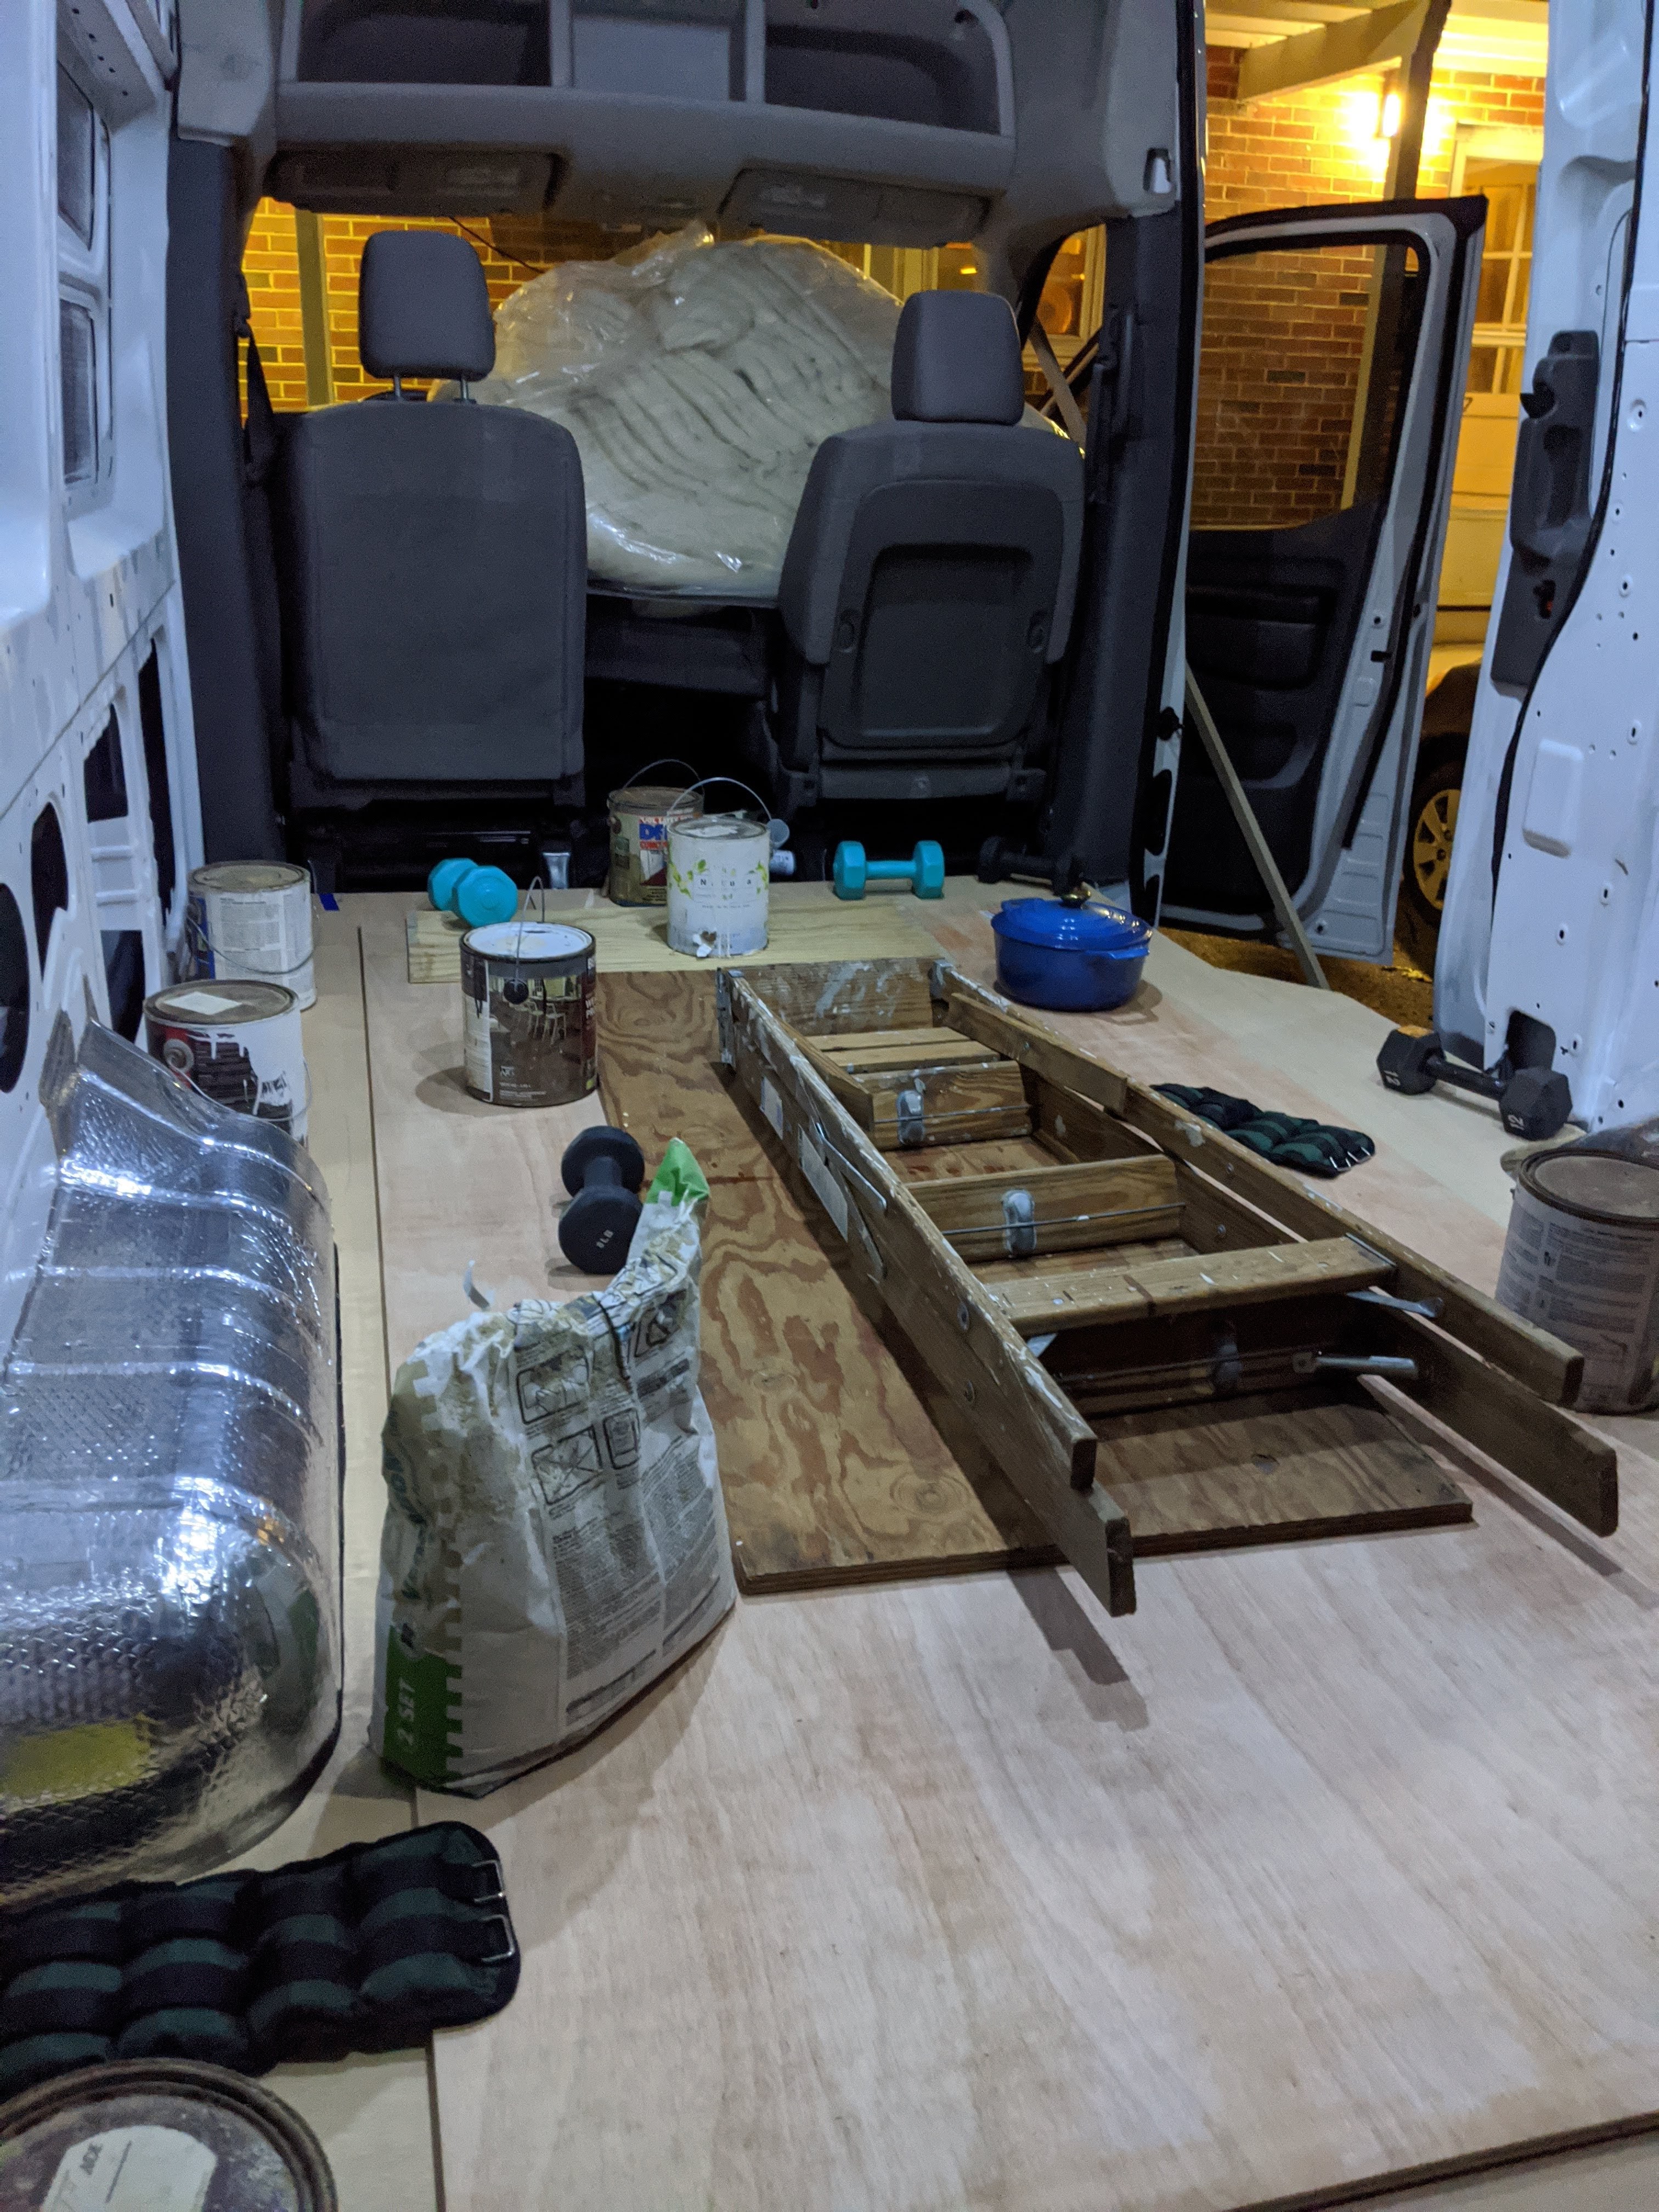
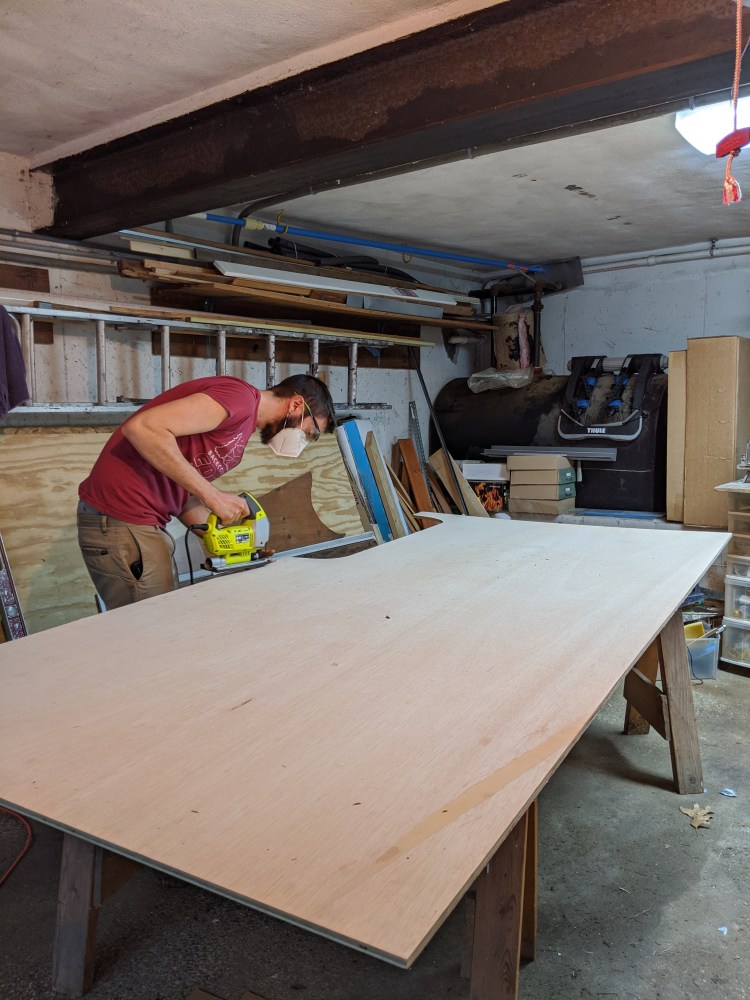
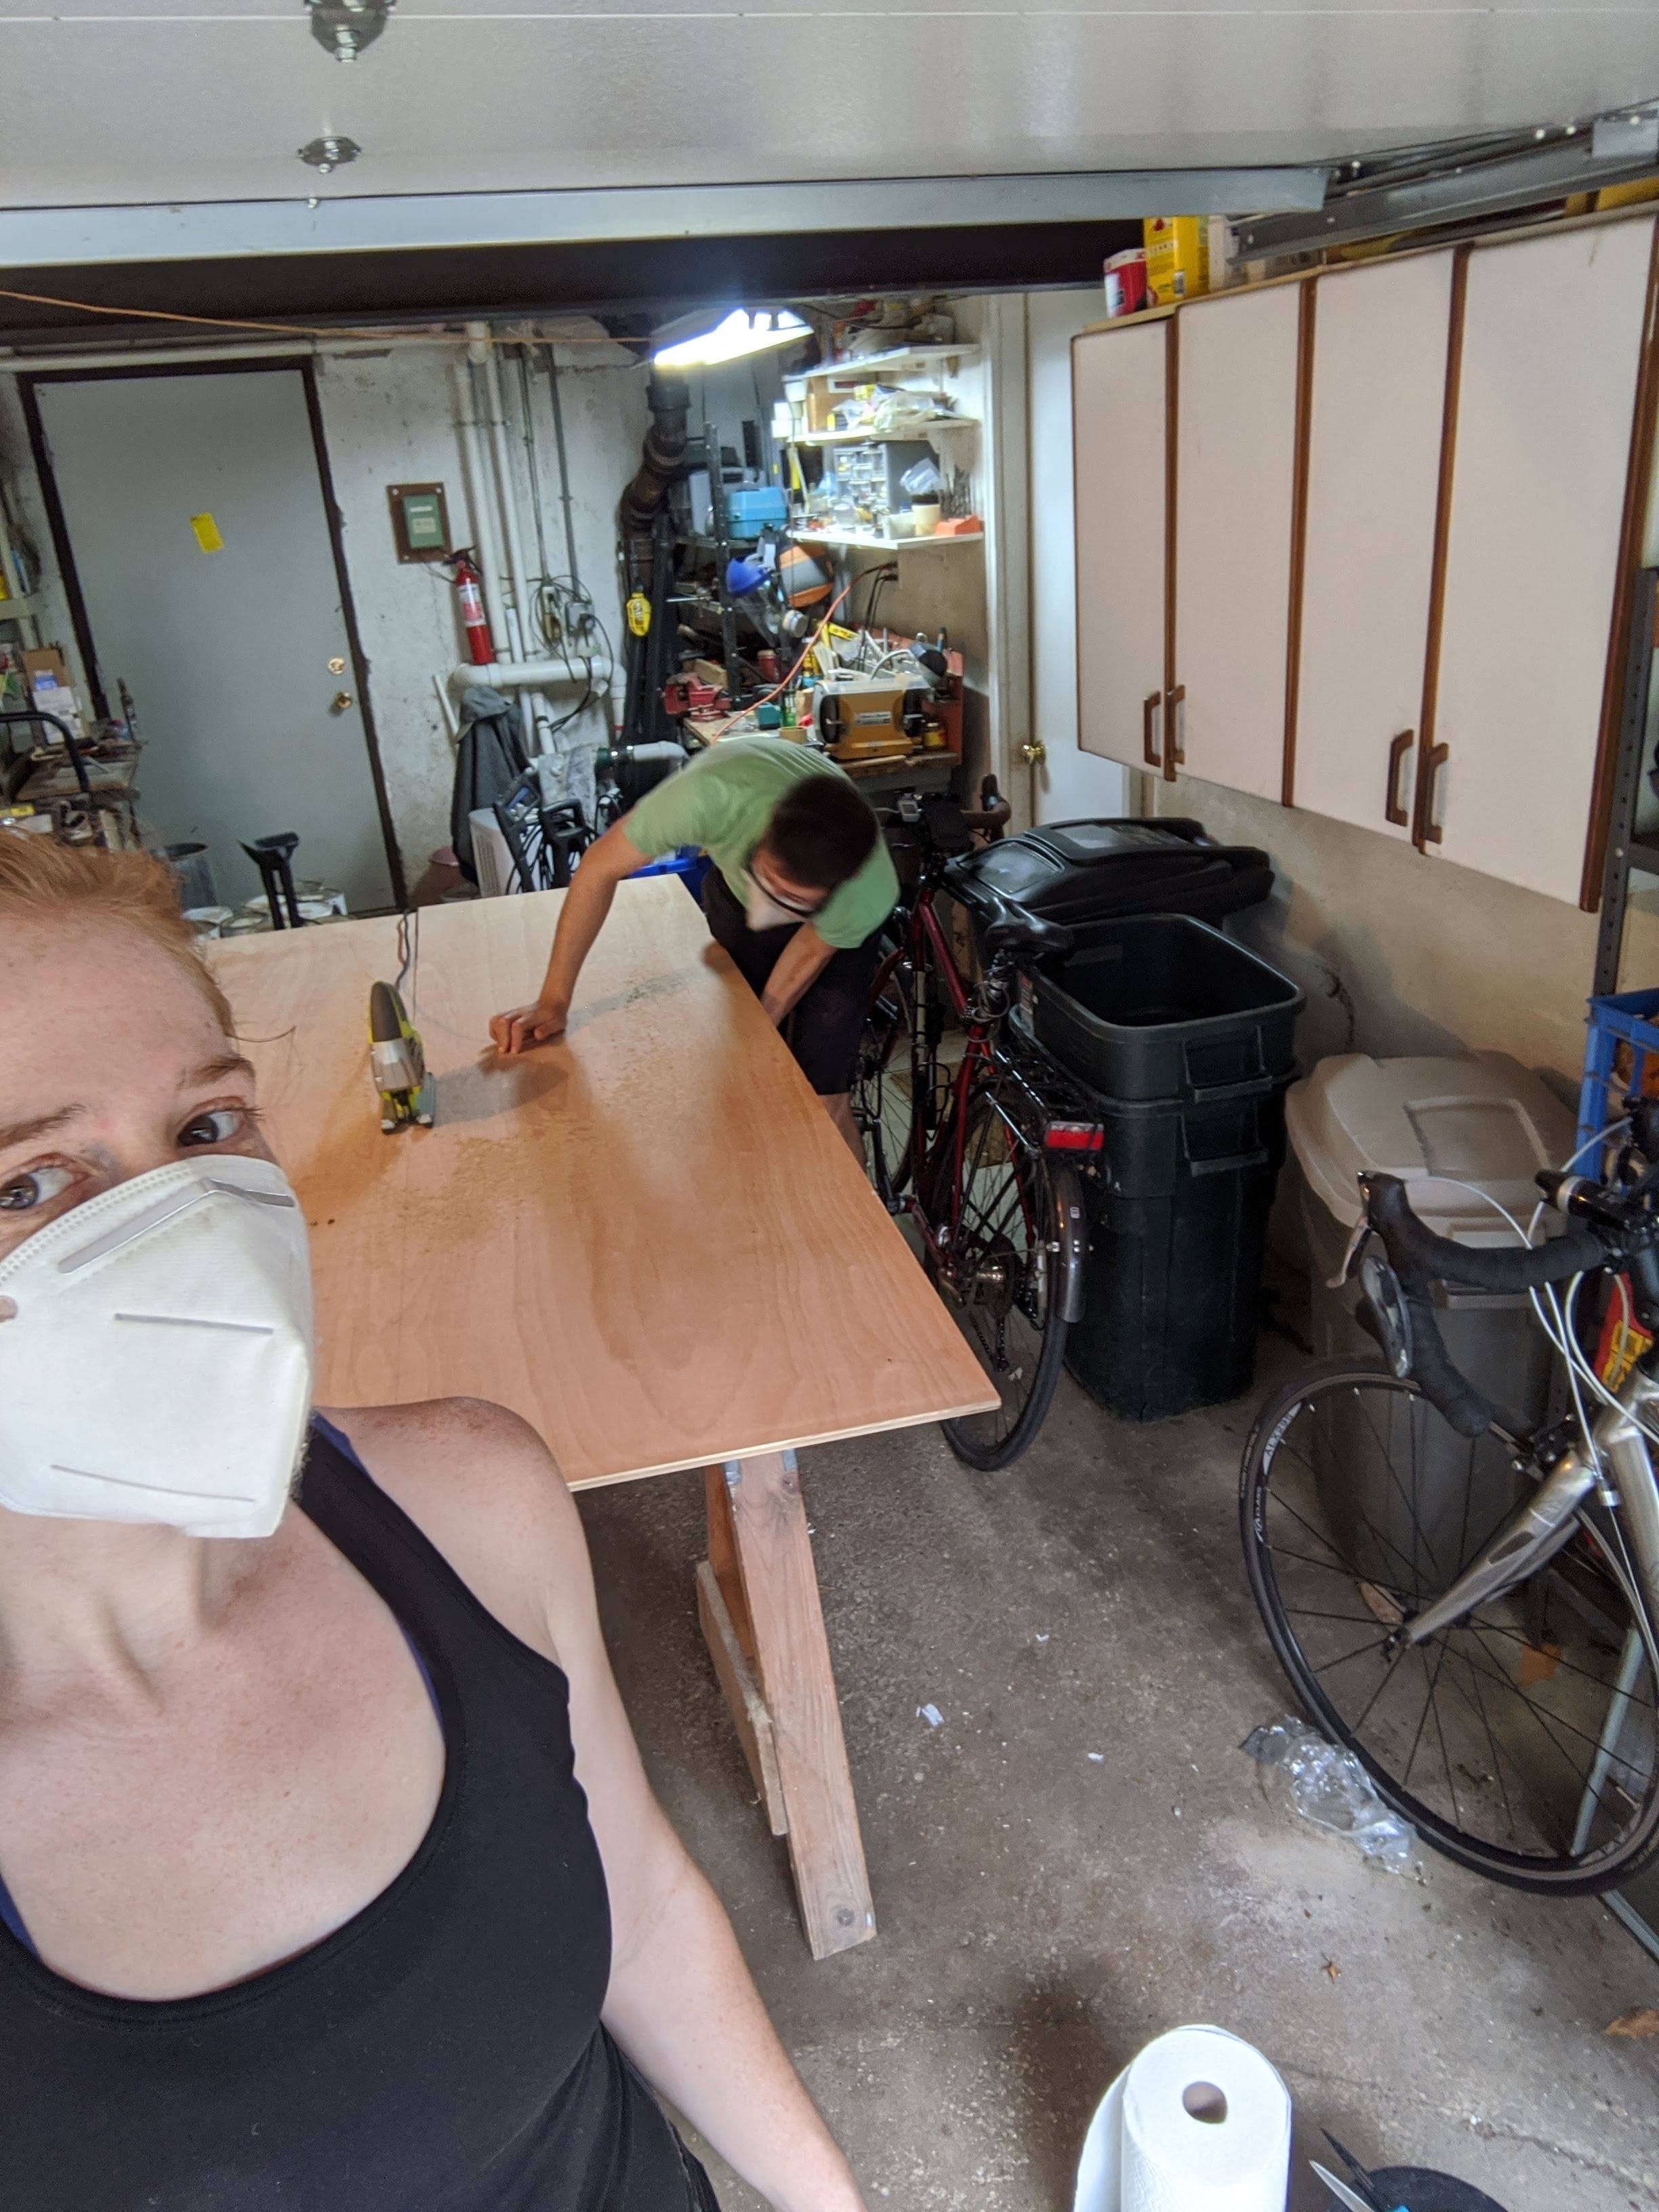
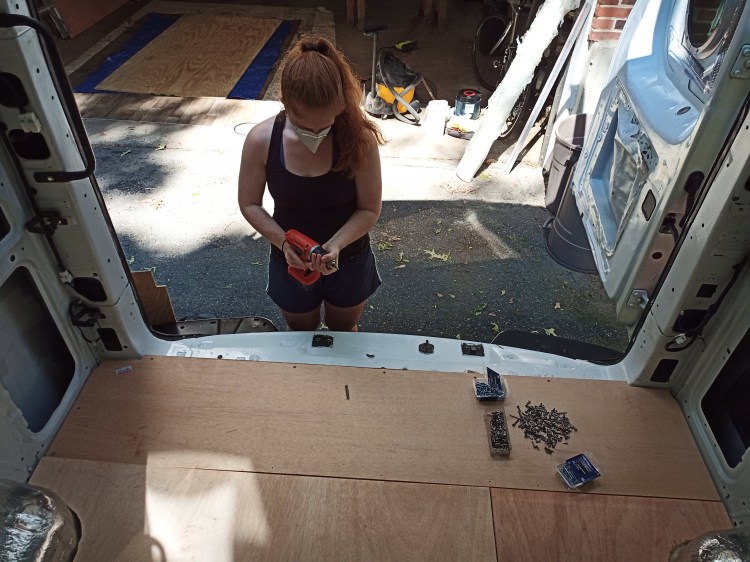
To weigh the strips down and hold them in place while they dried, we had to have our plywood cut and ready to go. We’re going to be using sheet vinyl for our floor, mostly because it’s so thin it will give Matt a little extra headroom when he’s standing in the van, so we spent a little more time getting the plywood just right than we would have if we were going with a more forgiving floor covering.
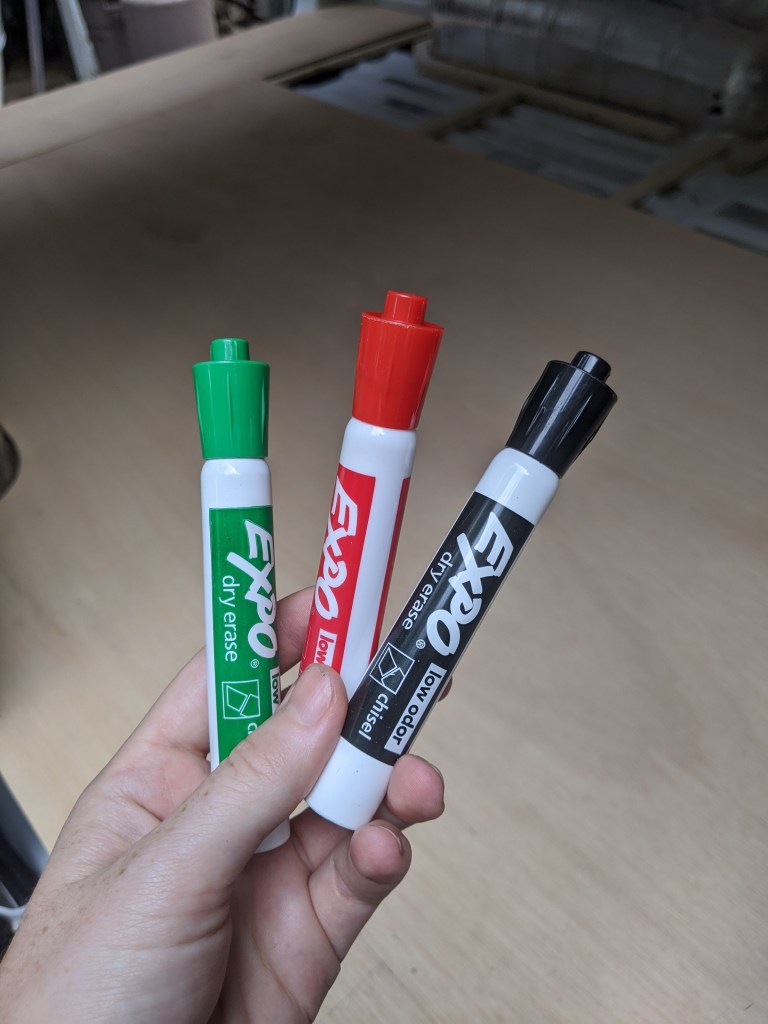
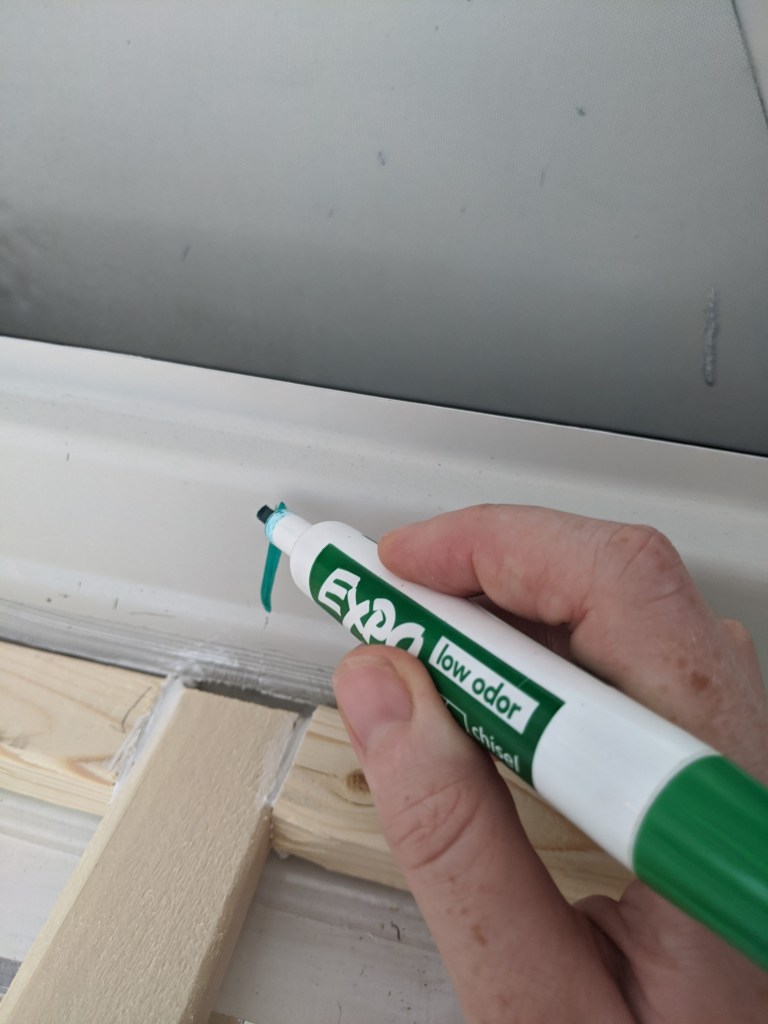
As Matt wrapped up any final adjustments with the plywood, I went through the van and marked where all of the furring strips were so we knew where to screw down the floor. As an extra precautionary step though, I didn’t only mark where it was ok to screw into, I also marked where NOT to put any screws. Green for “ok,” red for “not here,” and black for anything else we might need to note on the walls as we go. It’s all getting covered up anyway, so why not? With those marks, all we needed was a chalk line across the floor and we were good to go. So much easier than relying on measurements alone.
With the furring strips secure and marked, and the plywood ready to go, all that was left was to lay the insulation and then screw down the plywood!


There we have it! I realize now that we never got a picture of the finished subfloor and the van is already full of other materials ready to go. Oh well, there are more exciting things to see coming up soon. Over the course of the past few days we got through one of the steps in this build we were the most intimidated by, but that’s for another post.
Thanks for following along and letting us share this progress (and our excitement) with you all!
