Hi everyone!
There are several parts of the van that I haven’t shown you yet, mostly because they’re not entirely finished. We also have some smaller things in the works that don’t quite warrant their own post, so today I thought I’d throw all of these together. Even if it’s a bit all over the place, it will show you more of the process. I’ll be sure to give you a better rundown of the incomplete parts later on once they’re finished. I may also have to rope Matt into writing a post about our solar and battery system, since for all intents and purposes he’s handled that entirely on his own. That system seems as good a place as any to start though, so let’s jump in there.
I may not be able to explain our power set up very well, but I can show you some of the work Matt has put into getting it ready. Our plan was to create a system that would allow us to live and work in the van full-time entirely off-grid. We have a shore power connection just in case, and we’ll be able to charge while driving thanks to a DC to DC charger, but most of our power should be coming from two roof-mounted solar panels and stored in a massive battery bank.
We weren’t able to find much information about how other Nissan van owners mounted their panels to the roof, standard roof racks aren’t quite right, so Matt designed and built his own solution.

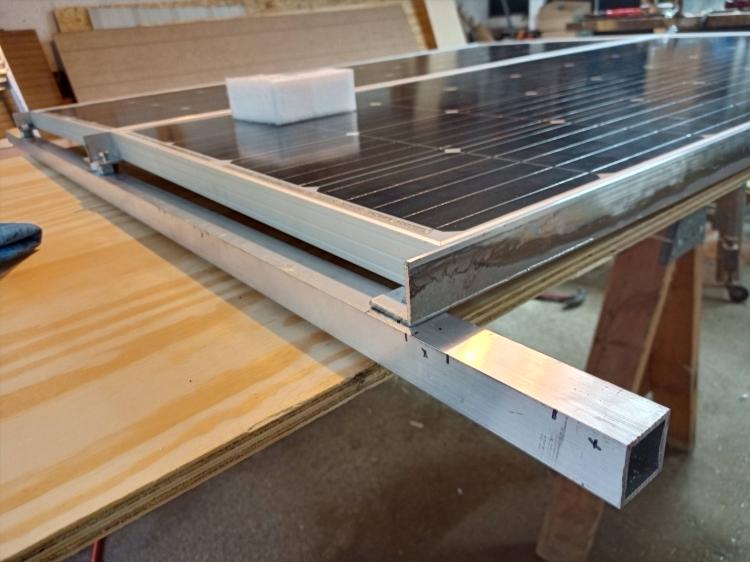


The panels aren’t mounted to the roof quite yet. The picture above is from when Matt brought the panels up to double check the fit before he bolted the rack to the roof. We’ll mount the panels once the rest of the electrical system is in place and we can actually hook them up.
As for the battery set up, I have to admit that all I can offer is a few pictures. I know so little about this right now, embarrassingly little. Matt took on this part of build (to no objection from me) and I’ve been mostly hands-off. He has a much more curious mind with things like this than I do, so I’ve gladly let him take the lead here. We’ll get me up to speed with how it all works before we hit the road.
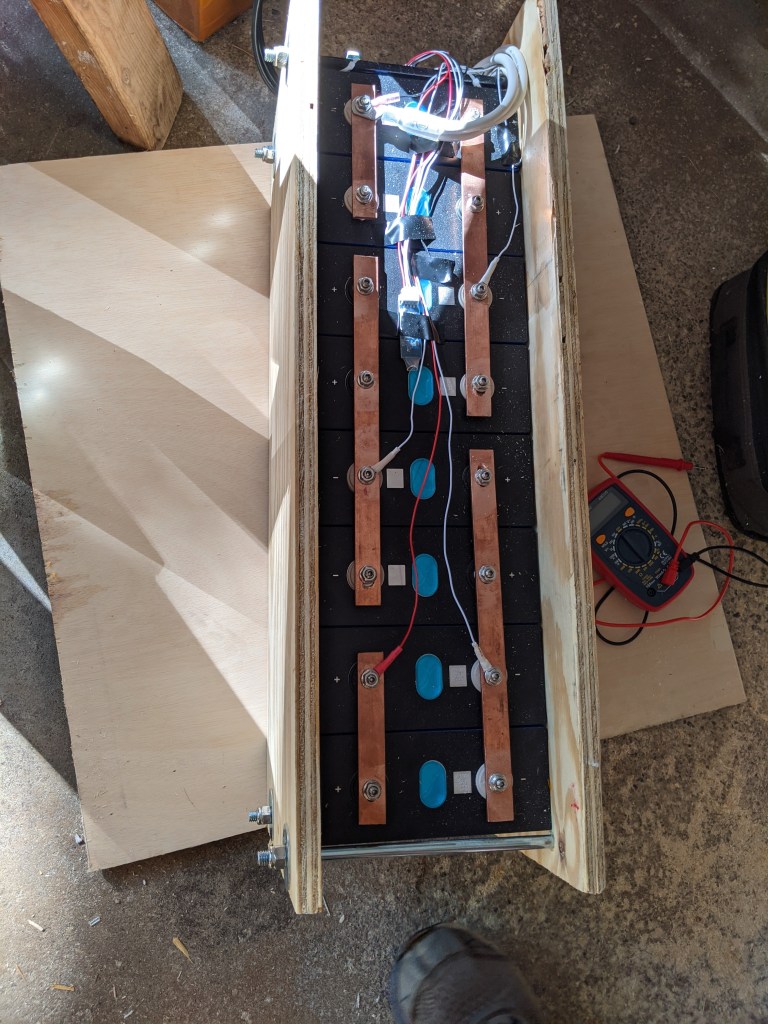
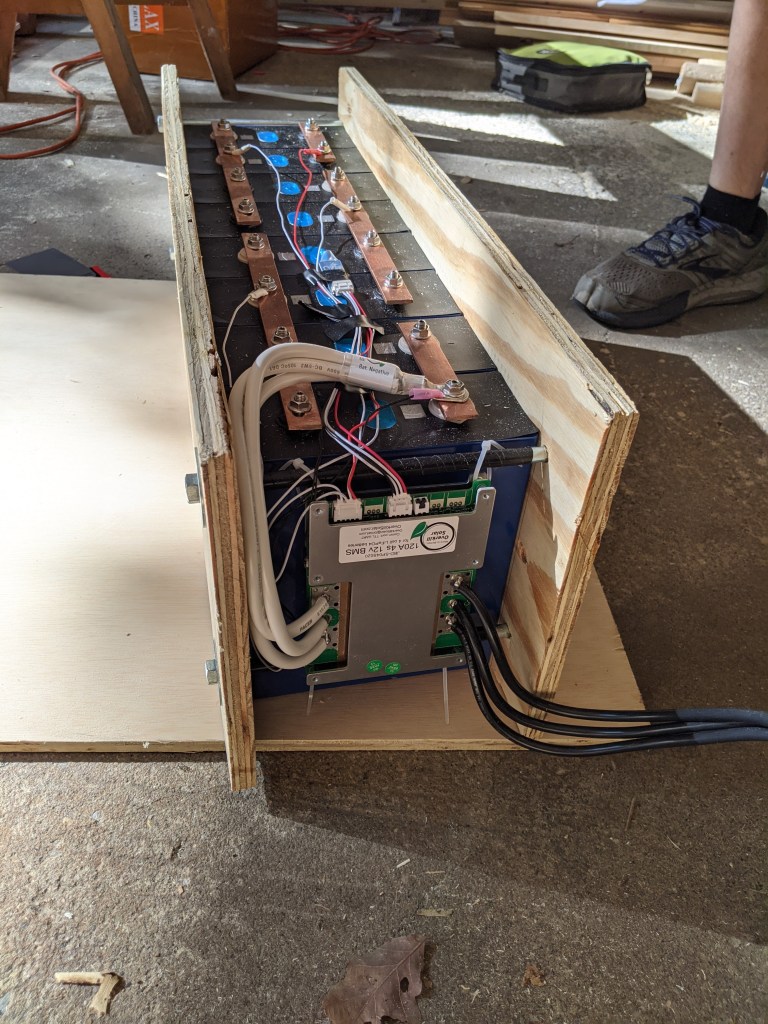
Aaaand that’s it, that’s all I’ve got for you there. I will try to get Matt to write a better explanation of it all at some point. This battery pack will be stored under one of the benches and the bed along with a few other components of the power system, which brings me to the next thing I wanted to show you all.
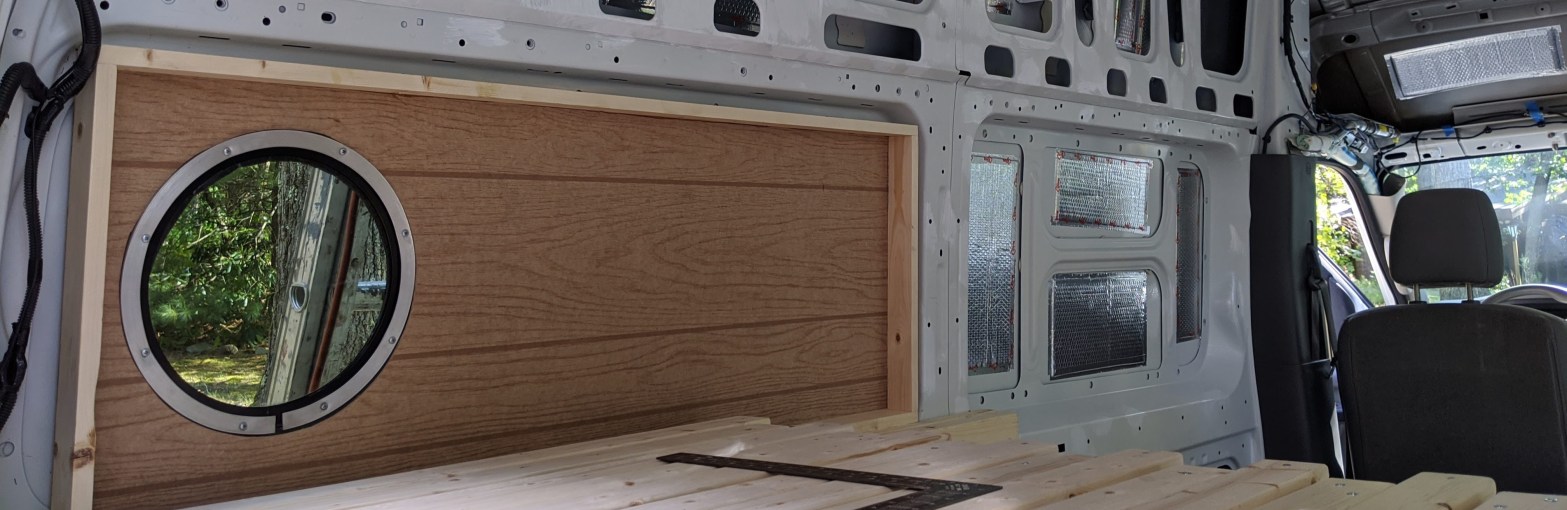
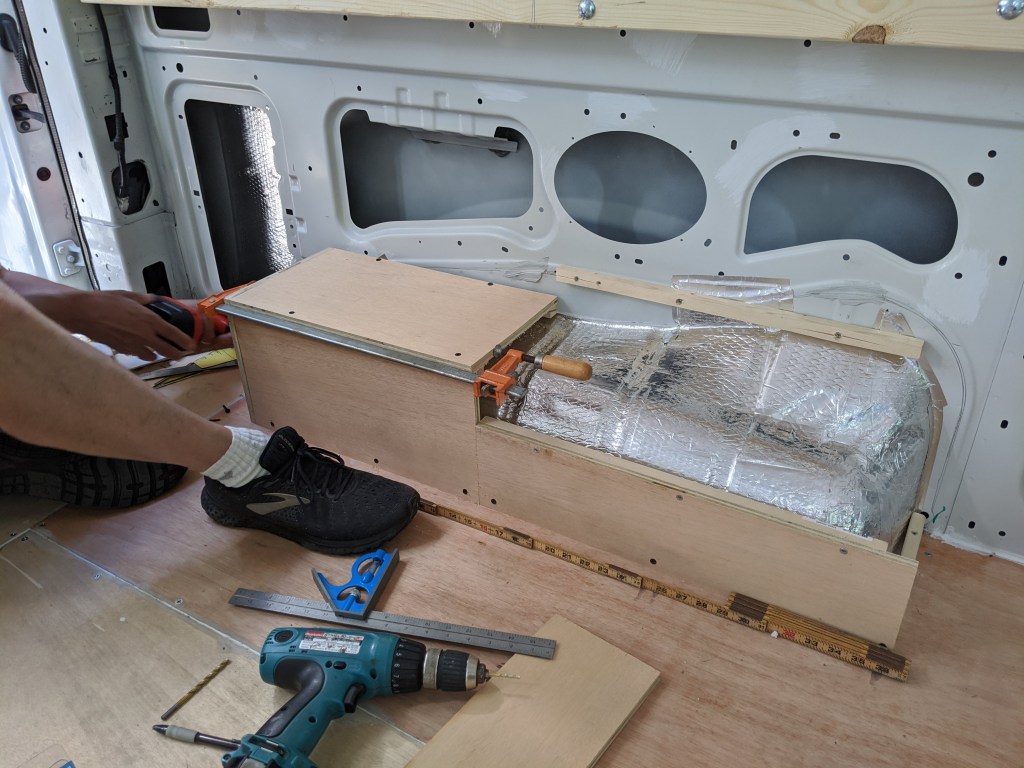
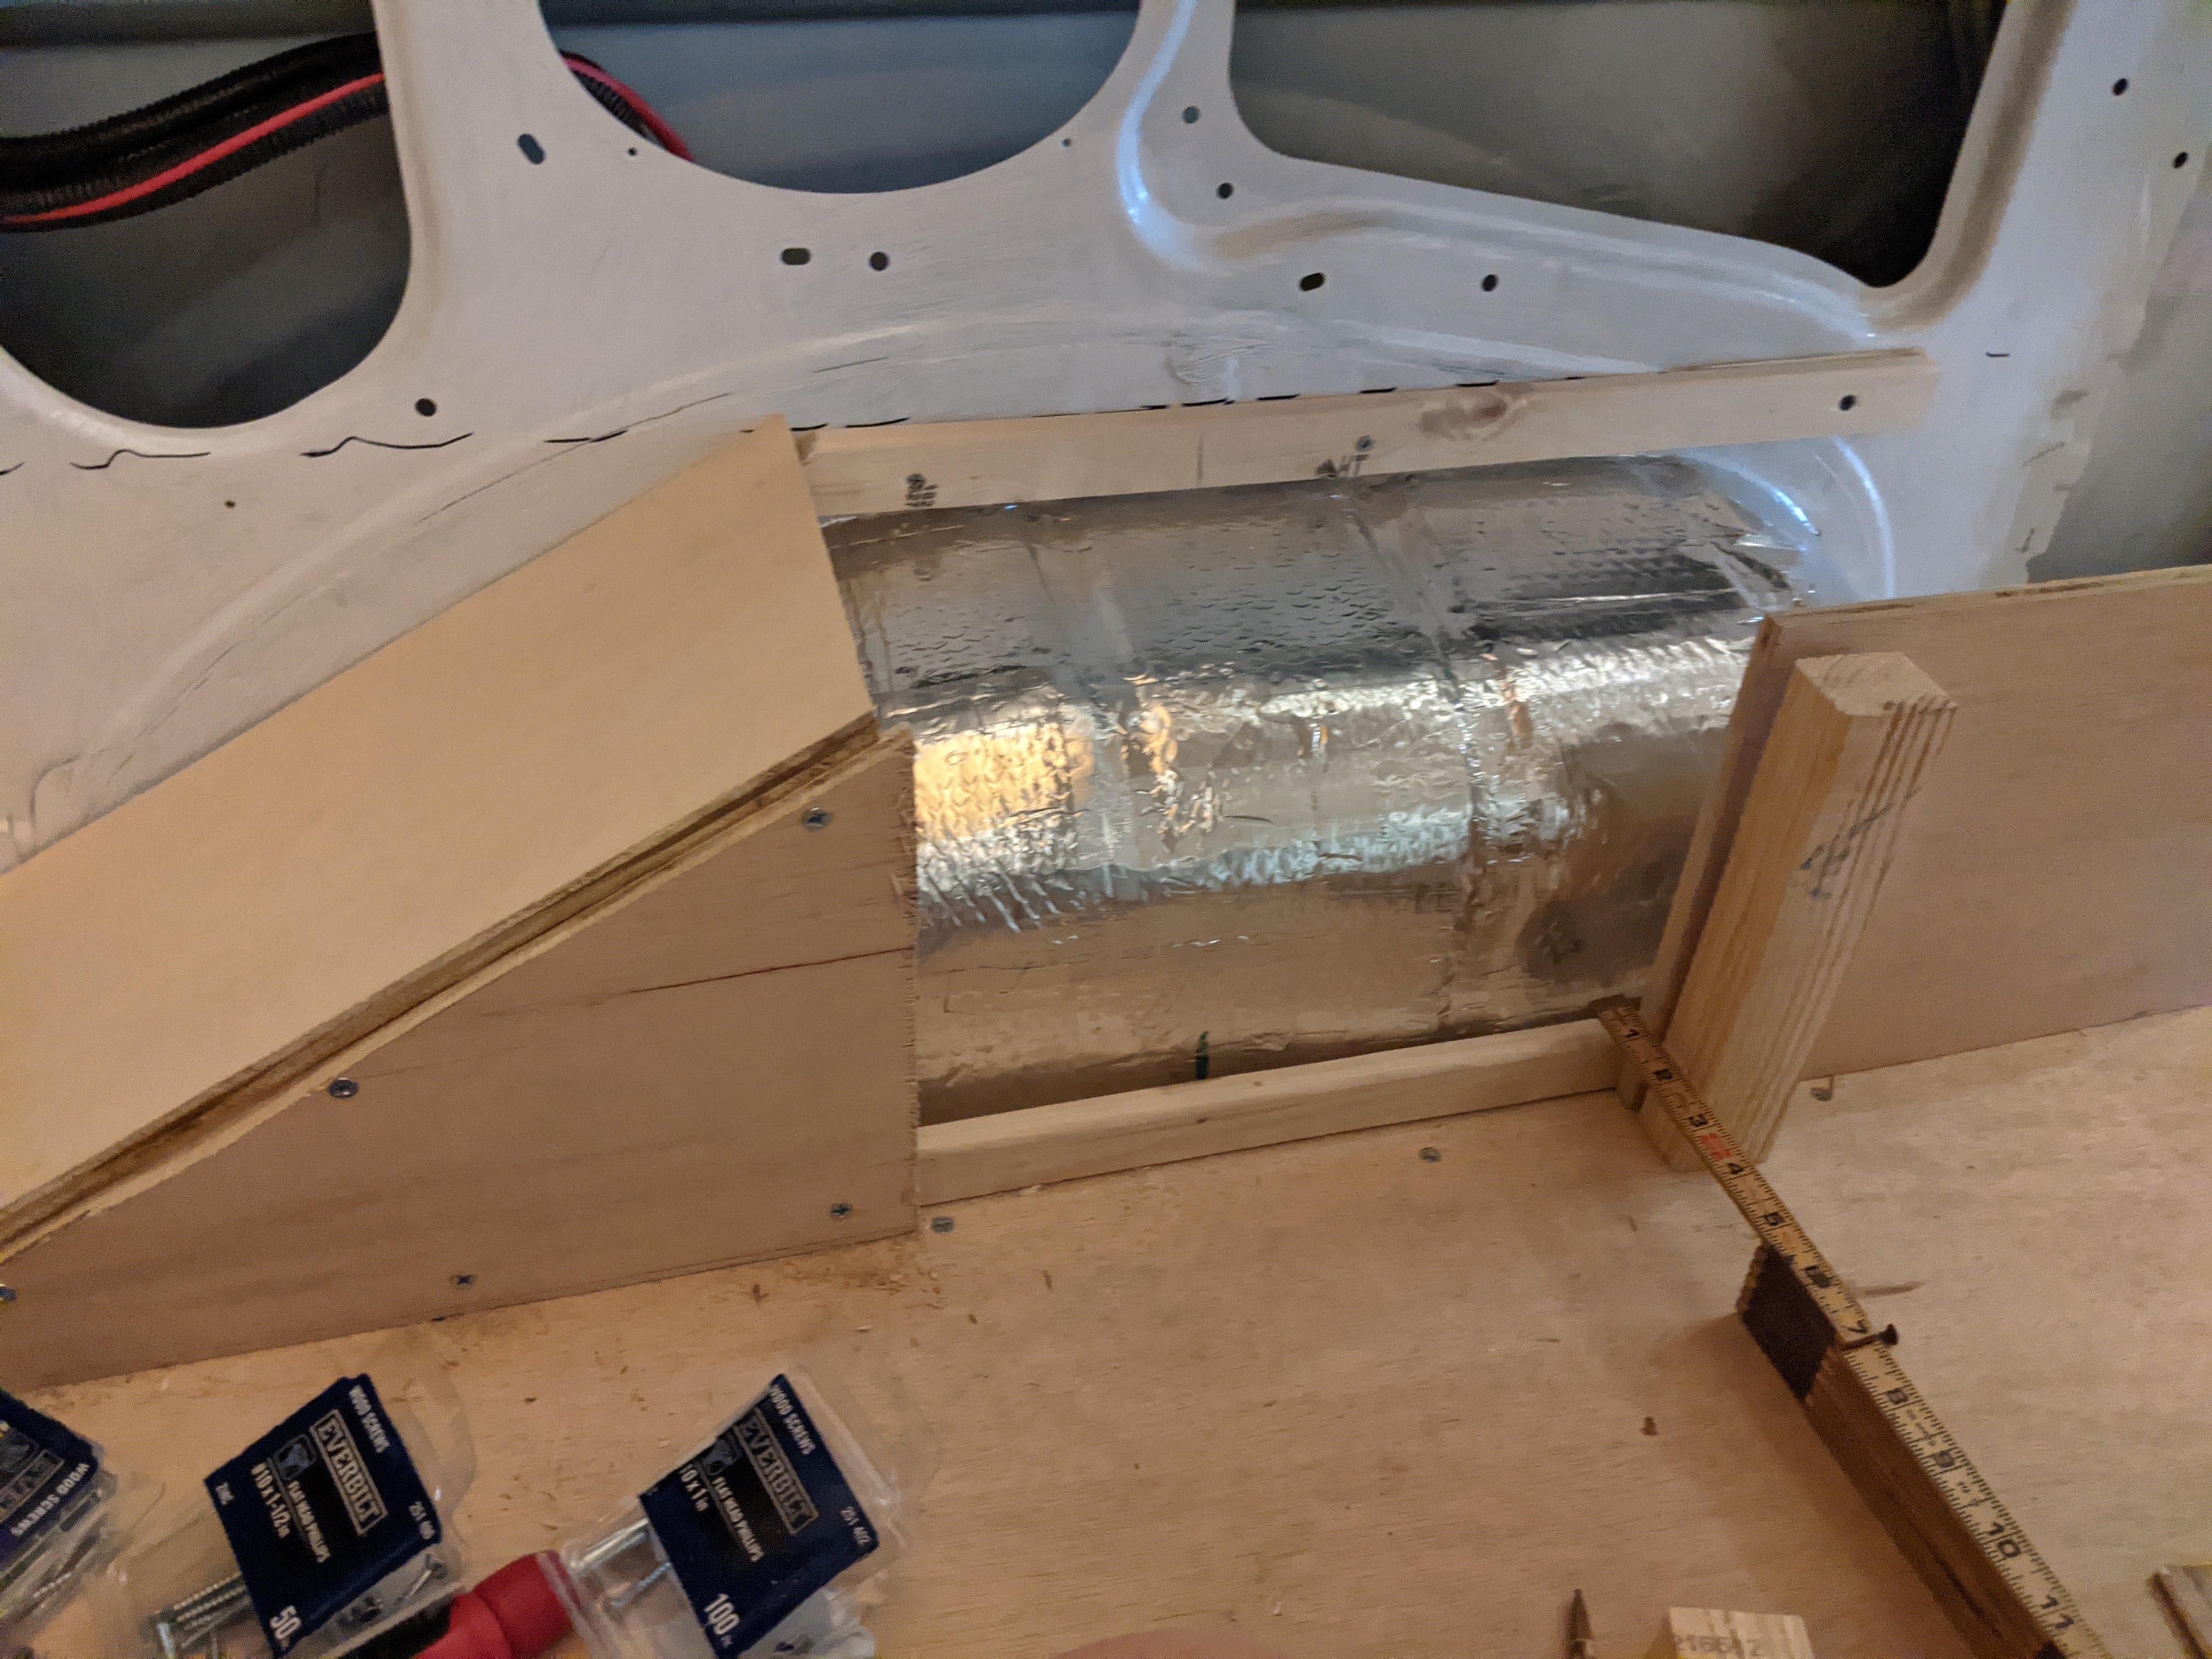
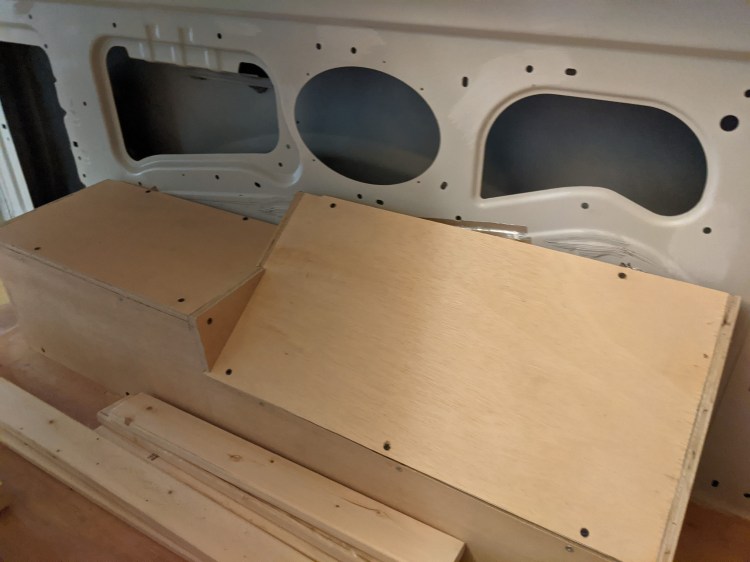
We’ve boxed out the wheel wells, which most people do, but because we’re trying to get every inch of usable space out of this van, they’re not simple, square boxes. On each side of the van we’ll have a storage bench that will sit over part of the wheel well. Because of this, the covers were built to fit as close to the van body as possible while still leaving room for insulation. The one on the passenger side isn’t finished quite yet (we needed a different length wood screw), but that’s the one that will be a shelf for the battery pack.

Moving on from that, though along the same lines, here are more steps we’ve taken to maximize usable space. The walls in our van are fairly deep, so most of our efforts have centered around keeping some of that space once the wall panels are up. We only need an inch or two of insulation, so as long as we don’t go any closer to the exterior wall than that we should be fine.
Our first step was to frame two sections of the wall near the back on either side of the bed, allowing us to gain several inches of length on the bed as well as keep the wall flush with the windows. These are not screwed in yet (or painted), but here are a few pictures of them in place.


As you can see, we don’t gain a lot from doing this. However, those few inches are the difference between me fitting in the bed straight across the width of the van rather than having to sleep diagonally like Matt, but that’s a story for another post. The whole bed will be a separate post, although you can see a sneak peek of if in the two pictures above.
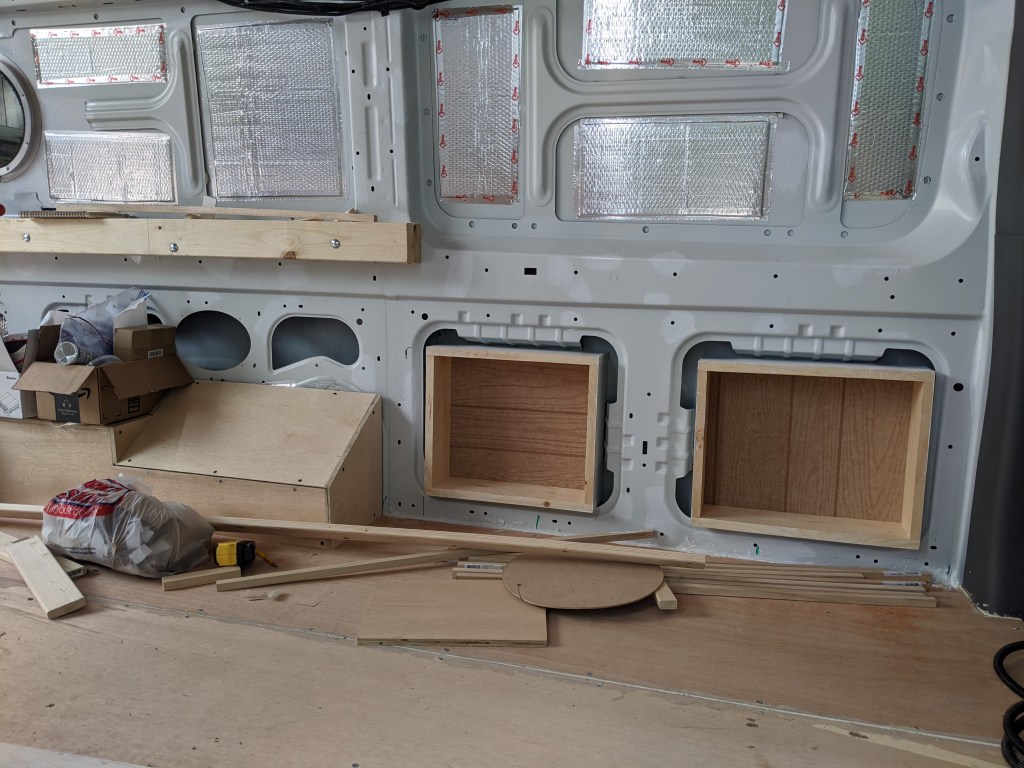
The next place we refused to accept losing so much space behind the walls were two sections in what will be our kitchen. I don’t remember what Matt and I were working on, but while we were struggling through whatever it was we were doing, Matt’s dad made these great boxes that will sit in the wall and give us extra storage space in the kitchen. We’ll be doing something similar on one side under the bed, too.
In the two pictures below, the one on the left is a good view of the boxes, the one on the right is to show just how uneven the walls are. This is why we didn’t want to simply make the walls go straight, floor to ceiling! We are lucky though, in that the walls are kind of in three sections as you can see: top, middle, and bottom; so because of the layout we’re building, it’s not too bad working in sections like this anyway.

The final small step we’ve taken so far to squeeze a little more storage space out of this van, was to build the floor over about one third of the step by the sliding door. Beneath the floor there we’ll have a small cubby, likely for shoes. There’s not much to see there now, but I’ll take some pictures once we’ve finished that part.
As I was wrapping up this post, Matt went out to the van and hooked up the lights. Our ceiling is now 100% complete! So, on that note, I’ll leave you two final pictures. On the left we have our ceiling, lights and all; and on the right we have a quick look at the seat cushions I’ve started on with plenty of help from my mom. More to come on those later, once I have at least one complete set to show you.


Annie, once again so interesting and amazing to follow along with this project! XoXo Ellie
LikeLiked by 1 person
Great to read different approaches., thanks for sharing! Are you adding any sound proofing or insulation to the van?
LikeLiked by 1 person
Hi Anthony, my apologies for missing this until now. We did both, I didn’t write much about the sound deadening mats but what I did is in the post titled “Slow and Steady Progress.” There’s also a post about the insulation and walls.
LikeLike